Uncategorized, VW

Body Working

Body Working

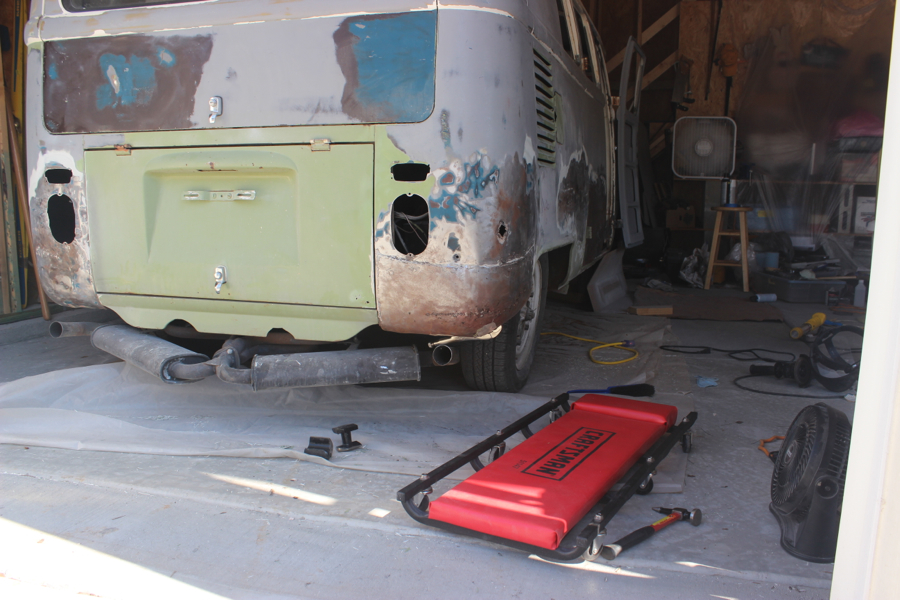
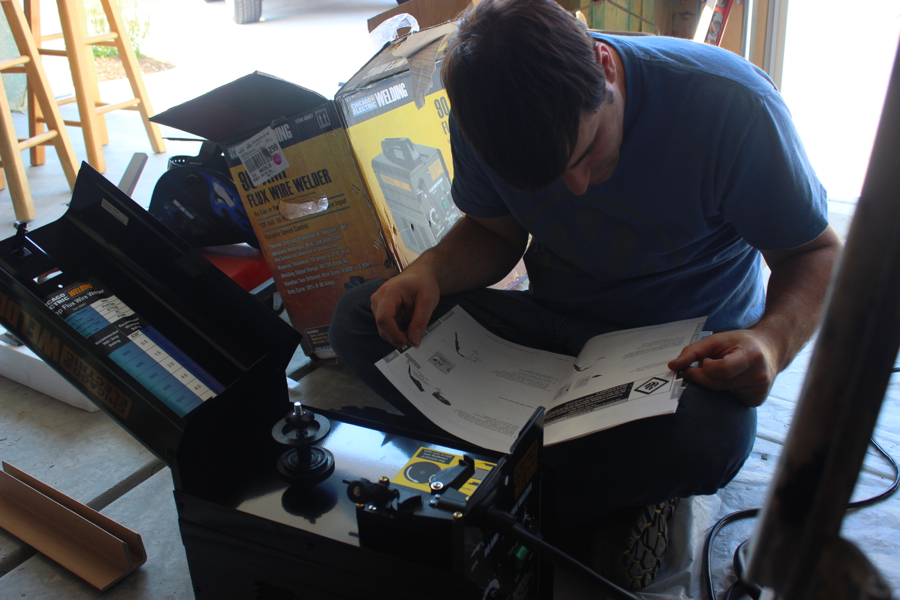
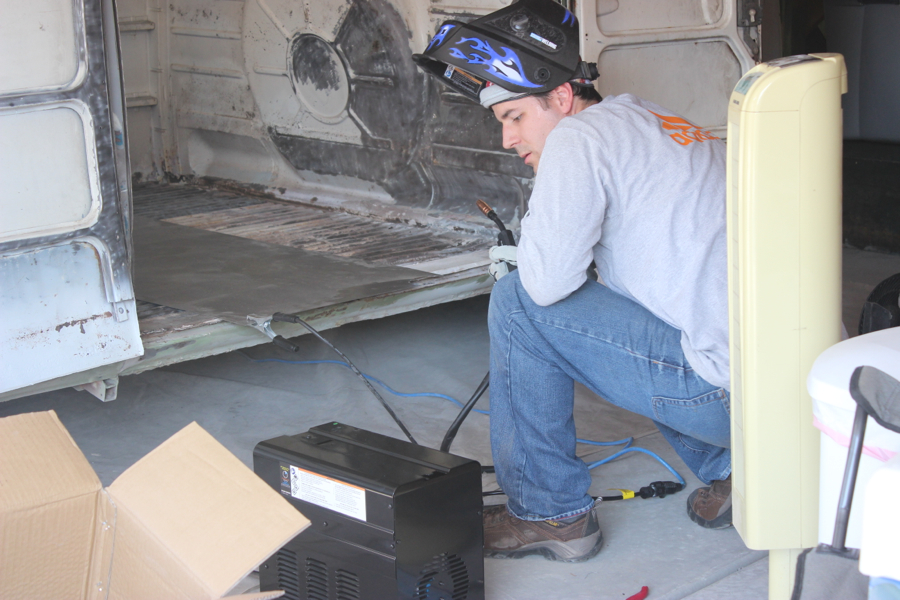
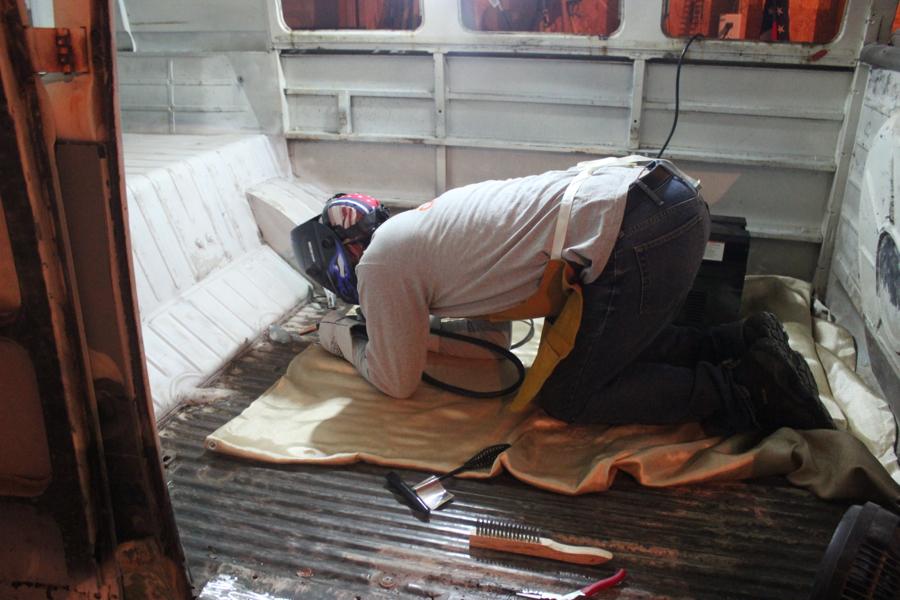
Bus body work continues – this phase of the project pretty much sucks – but it’s got to be done!

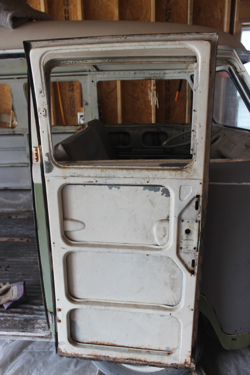
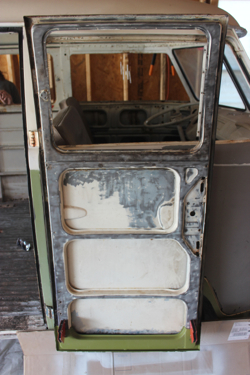
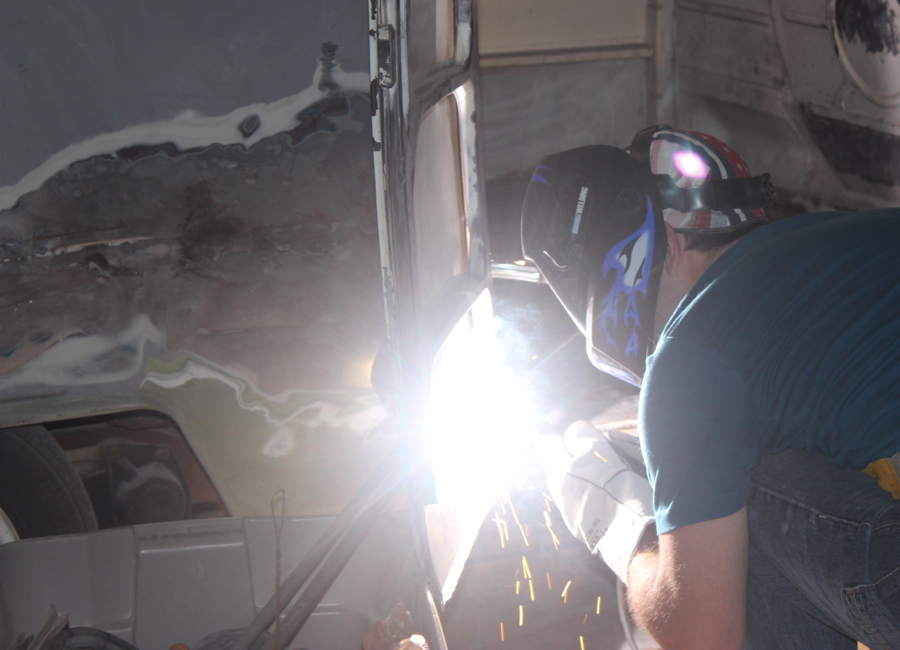
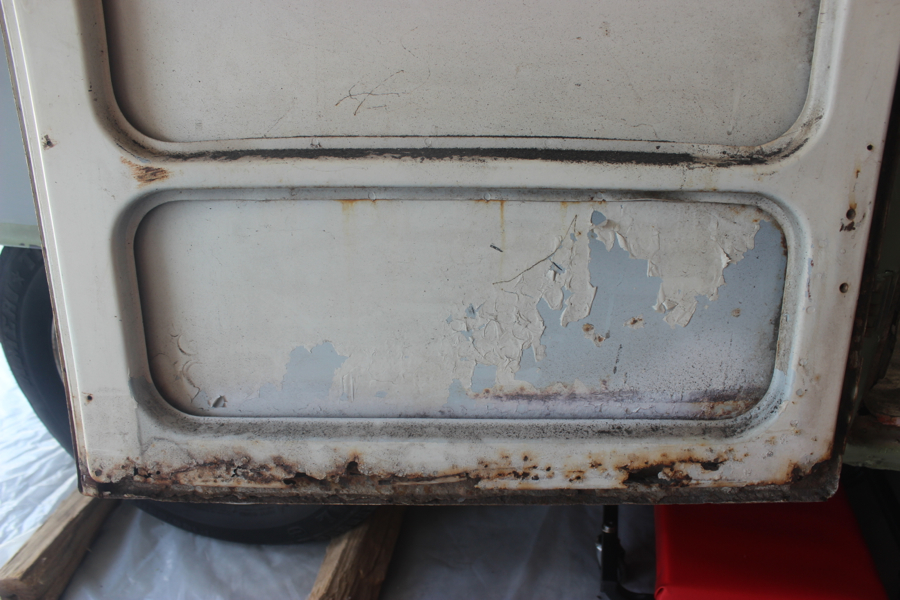
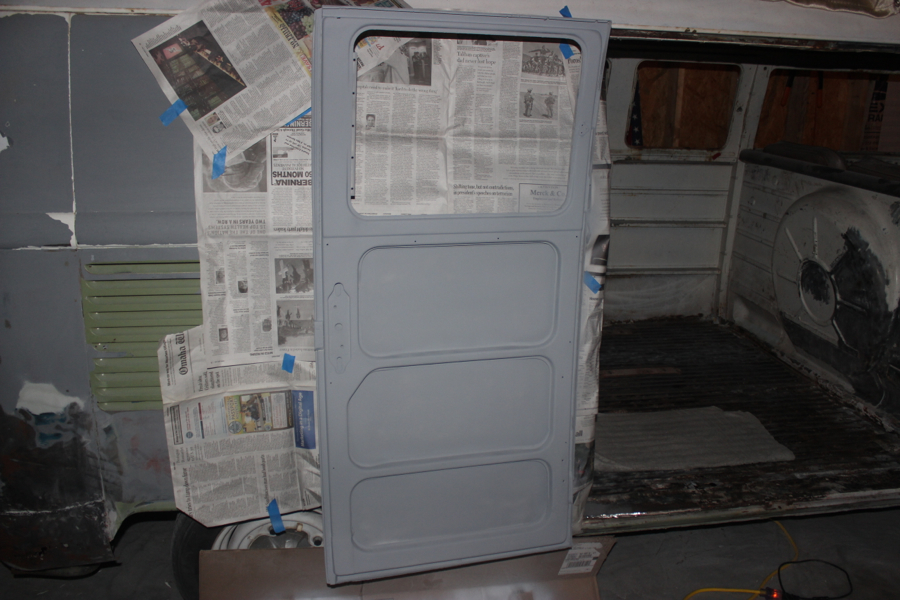
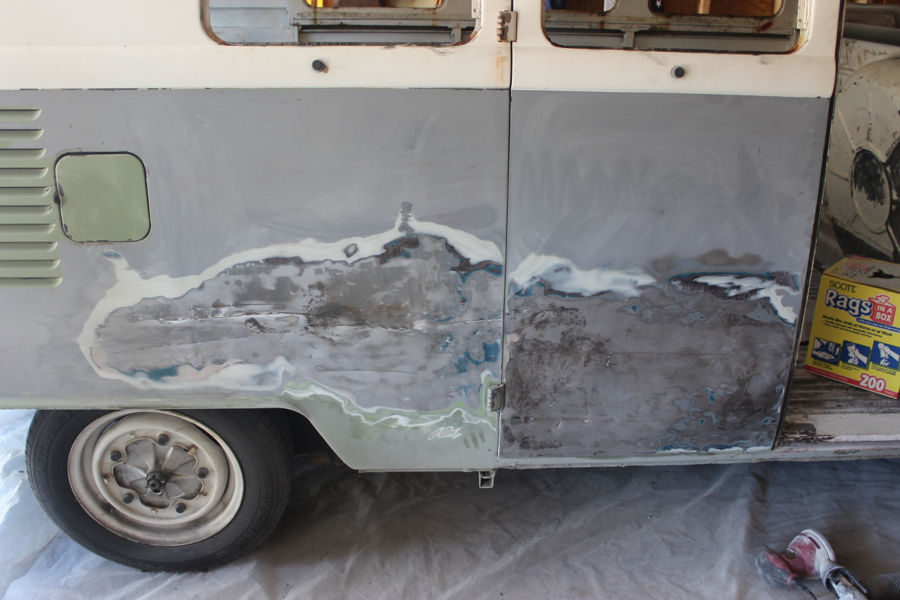
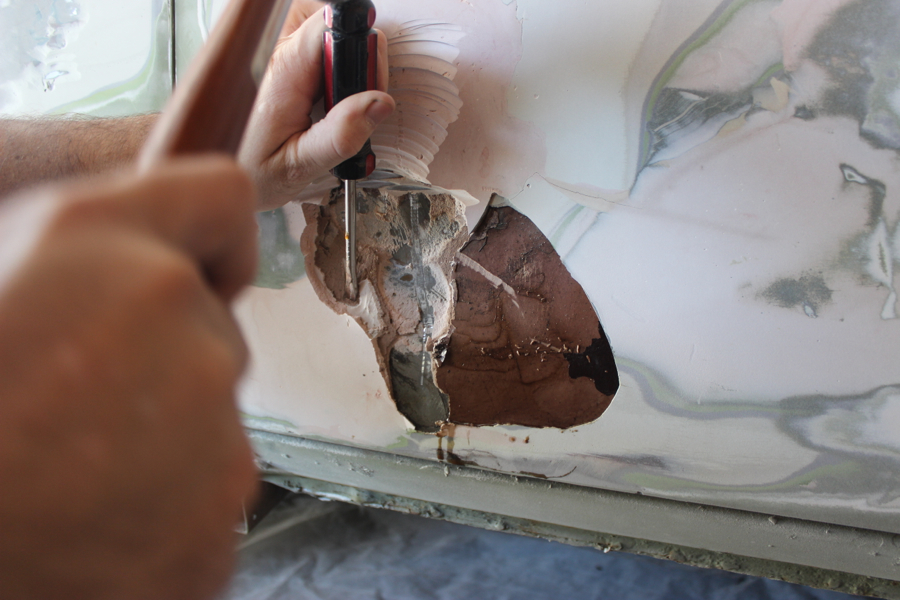
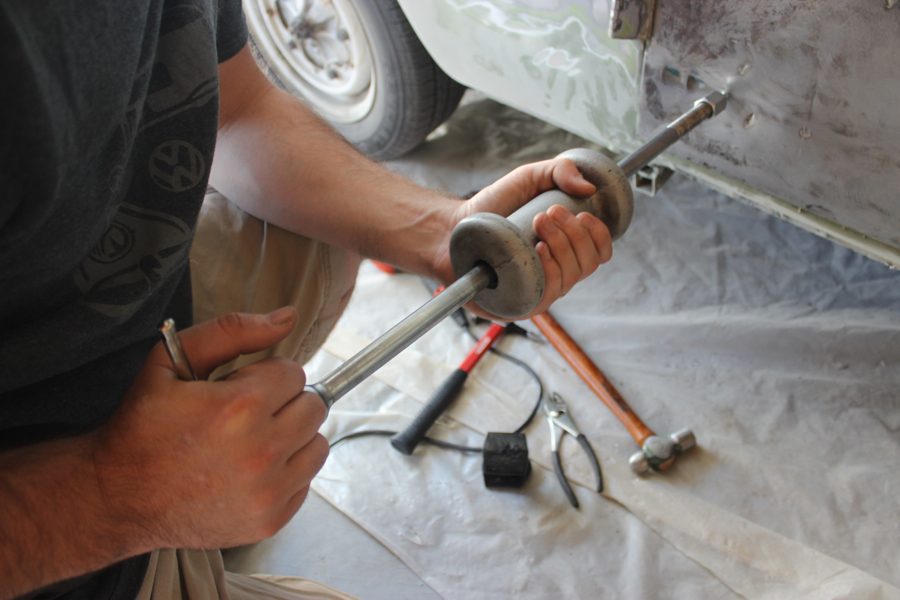
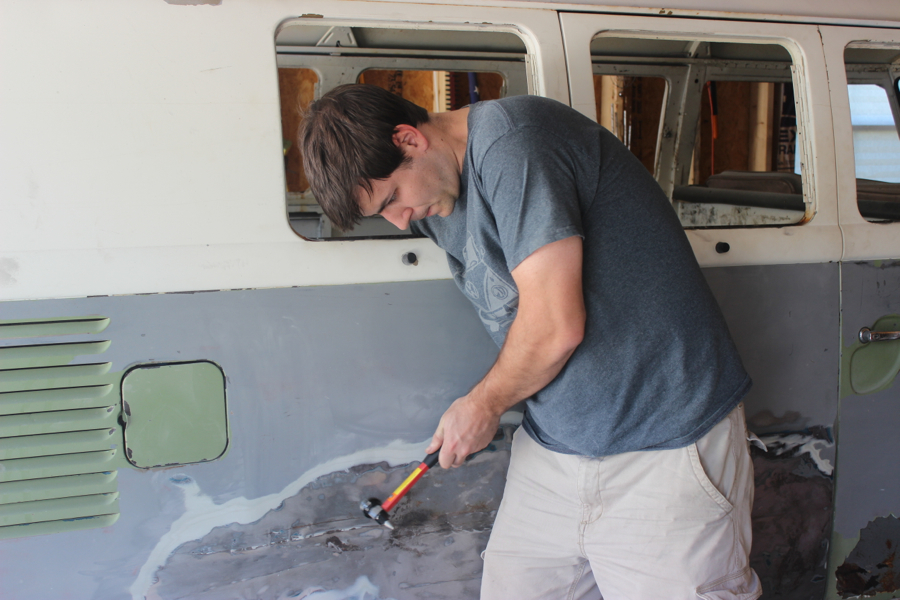
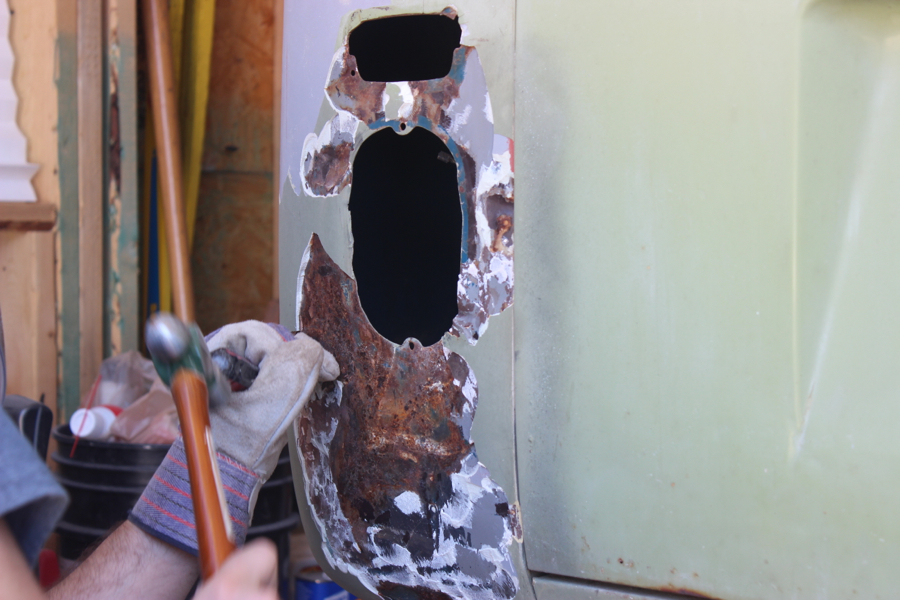
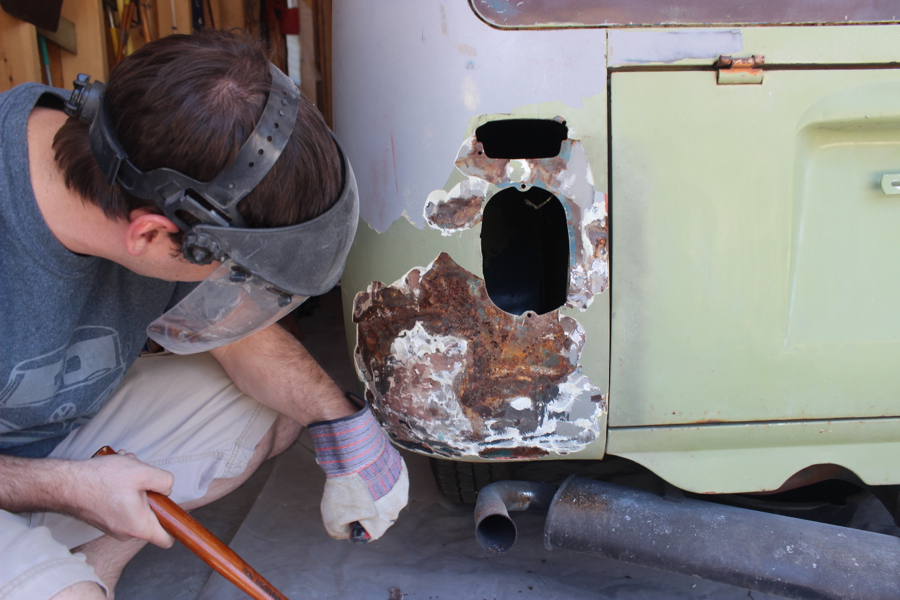
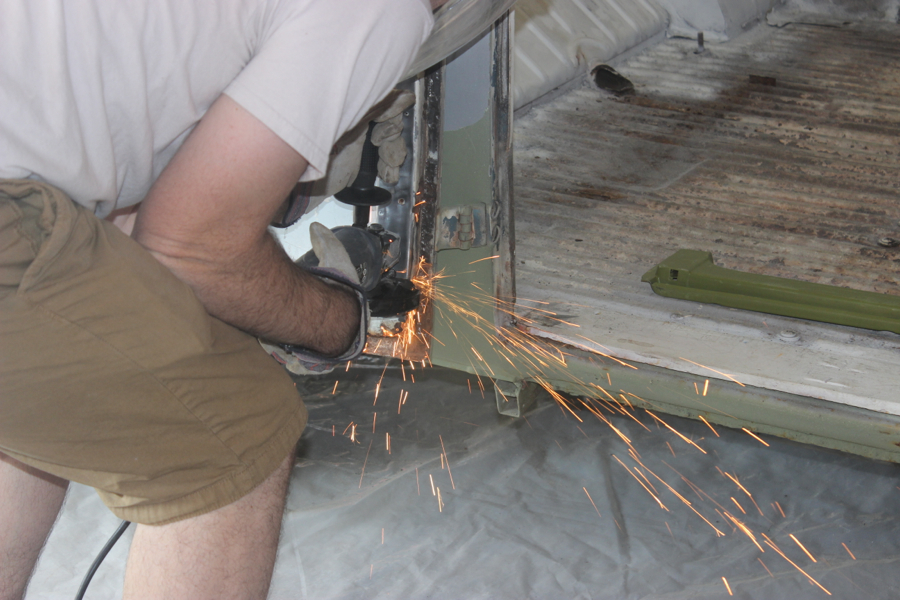
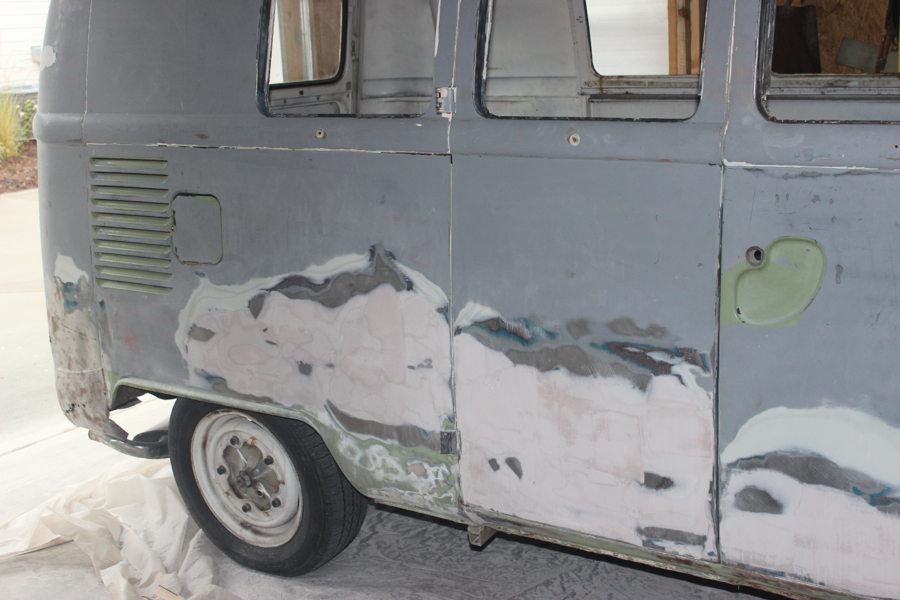
After getting the inside of the cargo doors welded and cleaned up, I started in on the exterior.  This was the bondo hell that I posted about a while ago – after chipping away all of the inch-thick, cracked body filler, I used a slide hammer and hammer/dolly to get the metal back into shape (at least as close as I could).  I then went full circle and started to add Bondo back to the side!

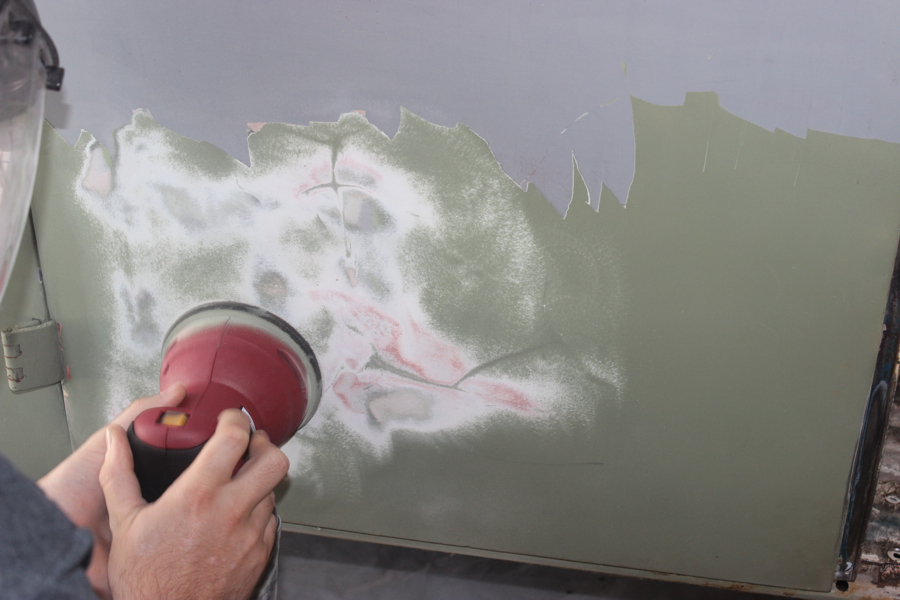
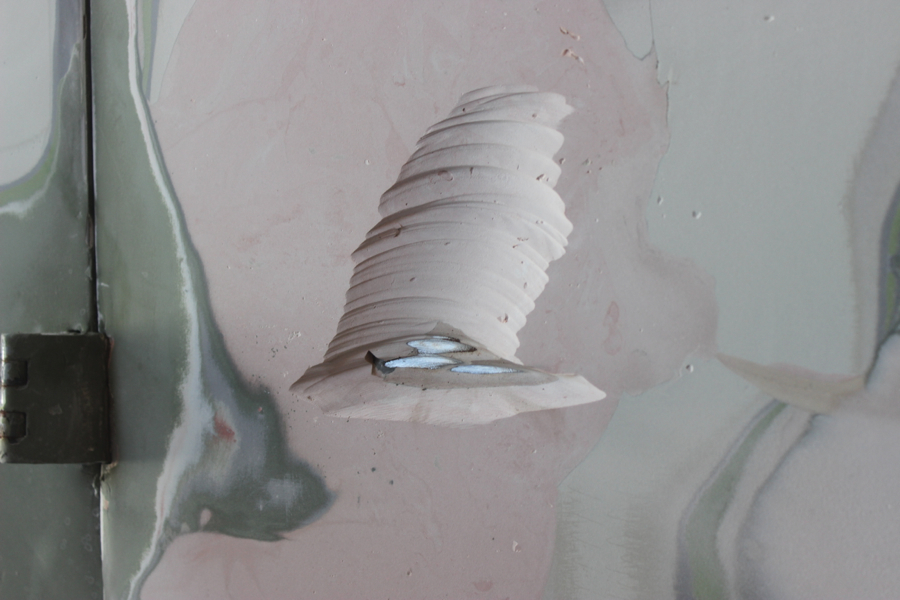
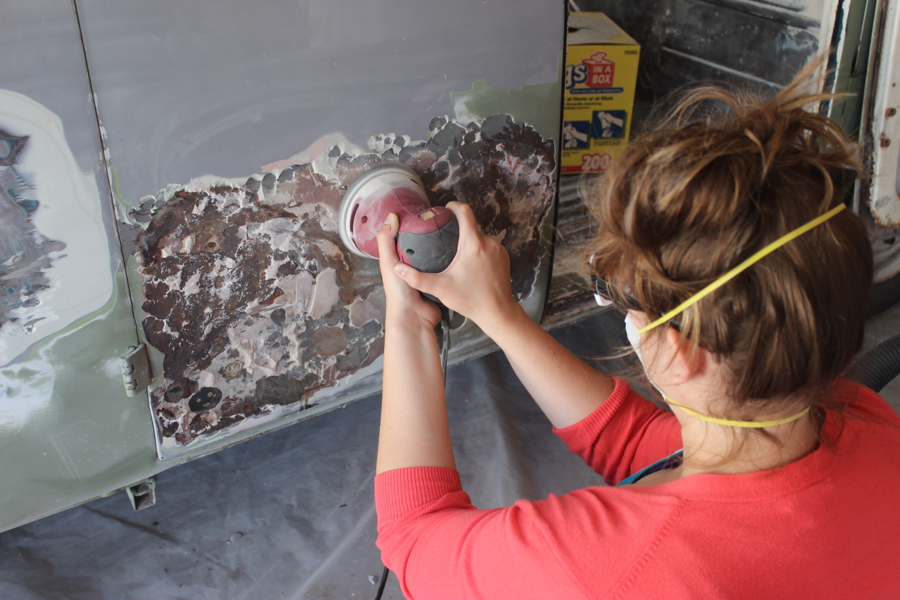
I started filling the deeper gouge marks and scratches with fiberglass resin jelly – I also use this to fill some of the smaller holes around the bus.

Adding some fiberglass filler

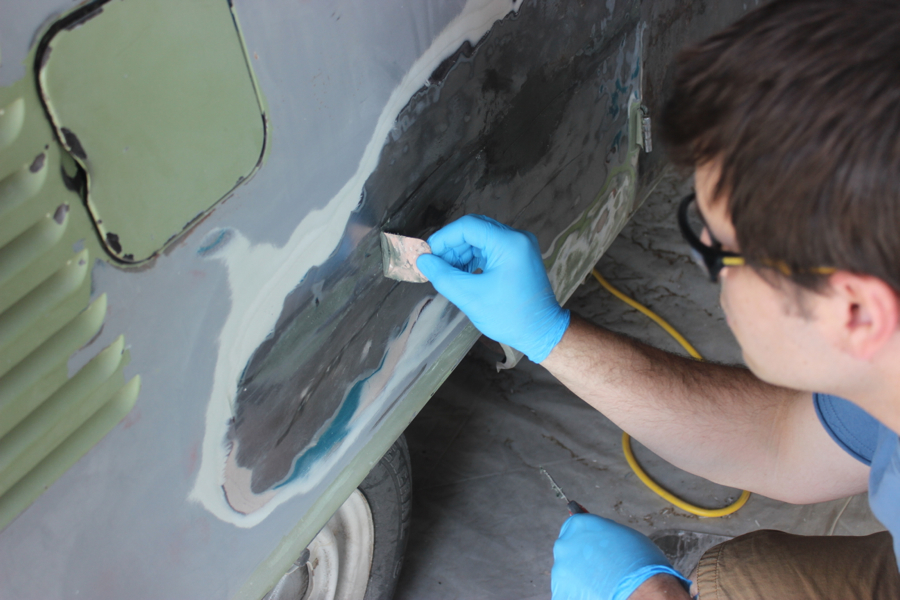
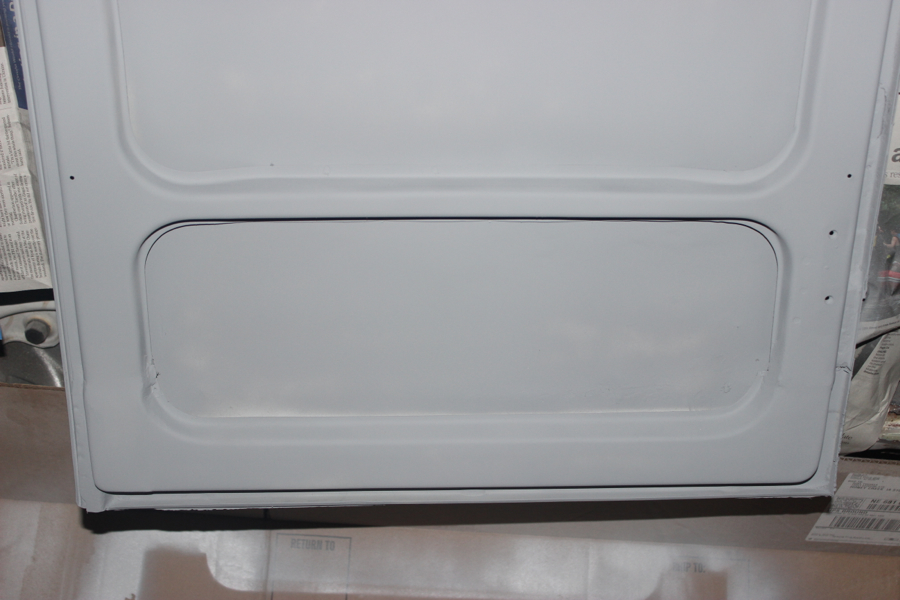
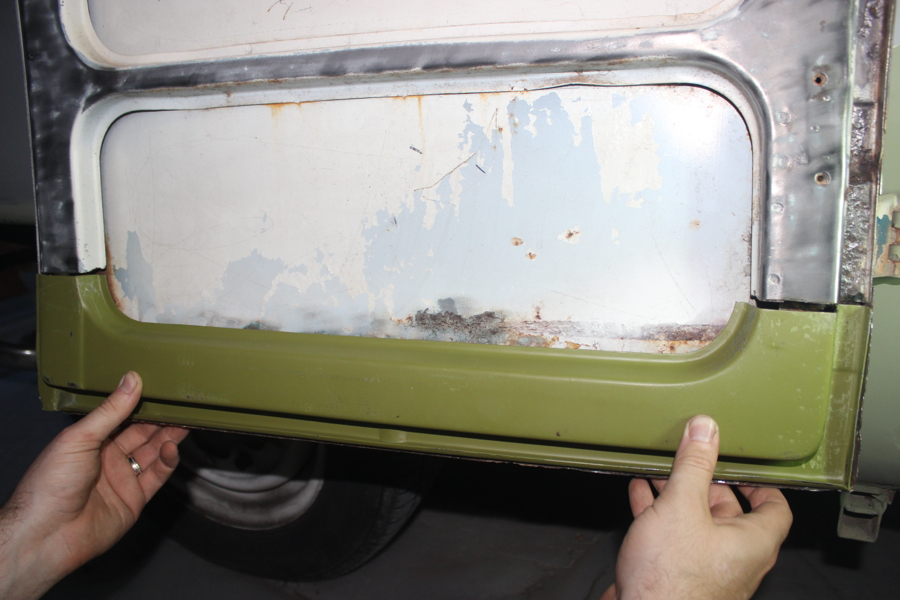
I then added a couple few (thin) layers of body filler and kept sanding and sanding until everything was pretty much smooth.

Feeling for imperfections

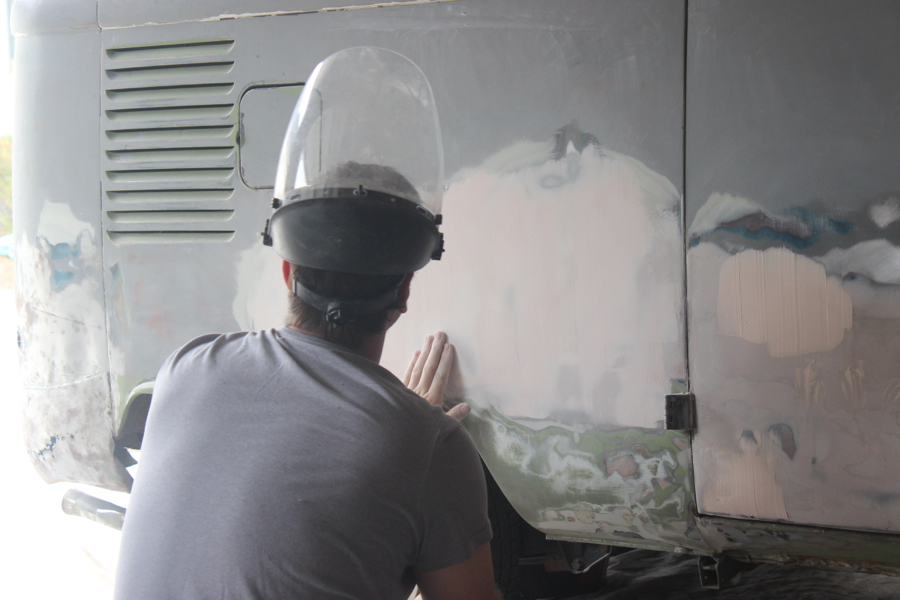
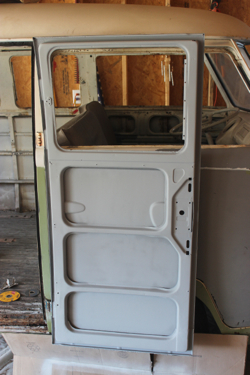
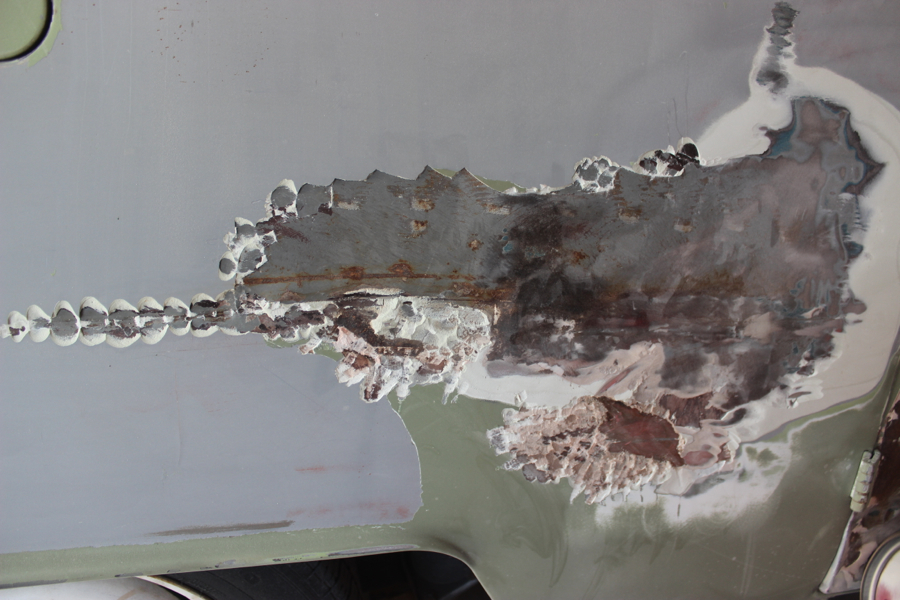
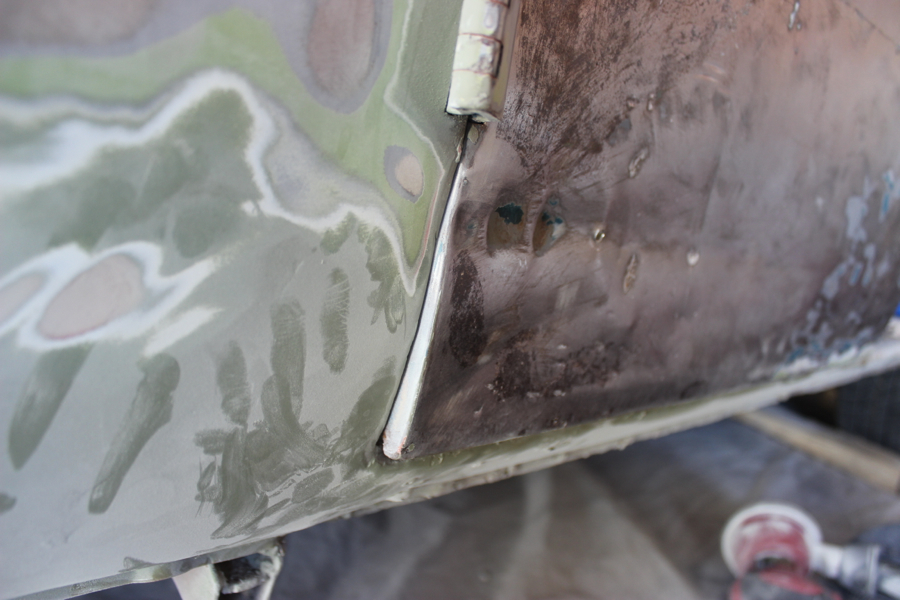
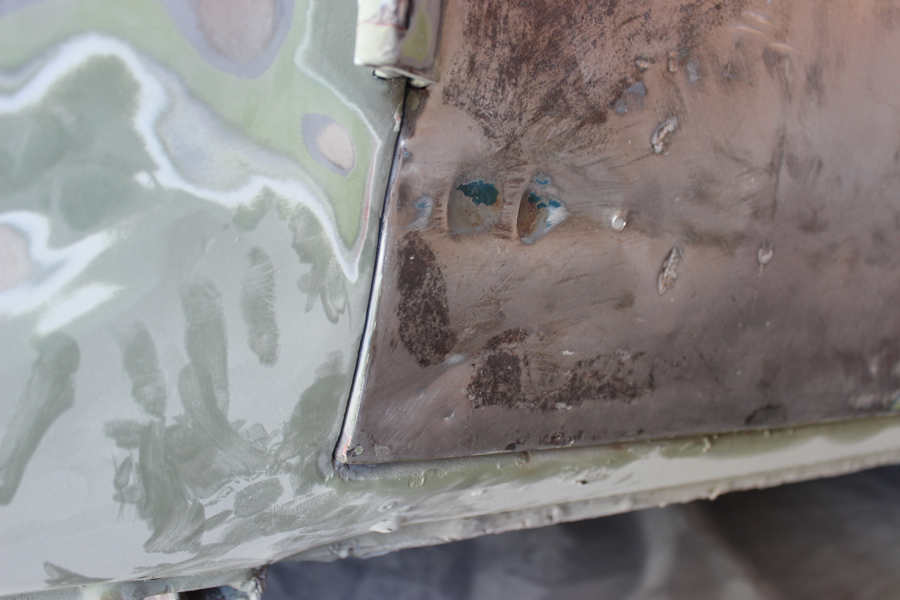
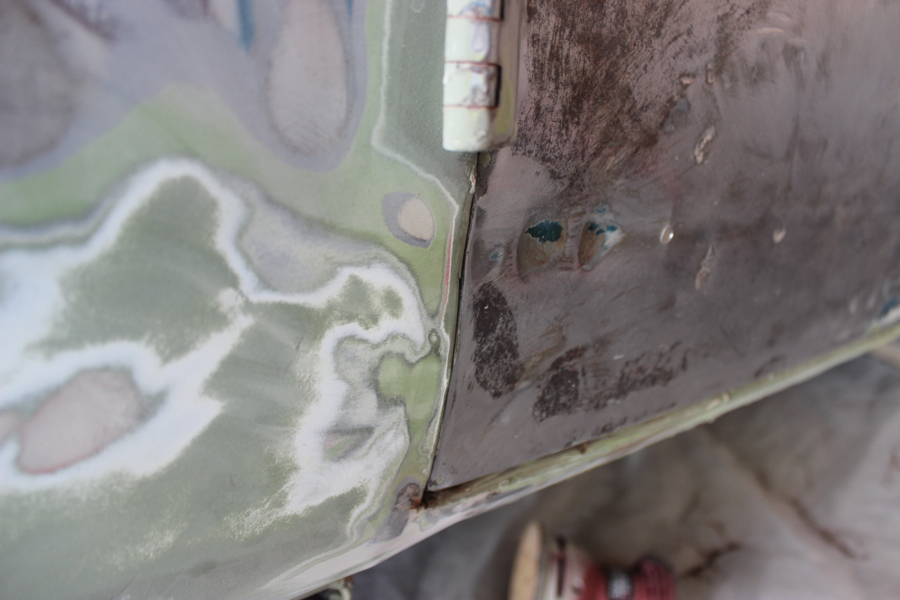
Then added a layer or two of finishing putty to even everything out, and spray bombed w/ grey Rustoleum Automotive Primer.  It looks ok in the pic, but will look a lot better when I do the whole side evenly.

Graaaaay

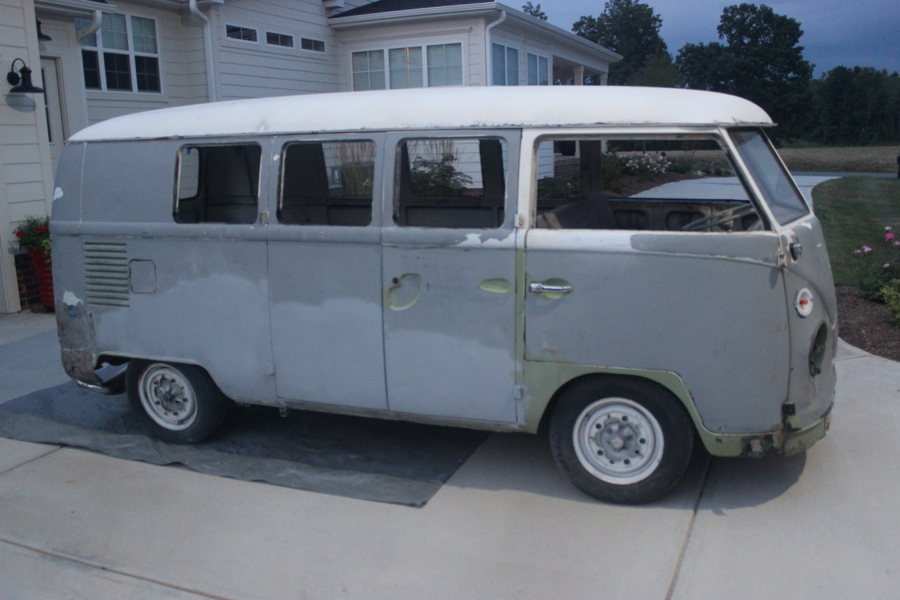
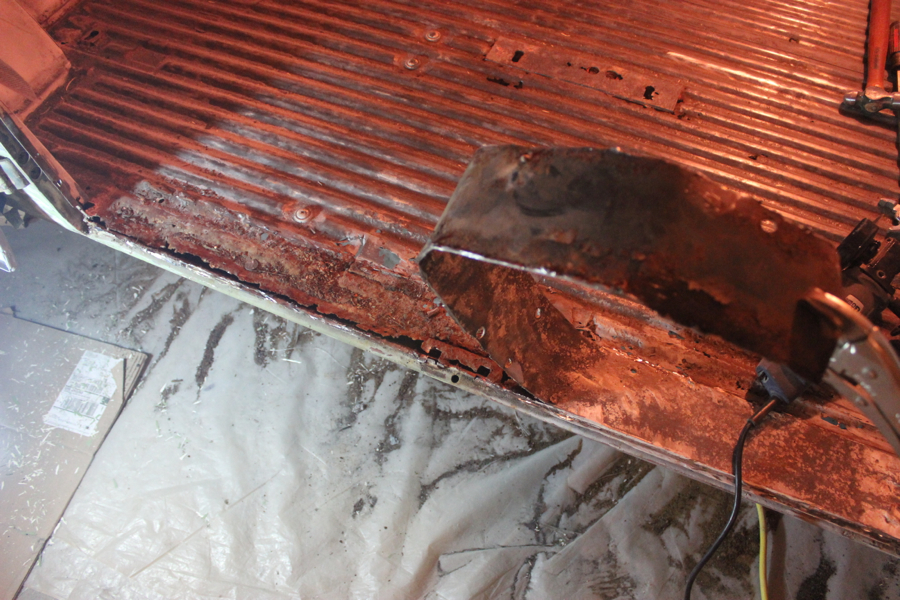
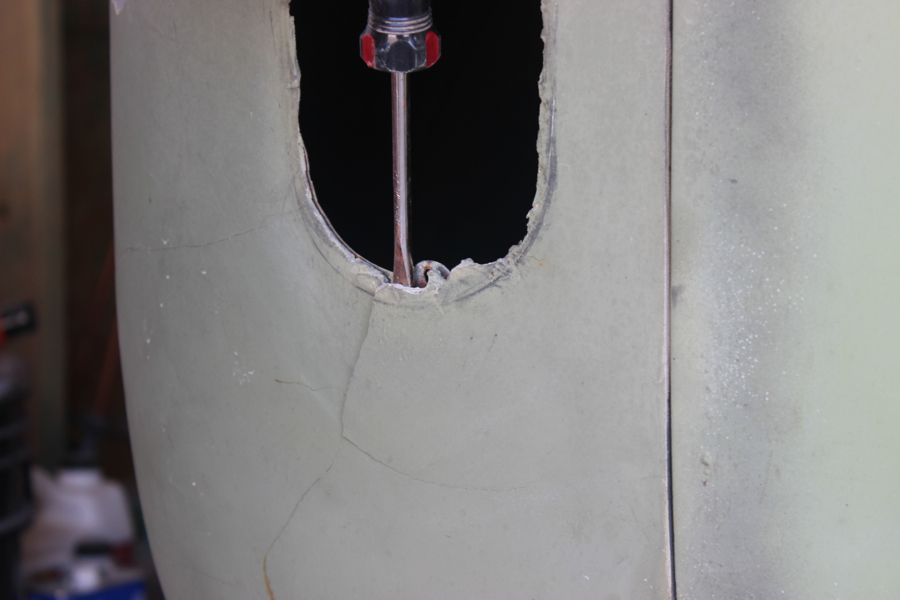
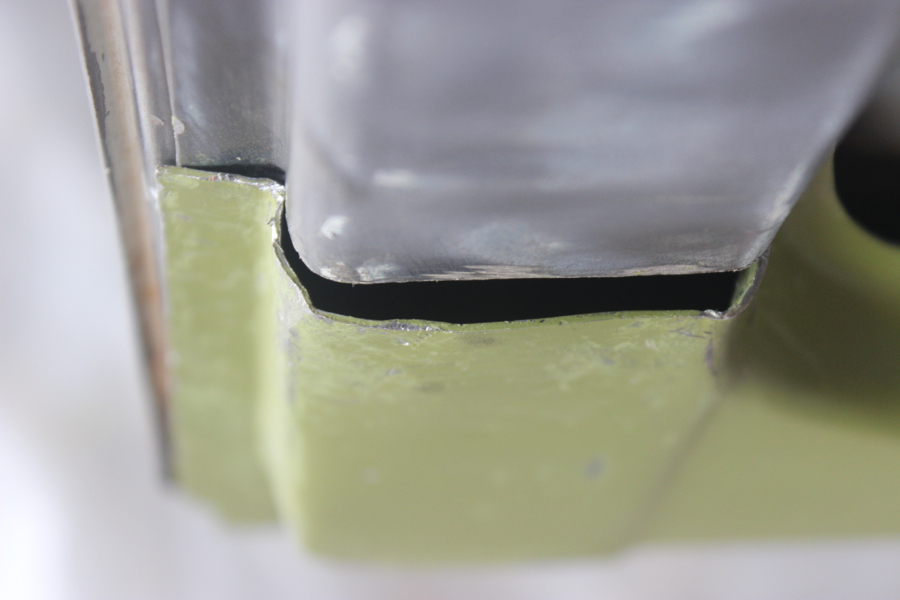
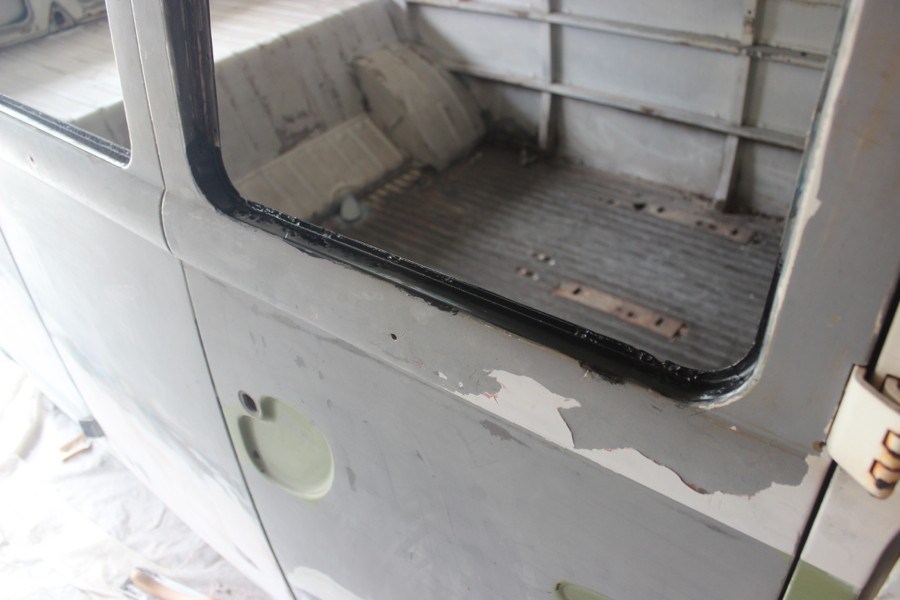
I also cleaned up the window frames and drip rail along the roof – added a couple coats of POR 15 (this stuff dries to a hard shell and is awesome/ expensive!!). I fiberglassed the few holes in the window area, and will add some finish putty to smooth everything out.

POR 15 is cool

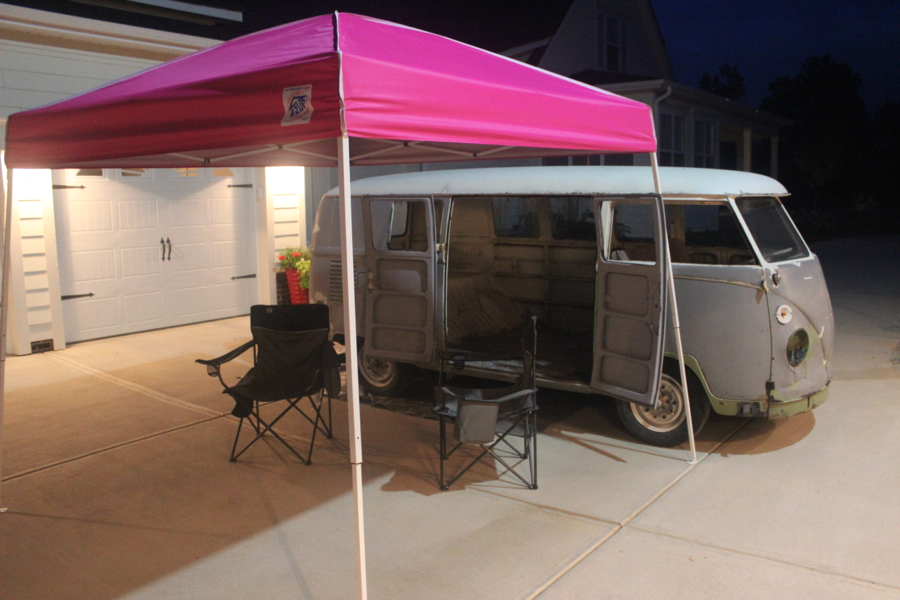
Got Carla and Norm’s 10′ by 10′ awning out to see how it fit next to the bus – I like the size, but hot pink… I’m not sure about that!  Feels good to see what life might be like when I finally get this thing all done.

Glamping hot pink style

Ok so once I get the passenger side done and primered, I will move on to the back end corners and back hatch, and probably the battery tray – then move on to the front dent, then fix the floor when the part comes, then weld the new B and C pillars, then finish cleaning up the interior and the front dash area, then clean each wheel well and weld holes and undercoat the bottom with my POR truckbed liner, then pull the engine and gas tank and fix all that up, then get the electrical put back together, then work the dents out of the front bumper and get those things primered and painted, then get all the window frames and pop out frames cleaned up and reinstalled, then get the safaris installed, then get this stupid bus painted, and at some point I need to go through the brakes and lube up the wheels, then get all the new rubber seals installed (even though we all know they won’t actually fit) then get the camper kit built, and the seats redone, then do some fun stuff like add a second battery and get the food chuck wagon box built, then  … well by then I’ll be like 85 and Noelle and I will reminisce about that one summer when we thought we could fix up a VW bus and drive it around the country – crazies!!

Uncategorized, VW

Front Cargo Door

The front cargo door interior is cut, cleaned up, welded, and primered – Sweet!  I’m getting a little faster at this – we might just get this bus put back together yet.

Beginning Middle Door Finished!

Feels good to start building the bus back up instead of taking it apart… but I’m not quite done with the destruction yet!  I needed to remove this extra piece of metal that was added at some point in the past because the newly welded cargo doors won’t fully close.

Tearing this thing apart

I’m also starting to figure out what to do with the hacked up corner piece – new ones are expensive, and I want to try to fix this one first.  I also need to get a new battery tray and a few other pieces – work continues!

Bottom needs some work


Uncategorized, VW

Just Get it Welded!

This shouldn't be too hard

Well it’s been a pretty slow, tough week for bus progress, but we’re getting there. I’ve doubted myself quite a bit with this whole “body work” thing.  Every time I look closer at this stupid bus, I see a panel that has holes, or some hack job from a previous owner – it seems like a mountain of work!

Basically everything on this bus is slightly cribbled – It’s sometimes original, sometimes hacked, sometimes rusty, or sometimes a mixture of all three. Nothing really seems to come together very easily at all. I mentioned how I was starting with the “easy” cargo door project, but this devolved into peeling away thick layers of bondo and realizing the full extent of the rust issues.  After a few episodes of freaking out in self-doubt and project anxiety, I got to work figuring out this welding stuff.

“This thing is junk!”

Hmm. This thing doesn't work!

It works best if you assume the correct position (I was going to crop this pic, but kept laughing every time I looked at it – I feel like it’s important for people to see me in all my bus working glory!)

Assume the position

Ok now we got this thing working.

Now I'm getting the hang of it

Welded a piece of sheet metal over the heater tube – also finished wire wheeling the floor – whew a lot of work.

Lots of work

Finally, after a week of running back and forth to various tool stores (Harbor Freight is my friend) and fumbling around with welding grinding (and then repeating that process over and over and over) and body hammering and fiberglassing and Bondo-ing and sanding (and then repeating the process over and over and over)…. yeah I’ve decided I like working on mechanical stuff like VW engines… but a love of auto body restoration I do not have!

Before

Should be easy right...

After

Ready for some real paint Finally done and looking good!

The door looks great now that its welded and primered.  I feel great; I’ve learned a ton this week; I’ve gotten over all of my doubts, and now its just a matter of time before we around out there getting lost and breaking down in the beautiful American countryside!!


Uncategorized, VW

Bondo Hell!

Work Work

We dug too greedily… too deep…  and found out that the bus is hiding all kinds of past scars under layers and layers of body filler!

I decided the face of the cargo door needed to be sanded a little – we knew there was at least some Bondo on the thing because it had cracked over the winter. So I start sanding and sanding with the new electric DA sander (another Harbor Freight purchase).

Probably just a little Bondo

After a lot of sanding, the Bondo was all still there… so I got out the grinder and went deeper… a lot deeper!

Or an more than an inch!

Turns out there is like an inch of this stuff, but it almost falls right off.  It looks like some previous owner decided to cover up a huge dent in the door without doing any body work, and without even grinding off any paint!  I’m brand new to all of this, but everything I have read and watched says body filler needs to be applied directly to the sheet metal; if it’s not, it won’t grip the surface at all.  I even read it in the 1989 “Haynes Automotive Body Repair and Painting Manual” that I randomly found on the shelf at O’Reilly – the fact that the Internet wasn’t around is no excuse!!

I start chipping away at it with a hammer and screwdriver.  At one point, I opened up some hidden reservoir of moisture – the bus started bleeding – just great!  This is going to be a lot more work that I thought.

The bus is bleeding...

Noelle gets in on the sanding action.

Noelle getting in on the action

Its a VW Bus Bondo Inkblot – tell me, what do you see?

Inkblot... what do you see?

So after clearing most of the thick body filler from the passenger side of the bus, its clear that it has been sideswiped and gouged at some point in the past.  The rear cargo door is now fully bent in and there are multiple deep dents.  Time to get out the tools!  I bought a hammer and dolly set a while ago, and rented this slide hammer thing from Autozone (only $180… yikes! Better not lose it).

Slide Hammer Time Bumpin and Grindin

After pulling and banging and freaking out and then calming down and then getting somewhat violently mad and then calming back down again, we had worked the door back into its original shape.  It still needs a little work, the dents aren’t as big now though, and at this point I think I can check ‘work auto body sheet metal back into place after a wreck off my (huge) list of things to do before I’m out!

Dent1 Getting there.. Dent2 Pretty good for a newbie! Dent3

We then started on the rear corners – could tell there was a lot of filler, but each corner represents its own version of a nightmare..

It begins again Just a little rusty right? Hmmm

So… I’ve got a few more metal replacement pieces to buy (which I’m sure won’t really fit that well anyways!) We are going to check out the local VW place Monkey Nut VW to see if they sell what we need… Progress!


Uncategorized, VW

Replacement Metal

Doesn't quite line up

Well they definitely didn’t say this would be easy… and they ain’t lying! This post will document the last few days of work – by the end of this bus project, I will either have failed miserably, or will have so much confidence I won’t know how to handle it!

We decided to start with something “easy” – replacing the rotted out lower cargo door pieces.

Should be easy right...

Cut away the old.

Cutting away

I fit the new piece on, except it doesn’t really fit – it seems like the panel is too long and doesn’t match the contours of the original door supports at all… so I start to tweak it and hammer it and pretty much smack it around for a while.

This is after a day of messing around – it kind of looks like the original, but is way out of alignment.

Not quite there

After a lot more hammering and tweaking, and yanking with pliers here and there, I got it to kind of fit.  I know they say you always have to do a little bit of work to the replacement panels, but this seemed excessive, and these pieces aren’t cheap – the repo parts are better than nothing, but it doesn’t do much to help my already way too cynical and generally ‘pessimistic towards anyone who sells anything because it is all crap’ type of attitude!

Thats pretty good

To cap it all off, right before I call it a day on fitting the part to the door, Noelle suggests I try to close the door… well of course the frickin door doesn’t close!  It is getting wedged onto that weird platform thing that some previous owner slapped onto the edge of the floor… perfect.  Looks like I’ve got some more work to do before welding this sucker back together!

But now the door won't close