VW

More Carb Crap

New Carb Engine

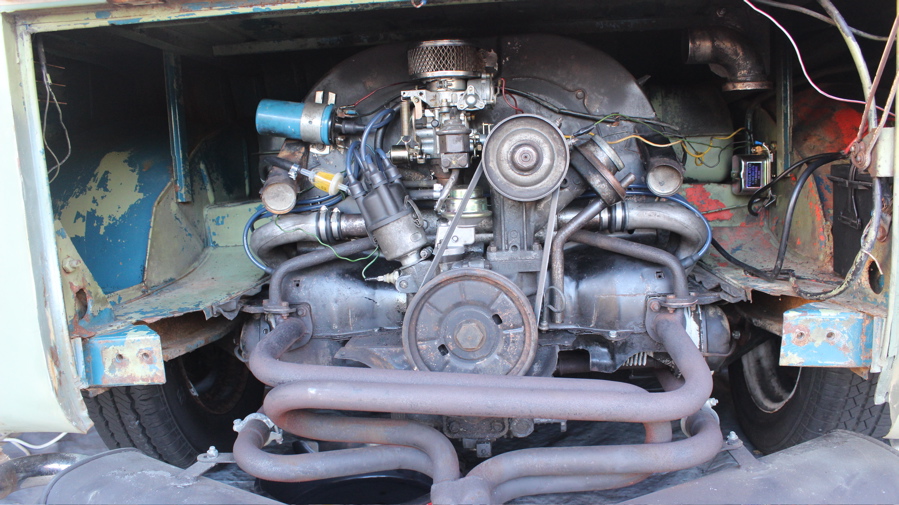
My new 30pict carb and intake manifold arrived in time for me to get some serious work done this weekend.  What follows is a brief account of how I struggled to get this stupid bus engine working again – the end result – yeah it works… kind of.

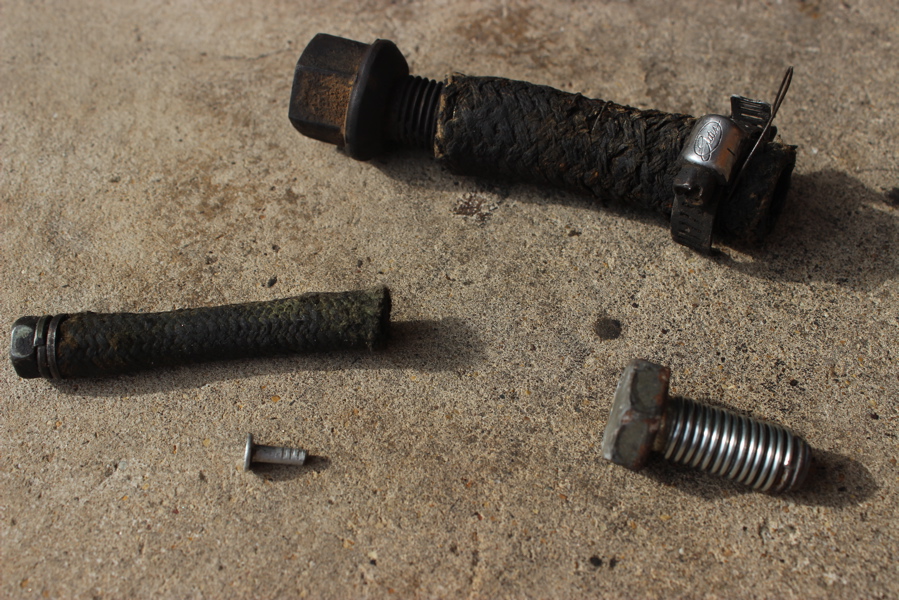
I started Friday by pulling off the old carb and intake manifold.  I had done this before, but for some reason I really couldn’t get the pieces off the engine.  With a lot of effort, I was finally able to rip the old pieces off – the new manifold has detachable heat riser tubes that will make this job so much easier in the future!  I grab the new carb and decide to test fit it to the new manifold before I bolt everything on.  Thats when I notice that the two threaded studs that were included with the carb kit don’t fit into the base adapter plate.  They are just a little to big.  I pretty much freak out – WTF!  I have been very apprehensive that this new carb will be a piece of junk, and it looks like my fears are being realized.  I try to keep calm though – call the local Ace hardware store to see if they have different studs.  I take the new carb to the store, and the guy at the counter is an old VW nut from the ’70’s… Sweet!  He takes a look at the base of the carb, and pulls out a re-tapping kit – quickly twists an 8mm tap into the base holes, enlarging them enough to hold the threaded studs, solving my issues!

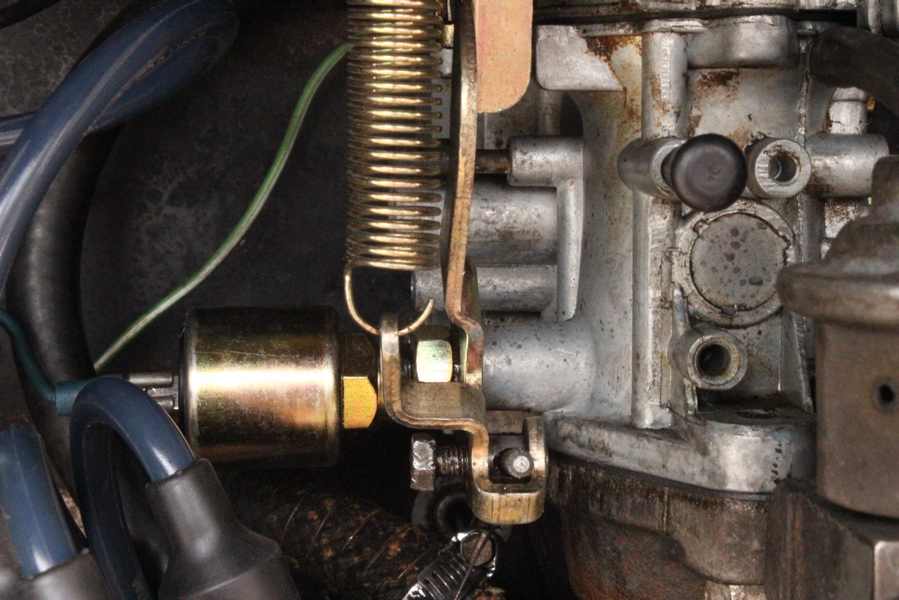
Back at home, I bolt the carb onto the new manifold – and notice my next issue.  The throttle assembly that links to the accelerator pump is rubbing on the base of the manifold – basically, the stupid thing doesn’t fit right!  Again I freak out – I’m ready to call the shop I bought this stuff from, and see what they can do.  Before I give up though, I decide to try and modify the manifold and throttle arm.  I bent the metal linkage ever so slightly to just clear the side of the manifold, and trimmed the new gasket – success!

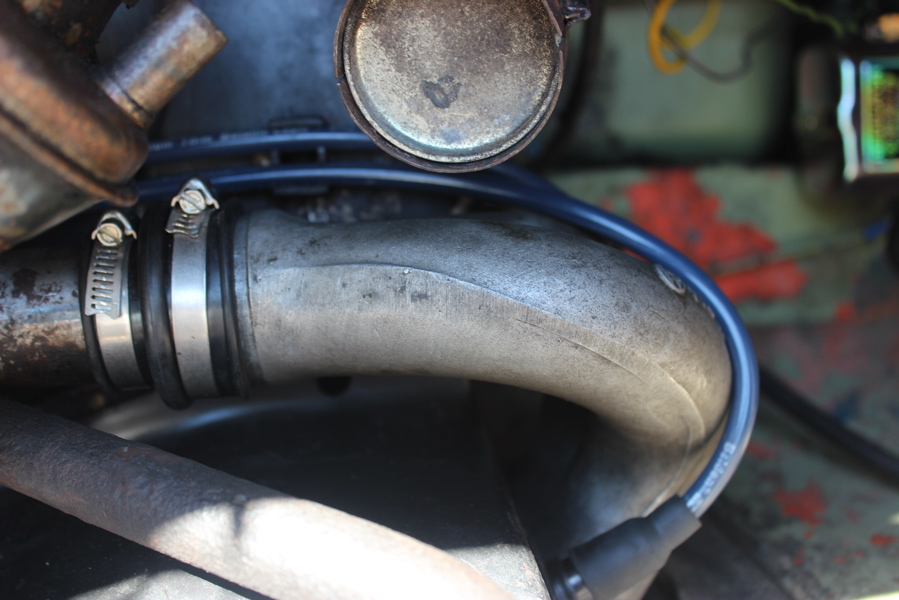
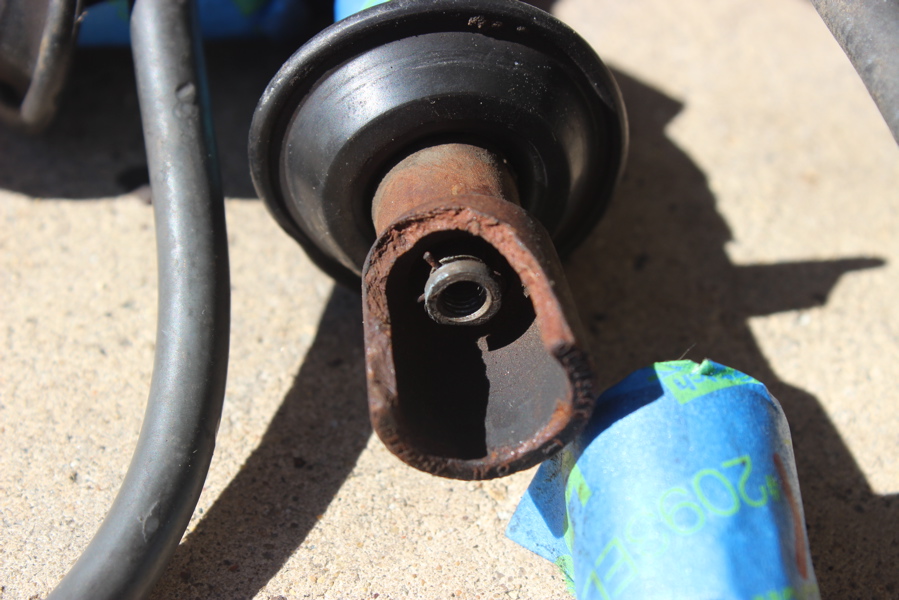
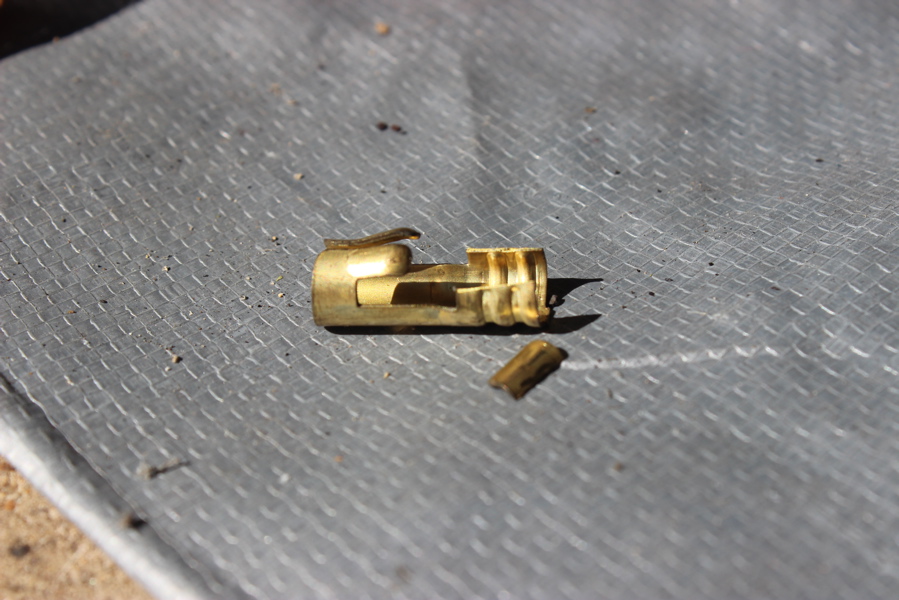
By now its Saturday afternoon – I haven’t taken many pictures because I’m been to focused on getting this stupid thing to work!  Bolt that carb on, reinstall all of the cables and connectors when I notice problem #3 – the electrical connector on the carb is too big for the current connectors on the wires coming from the coil – off to NAPA to get new connectors!  Ok, that problem solved – the last step is to reattached the accelerator cable coming from the gas pedal… but it can’t reach the place where it attaches – WTF! this is problem #4 and its a big one.  I can force the cable to connect to the throttle piece on the carb, but it is stretching, and won’t let the gas pedal all the way up – not good!  I don’t know what to do – I’ve spent two days trying to get this stuff to work, and I have totally failed!

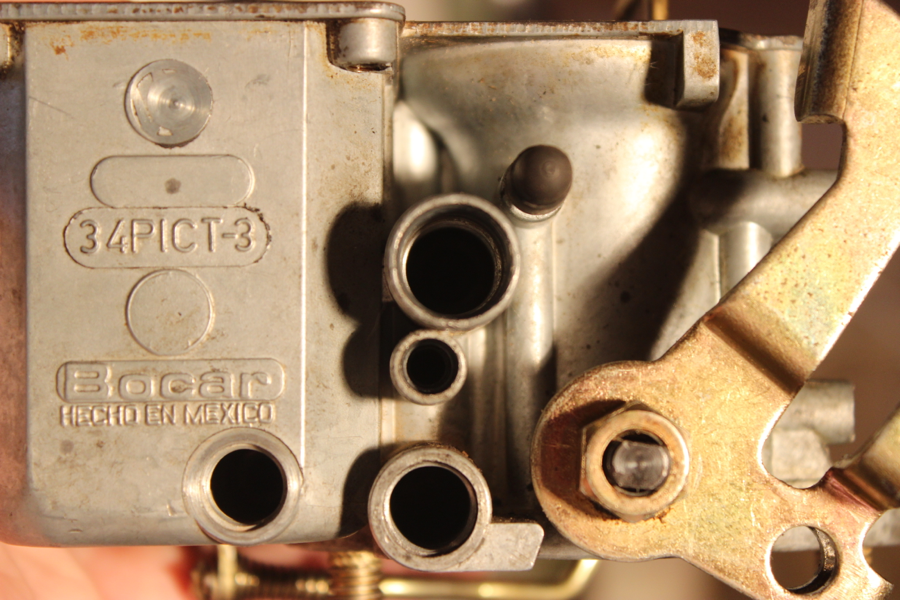
Fast forward to Sunday morning – I removed the adapter plate on the base of the carb (the same one I had to have re-tapped).  This lowered the base of the throttle, giving me just enough space to attach the accel cable – Success!  Until I tried to pull the throttle arm back – now problem #5 – the the carb is lower on the manifold, it catches on the side – oh, and I can’t fully bolt the carb down because there isn’t enough clearance for the two nuts – basically, the manifold is very poorly designed, and just doesn’t work well with the size of carb that I have (remember I’ve downsized from 34Pict to 30Pict…  I’m tired of dealing with this, so I do what I do best – try to destroy everything!  I bought a metal file from NAPA and went to town.  I was able to whittle the manifold sides down just enough to allow enough clearance for the throttle arm – Success!  I can now freely apply full gas pedal, and have everything close up properly on release.

New Carb Engine Running

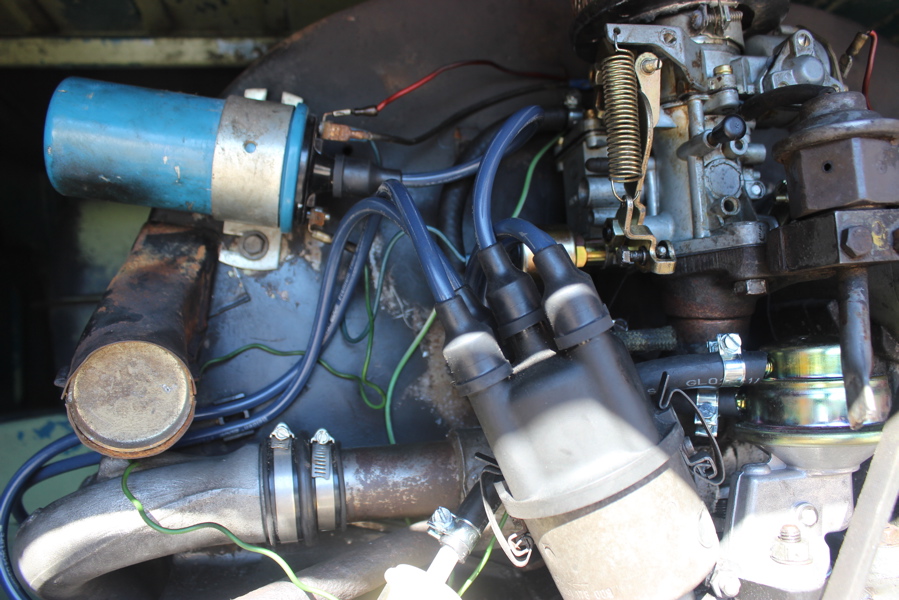
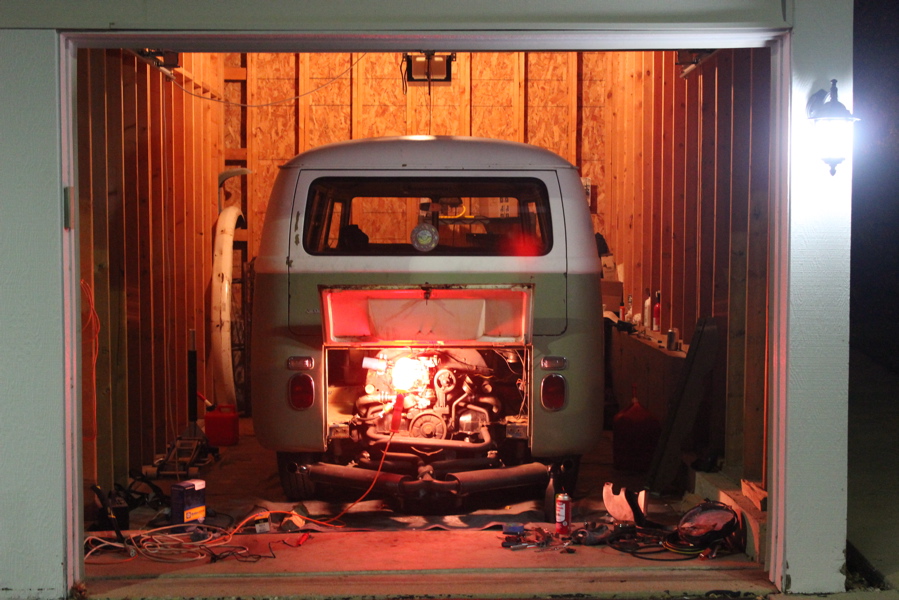
Turn the key, pump the gas – it fires up!  The engine sounds beautiful, and it idles extremely well – even when full warm!  My problems aren’t completely over – it struggles to start, which might be a result of timing, or maybe I’m flooding the carb?, and I think I still have a small air leak at the base of the new carb – and the starter seems to be making some weird noises.  I’m sure I will address all of these issues soon, but in the mean time, I have a working engine again!  It took three days, and a ton of stressful one-off workarounds, but I’ve got this thing running again.  Yay!

Uncategorized, VW

Still Doesn’t Work!

Bocar Carb

Quick update on my carb progress – I haven’t made any!

I pulled my problematic 34pict 3 carb off the intake manifold again this week.  I’ve noticed a large air leak through the throttle plate bolt, and I tried to fix it.  It didn’t work – I pulled all of the jets and adjustment screws out, flushed everything I could with carb spray and compressed air.  I tried to tighten the bolts around the throttle plate, and sprayed the crap out of it to see if that helped.  Bolted it back on the engine – fired right up, ran beautifully…until it didn’t anymore. The engine starts to idle rough, and will eventually die as it warms up.  I can keep it running if I spray the carb cleaning fluid at the throttle bolts, or the blocked off intake ports.  Its all junk!

Carb Jets

I feel like I have given this carb my best efforts, and Noelle is ready for me to finally get this bus on the road – i bought a new stock intake manifold and a replacement 30pict carb from a shop in Cali.  I went with the older style 30pict instead of the 34pict based on some internets research, and the advice of the dude who sold it to me.  I don’t want to assume everything will just work when I get it all put together… but that would be awesome – the stuff shipped today, so I’m hoping my next post is all good news!

Uncategorized, VW

Fixed the Leak! (Kind of)

Throttle Arm

So I found the air leak that was causing the engine to backfire aggressively. I was pretty nervous that I would have to pull the whole intake manifold back off, but that wasn’t the case.  I also spent some time this weekend on a couple of non-engine related projects.

First, the engine – I loosened the heat risers, and right end casting, I wiggled it around a little, adjusted the rubber boot, bolted it back down securely.  Fired up the engine – its started right up and ran beautifully – Success! However, as soon as it warmed up, the idle became more erratic to the point that it died.  So it obviously still has issues.  It dies when the engine is warm, and can be difficult to start back up.  On Saturday, it died to the point that I couldn’t get the thing started back up – I gave up for the day, but came back renewed on Sunday!

The bus still wouldn’t start, so I tried something new – spraying carb cleaner (starter fluid) into the carb fuel bowl.  This worked, the bus fires right up!  This probably means that I have some kind of fuel delivery issue.  I have a new pump, but I’m pretty sure there is gunk in the gas tank – I don’t know if this is causing all of my problems, or just adding to them.  Either way, as it was warming up, I sprayed that carb cleaner on everything I could to find any signs of vacuum leak – thats when I finally found it (them).  The engine revved everytime I sprayed the throttle arm bolt, and the two plugged hoses coming from the intake manifold.

Manifold Plugs

I removed the old hoses and tried to plug the manifold holes with these ingenious solutions – but of course that didn’t work – so I ended up cutting the broken ends of the old hoses, and reinstalling them with tightened clamps.  That definitely stopped the air leak there, however I still have the throttle leak.  According to my research a leak in the throttle area usually means the end of the life of the carb, but I’m going to pull the thing off and try one more time to clean it, and tighten everything up.  If that fails, I’ll be getting a new carb set-up!

E-brake Fixed

E-Brake Close

I also made some progress on the e-brake.  The little piece of metal in the handle wasn’t catching on the teeth at the base.  I sprayed penetrating blaster, and smacked everything around with the hammer.  That worked – I can now engage the emergency brake handle – progress!  Unfortunately, the cable ends aren’t actually attached to the rear brakes.  I don’t think re-attaching should be that complicated, however I would need to pull the back wheels off, pull the brake drum, and adjust the tension of the cables.  Given how difficult it was to get the back tires on and off (the bus has been lowered, and none of the rear suspension is stock), I will pass on that job for now – maybe get the shop to do it once I take it in.

Bus Bumper On

Finally, I tried attaching the front bumper.  By the end of the day, I have it on the bus, and it fits great!  The bumper itself has quite a few scrapes and dents, and is missing the front overrider tube gear.  I haven’t decided if I’ll try to restore that one, or just sell it and buy new.  I also struggled to figure out what size bolt is needed for installation (yes I looked in my Bentley manual – it mentions 8mm, but that didn’t seem to work).  Finally, a few extra bolts from an IKEA piece did the trick – go figure!  I’ll pull those bolts and see if I can find some automotive grade versions, but in the mean time I’ve got the thing looking good – Another fun weekend making tiny incremental steps towards a fully functioning VW camper bus!

VW

Found the Leak!

Cleaned Engine

Here’s another picture of my slightly cleaned up, and always tempermental air-cooled bus engine (actually a 1974 Super Beetle bastard engine).

Right Casting

I got the newly cleaned intake manifold back on, complete with new rubber boots and heat riser gaskets.

Old Spark Wires

Broken Spark Wire

New Spark Wires

Left Casting 2

I also replaced the spark plug wires because they were looking rough, and one of the connectors had broken off as I pulled it out of the distributor cap. The new ones have rubber ends that make a really nice seal against the engine case – I’ve heard this can lower the operating temps.

Everything is looking good, so I decide its time to start this bad-boy up!  Unfortunately, the engine immediately started backfiring.  I rechecked my timing, made sure my new spark wires were hooked up correctly, and tried to tighten everything down.  I got it to run a little, but it still backfired a lot.  Eventually, I figured out that I have air leakage coming from the right end casting.  I will try loosening it, and refitting to the cylinder heads – hopefully I can get the engine running well in a matter of days!

I made another thrilling video documenting my struggles, which helped me diagnose my latest round of engine trouble – enjoy!


Uncategorized, VW

Generating New Problems

Generator Broke 1

I’m working to get the engine put back together.  I’m really hoping I can get this thing to work soon; I want to be driving around before the Chicago weather takes a turn for the worse (and then stays there for 5 months).

I started putting the manifold back on.  The gaskets that came with the new rubber boots to connect the end castings to the cylinder heads don’t fit… at all… but the original aluminum gaskets are still in place. I eventually got everything to slide into place, and snugged down securely.  It’s very possible that something on the manifold was causing my vacuum leak, and the cleaned up parts look solid.  I then moved on to the generator – got it shimmied back into the fan shroud, and strapped down.  I filled the carb bowl w/ some gas, replaced the top, and placed it on the manifold.  After dropping the front tightening nut underneath the newly secured manifold (and spending like 2 hours trying to get it out) the carb was set up and ready to go.  The last step was to reconnect the electrical wires to the carb and generator – easy!

Generator Broke 2

Except that as I tightened the DF ground terminal on the generator I heard a SNAP, and the thing started spinning around with my wrench…uhoh… I broke the little wire inside the generator that grounds it to the voltage regulator. Not good! For a second I freak out – I’ve just spent all night putting these stupid engine parts back on, this was the last step and it should have been easy, I don’t know what I’m doing, I can’t do this!! Ahhh!!

Solder Iron

Generator Fixed

Ok, so after I went inside in a huff, I realized that I can probably fix it fairly easily by re-securing the terminal, and soldering the little wire back to the connector end.  So thats what I did – I’ve never soldered before, but I bought a little soldering iron a while ago – watched a couple YouTube vids and went to town.  It probably isn’t the prettiest solder job, but it seems to have worked.  I hooked the generator up to the battery to polarize it, and it spun around quickly, just like it was supposed to. Success!  I carefully attached the voltage regulator wires and called that project complete.  I’ll finish hooking everything up, and finally test the engine this weekend.

Bus at Night

This picture is pretty much every night for me right now, but honestly, I can’t complain.  Even though this bus has been one problem after another, I have thoroughly enjoyed working on it, and learning everything as I go. While I’m spent most of my time troubleshooting and fixing, I’m really looking forward to the day when we’re out there road-trippin to some campsite!  My motto: Keep calm and carry on!