This post is about 3 weeks in the making. I bought three original Hehr jalousie camper windows a few weeks ago, and planned to do a complete restoration. A couple hundred bucks and more than a few hours of blood, sweat, and aluminum polishing later, I’ve got some great looking camper windows for the bus!
This post will be a little long, but I’m going to walk through the steps I’ve taken to get these windows looking good – this is the first real resto project that I’ve undertaken; it took a lot longer than I thought, but overall I’m very happy with the results. I’ve got two of the three done, and plan on selling the extra window to recoup at least some of the costs. I used this Samba post as my primary research, and I definitely appreciate all of the people who have attempted this crazy project on their busses!
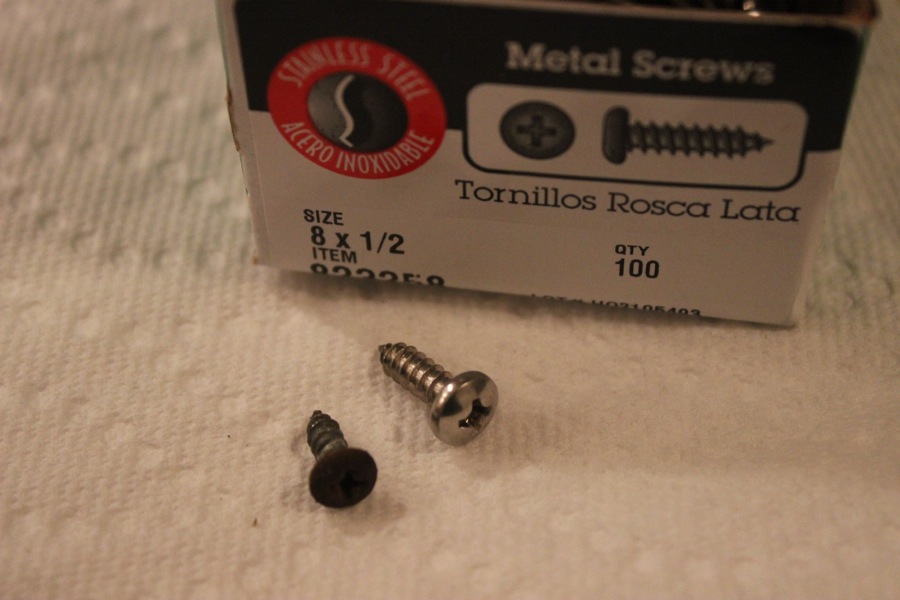
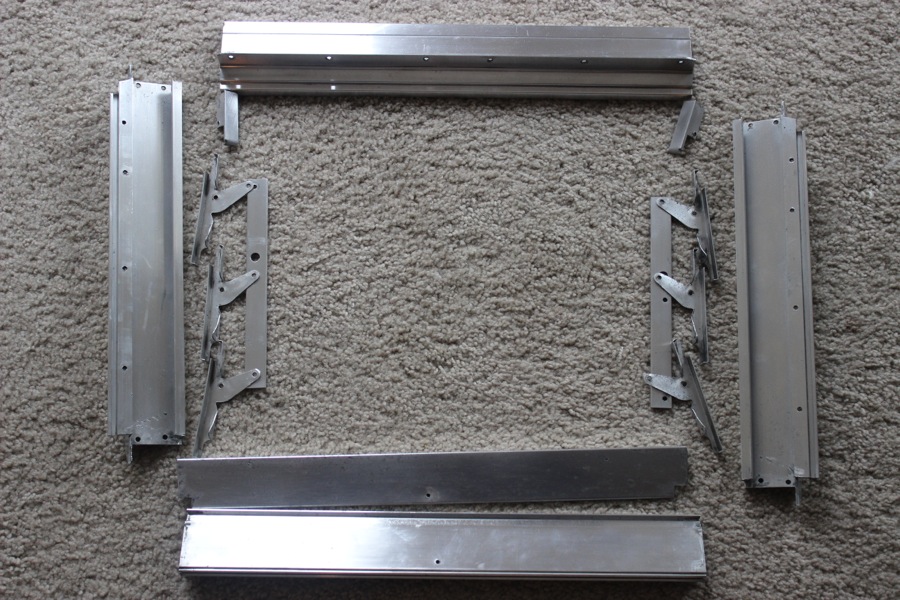
Step 1) Start taking the window assembly apart by removing the outer frame screws. My windows came off a 1967 camper in Pennsylvania, the frames are complete, and in decent shape, but all of the screws and rivets are old, rusty, and crusty – they need replaced.

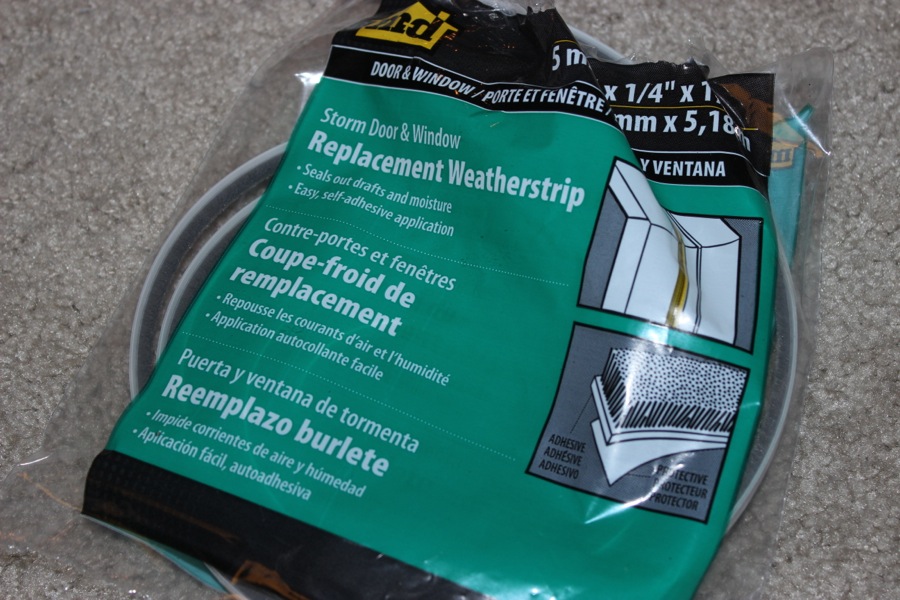
Step 2) Pull out the fuzzy weatherstripping, and the rubber exterior seals. You can buy these replacement kits from Wolfsburg West for $25 – looking back, I probably should have just gotten them, but instead opted to find my own cheaper replacements, and reuse the original hard rubber seals.
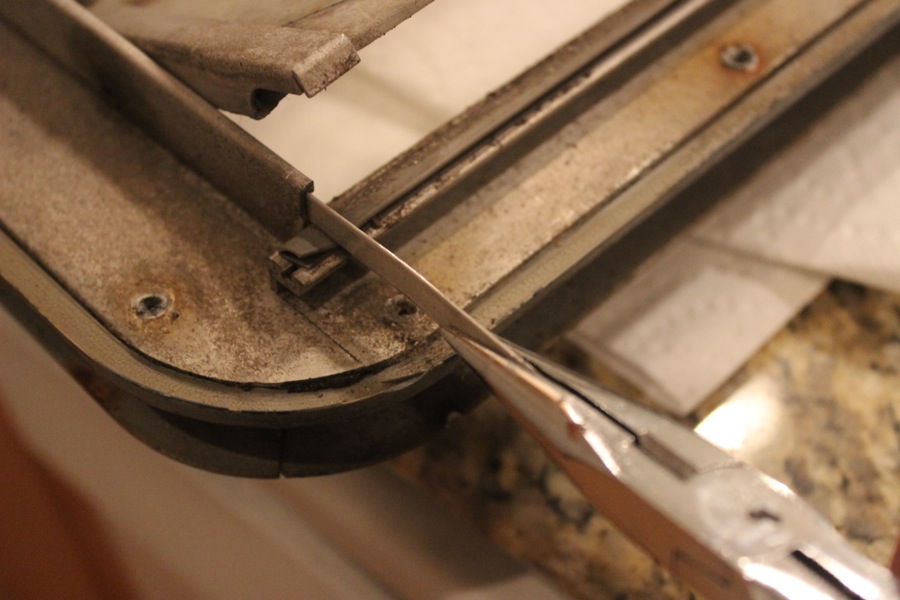
Step 3) Pry off interior spacer frame. This thing is stuck to the exterior frame with rubbery grey sealant. I put the window aside and cleaned this frame first ( I didn’t do that for the first window, and it was somewhat demoralizing to get all of the pieces of the window cleaned only to realize this stupid frame is still sitting there all caked in crud). I will replace the grey sealant with modern silicone caulk.
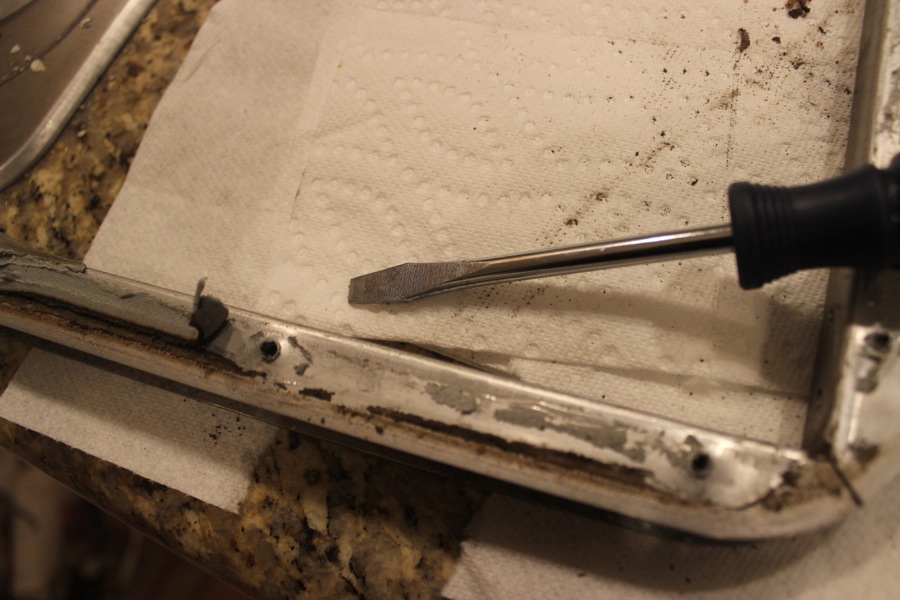
Step 4) Remove one side of the window frame – carefully pull out the glass. This is by far easier than trying to pry the glass out from the back with the frame still together. I had a couple screws that were rusted tight and stripped out. I saturated with my illegal-for-individual-use Kroil penetrating oil, and then eventually needed to grind in a slot for a flat-head screwdriver before I was able to get them out.
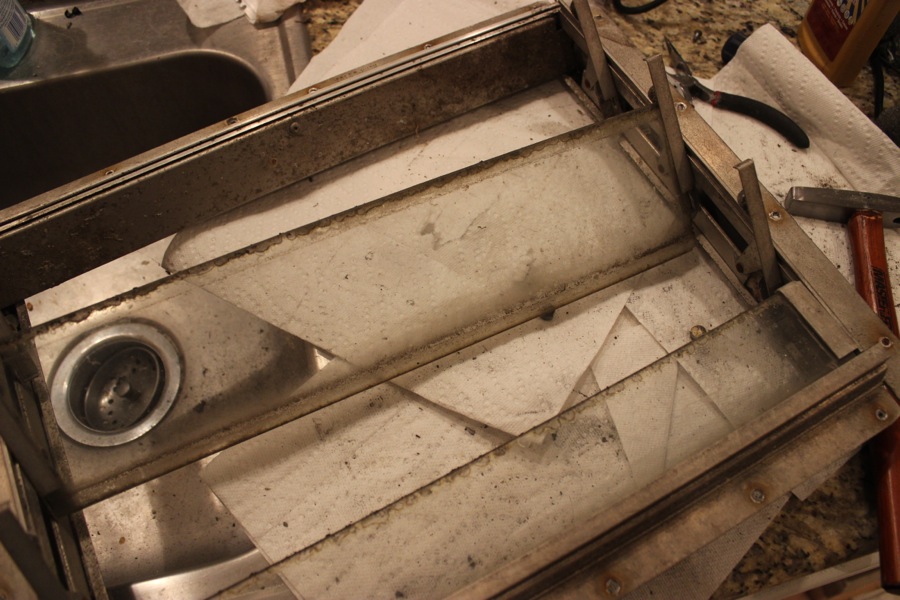
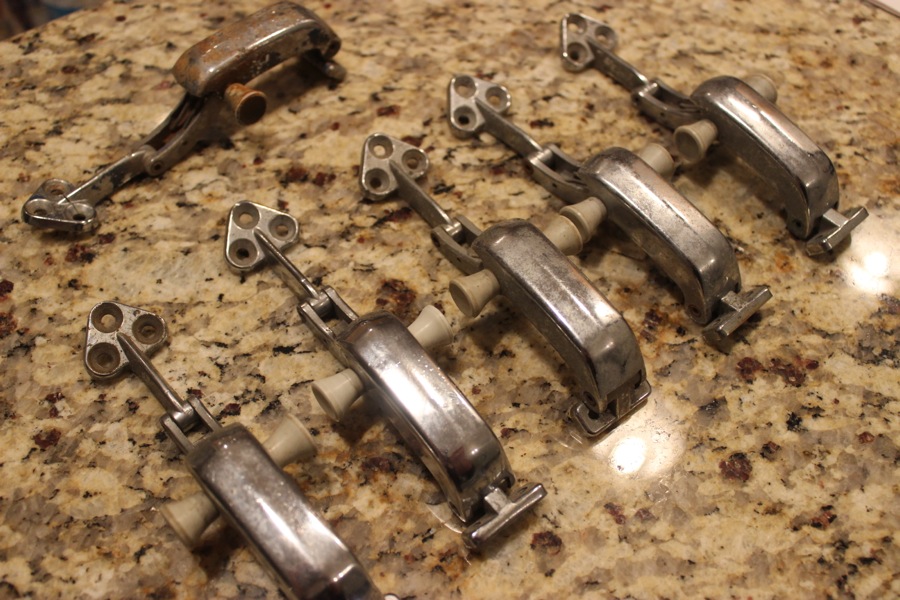
Step 5) Disassemble rest of window frame; I did one window at a time so I could remember how to put everything back together.
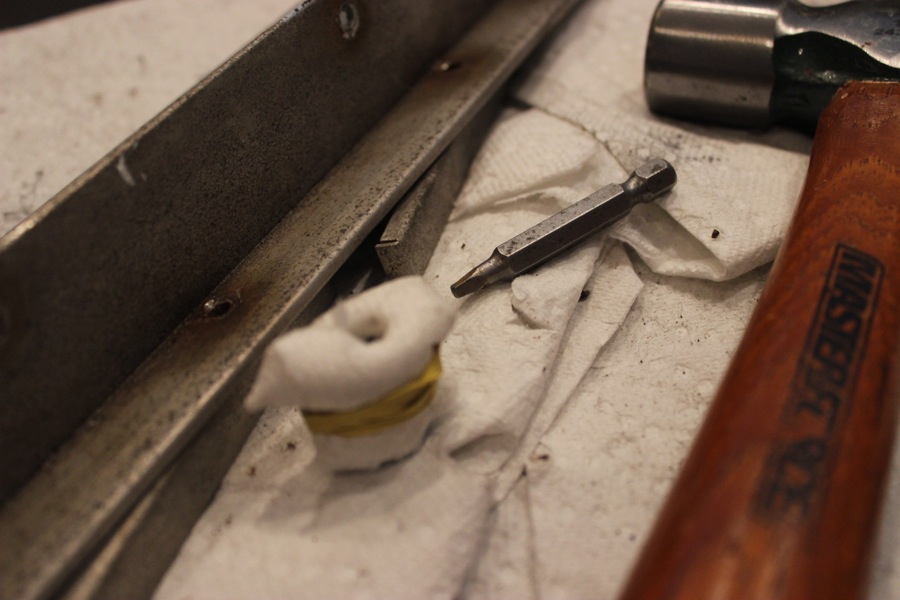
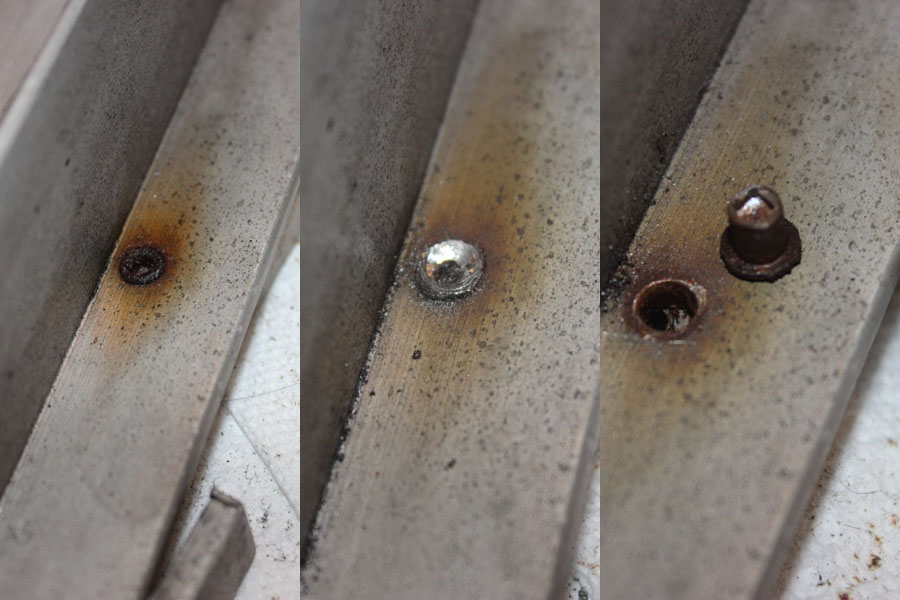
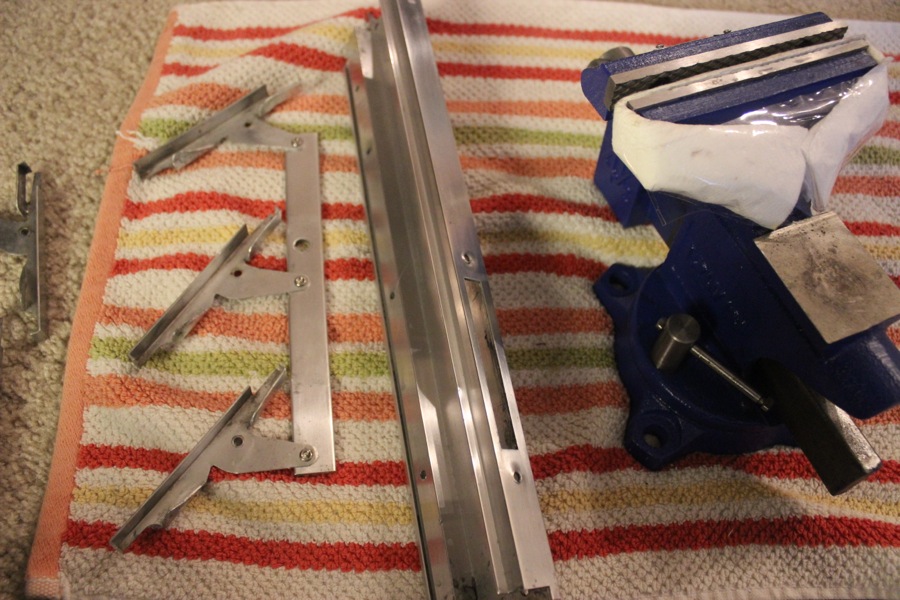
Step 6) Drill out old rusty rivets. I struggled for a bit to get a good system for this. My method: drill off the end of the semi-tubular rivet; with the end gone, punch the old rivet out of the hole using an old square drill bit. I put a paper-towel cushioned socket under the rivet to avoid smooshing or warping the soft aluminum pieces. This project was frustrating because the slightest error or excessive force would result in an immediate and irreversible scuff mark or dimple in the metal!
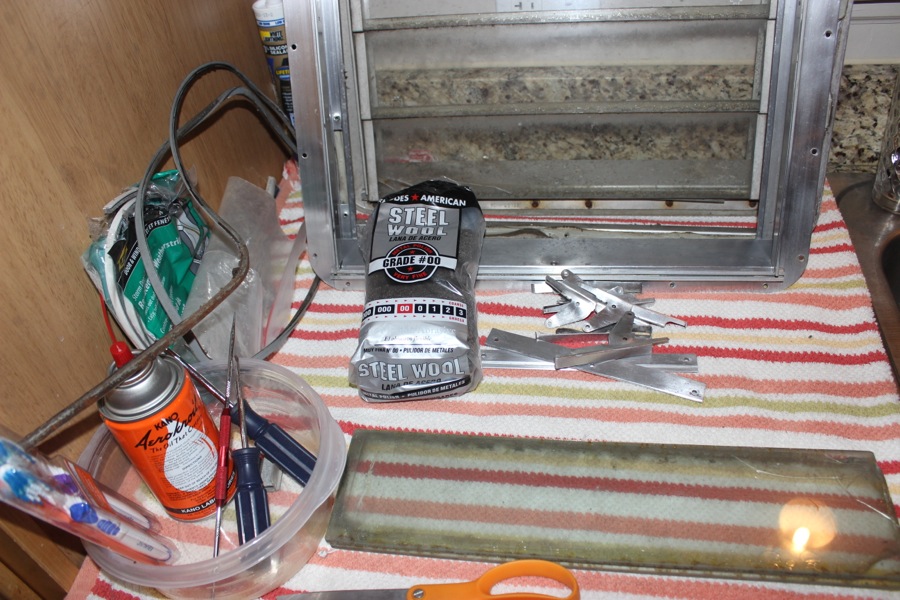
Step 7) Clean window frame pieces. My method: wipe with wet paper towel to get started, scrub vigorously with 00 fine steel wool with a glob of Brasso aluminum polish, use a stainless steel dremel wire brush for any stubborn spots, another pass with Brasso steel wool, and then a final pass with a clean steel wool pad. I also used the nylon polishing wheel and felt buffing wheel attachments for the small holder pieces. The first window took me a week, the second window 2 days, I’m hoping the third goes even better.

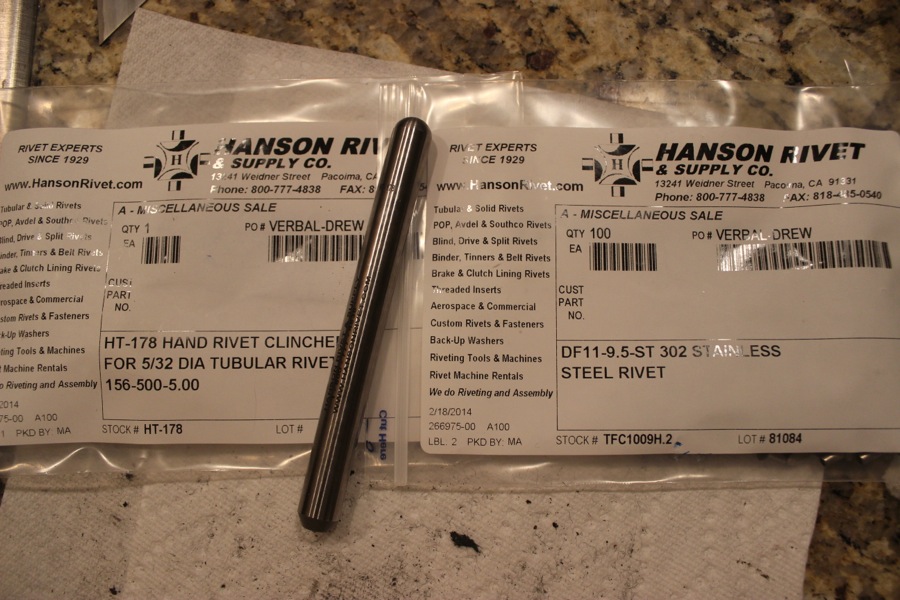
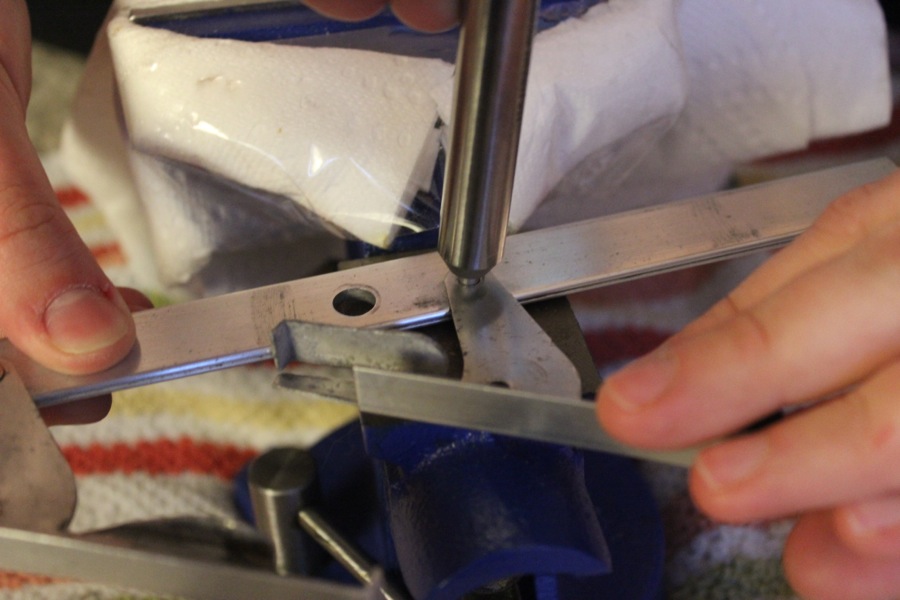
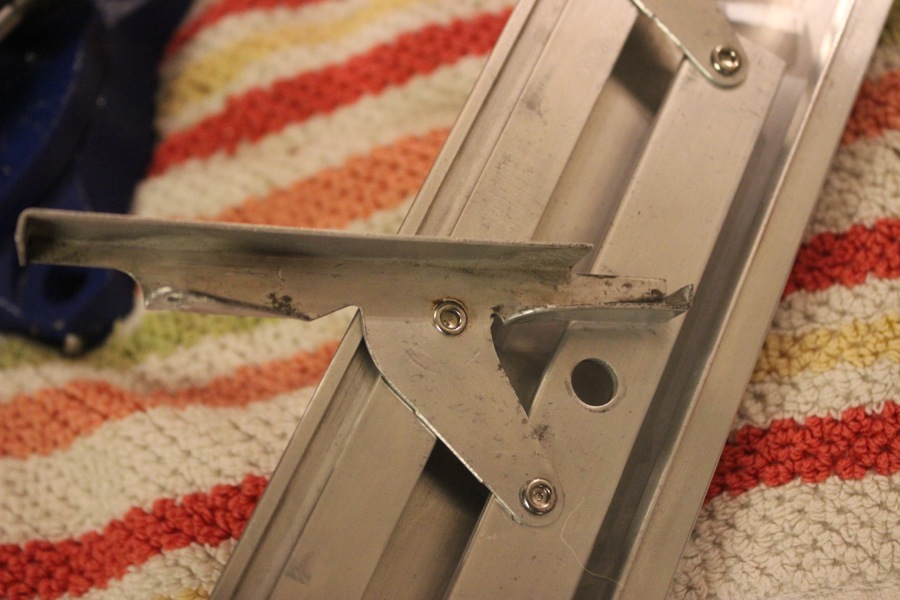
Step 8) Replace rivets: This was particularly challenging. I got replacement rivets from Hansen Rivet in California. I used the Samba post mentioned above to purchase the right stuff; got 100 semi tubular rivets, and the “rivet clincher” tool that I needed to fold over the tubular part of the rivet. I ended up buying a bench vise to use as a suitable spot to hammer against. I also convinced Noelle to hold the pieces while I slammed away at the clincher with my hammer – I made a few mistakes with some scuff marks and split rivet heads, but after doing 24 rivets so far, we are getting really good!
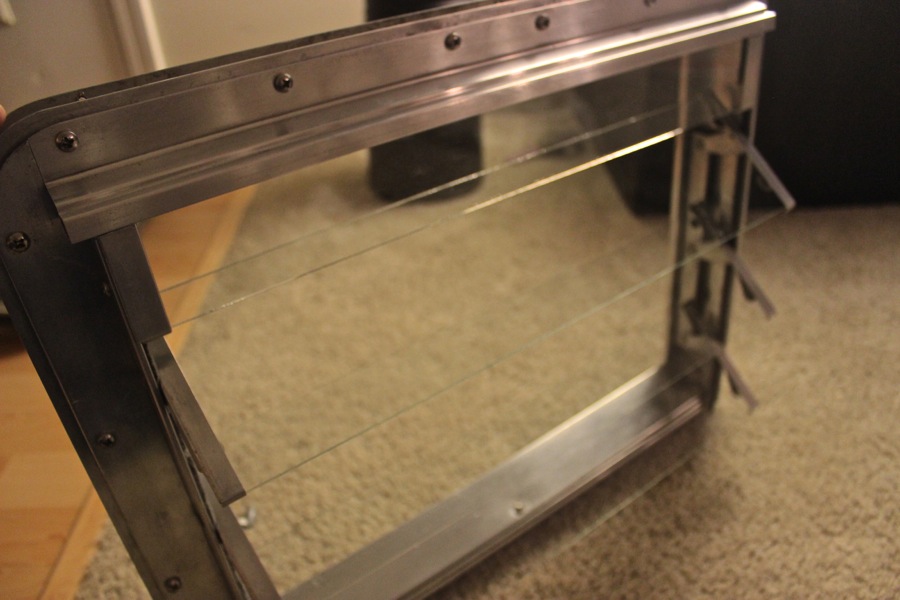
Step 9) Reassemble 3/4 of the window frame – I left one side open to slide in the new glass
Step 10) Put in the new rubber glass holders (I used clear sticky cabinet door stoppers from Hobby Lobby). Insert the jalousie glass pieces into each frame section.
Step 11) Attach the final frame piece, attach the window mechanism and breath a sigh of relief!
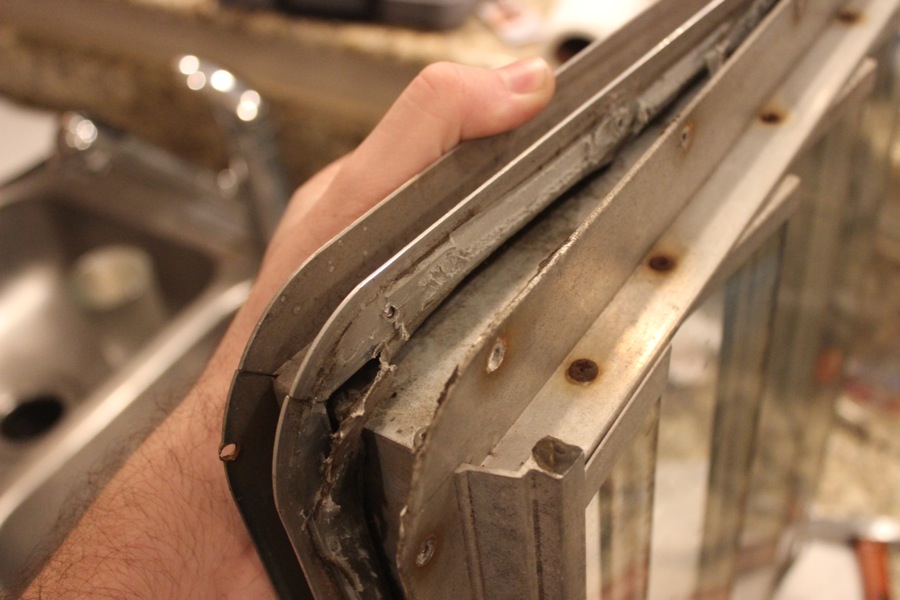
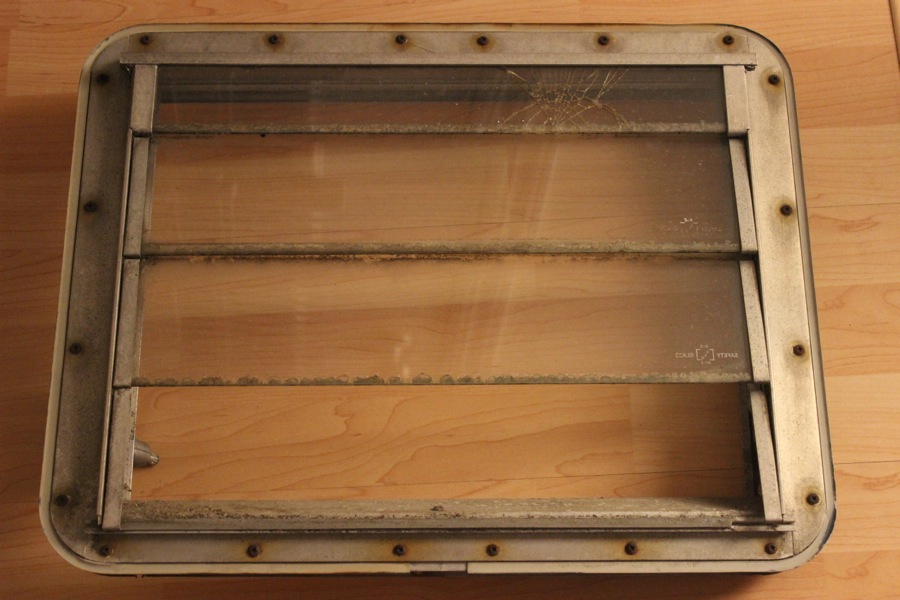
Old window:
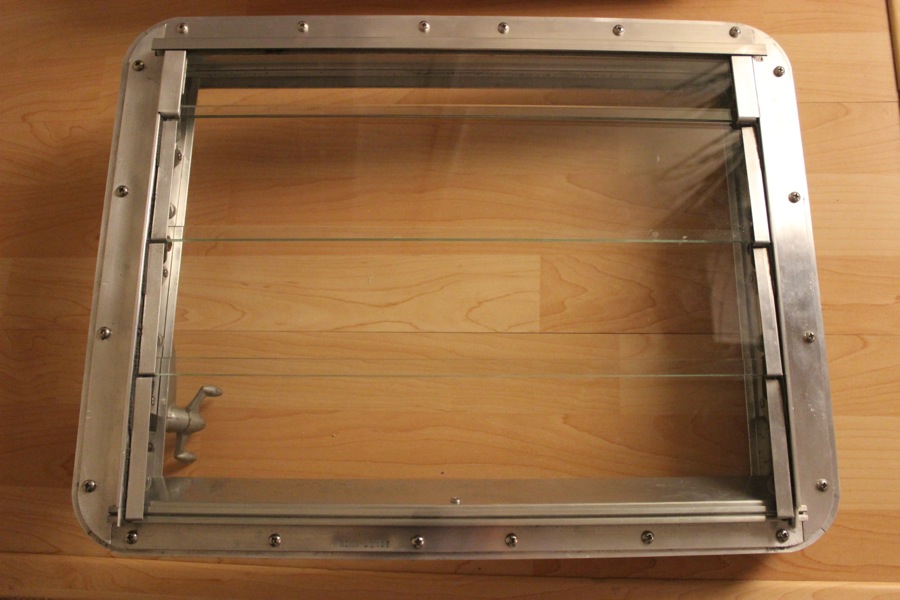
New window:
This project was difficult, tedious, and had way too much opportunity for error! Having said that, the windows look awesome, and it feels good to be restoring this stuff from the ground up. I spent more on this project than anything else so far: $170 for the windows, $115 for the new glass, $54 for the rivets and tool (includes shipping), another $50 or so on screws, cleaning supplies, etc. I’m not counting the cost of the bench vise or dremel tool – that’s just overhead, and I’ll use them on other projects. I also haven’t applied new silicone sealant to the frame, but will do that when it comes time to install in the bus.
Whew! That was a long post for a long project (and I still have one more window to go!)