Uncategorized, VW

It’s All About the Carb

Carb Main Jet

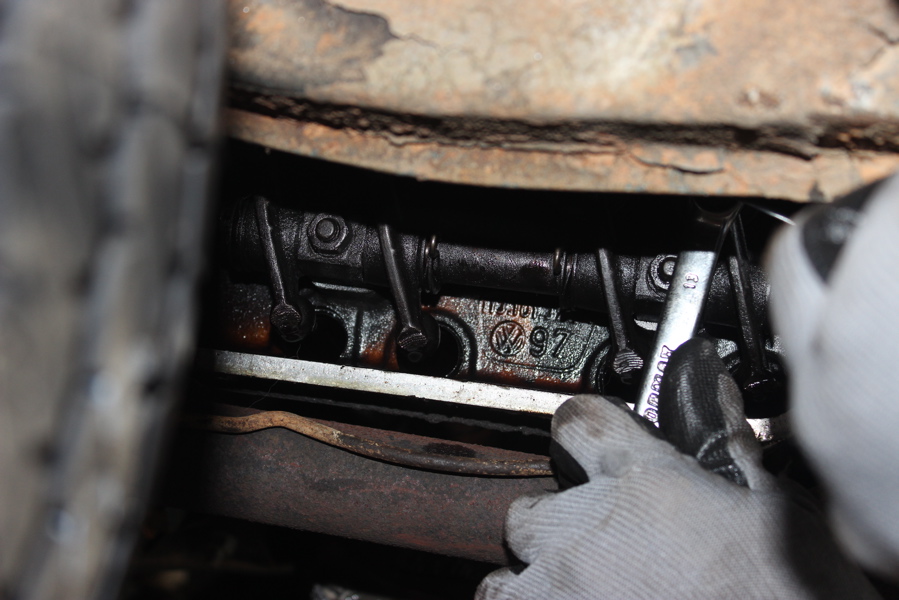
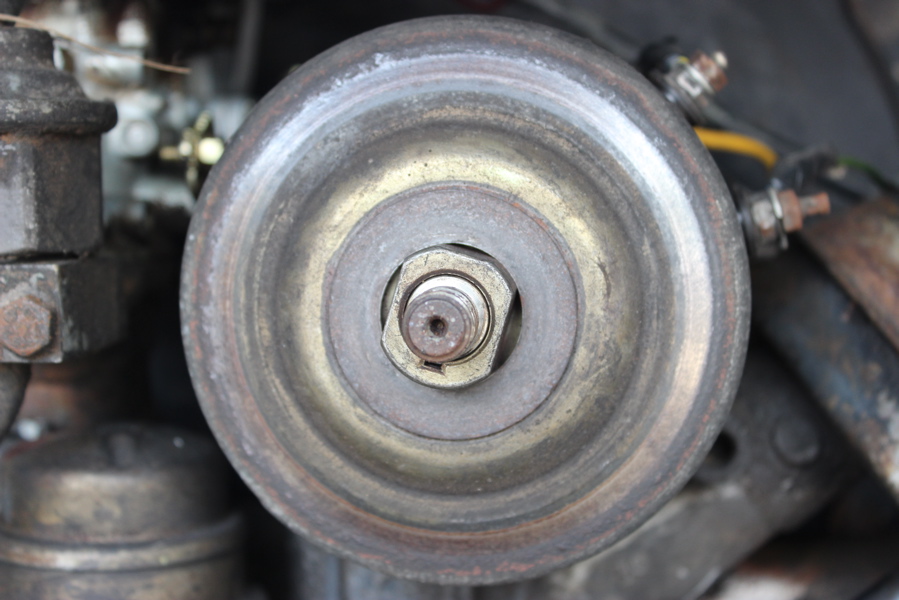
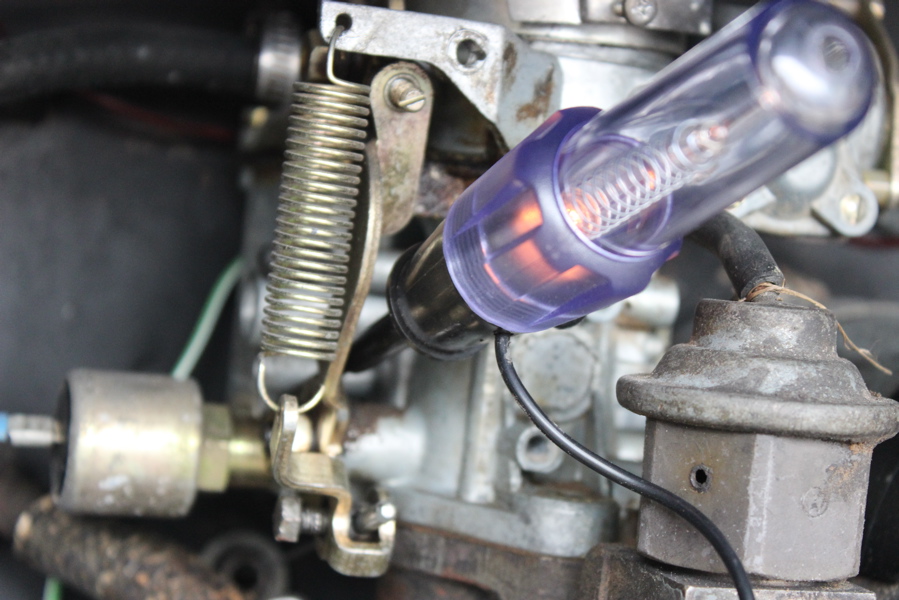
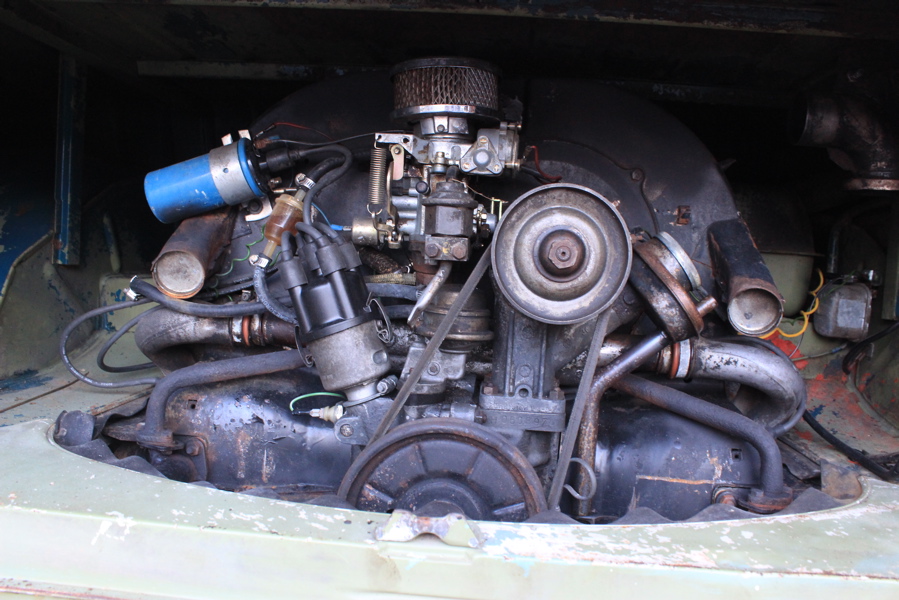
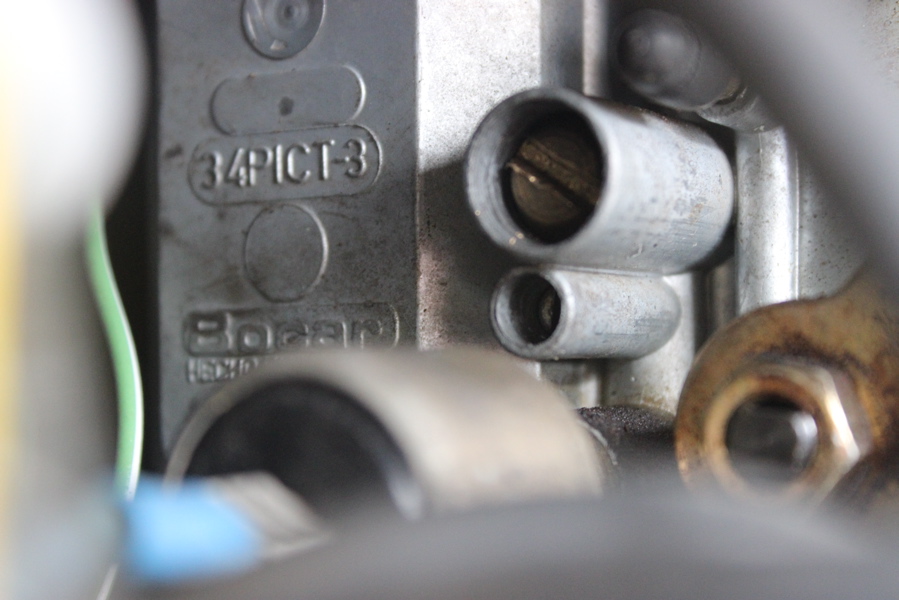
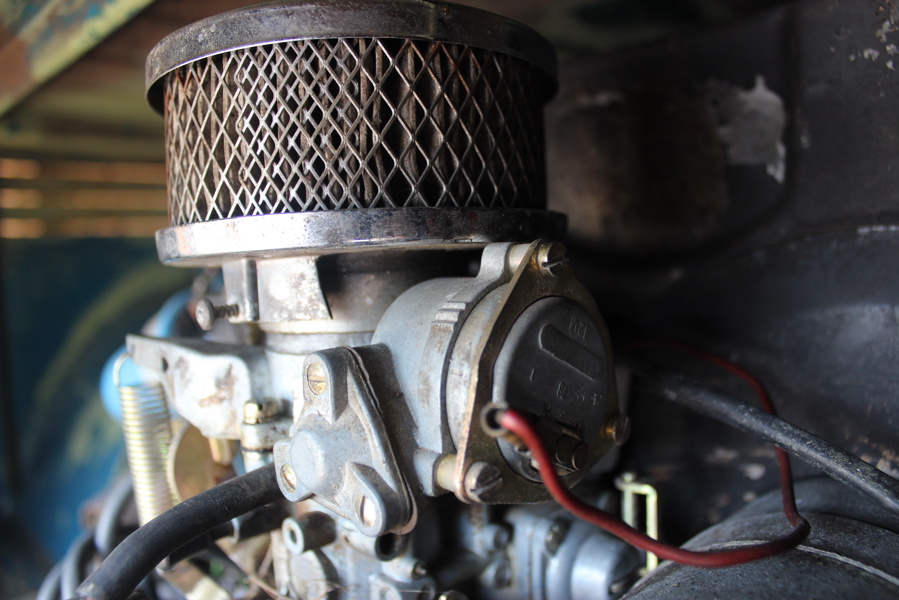
All weekend – I tinkered, I read, tinkered and adjusted some more, read some more… This is what I did all weekend. So far, I have learned a crazy amount of information about how VW carburetors work, and I have adjusted and tinkered with every available aspect of the devilish Bocar 34Pict-3 that sits atop my 1974 Super Beetle bastard of an engine. Finally, Sunday evening, the bus starts right up, idles smoothly, warms up, keeps on idling, shifts into gear cleanly, and most importantly – doesn’t die every time I come to a stop – Success!

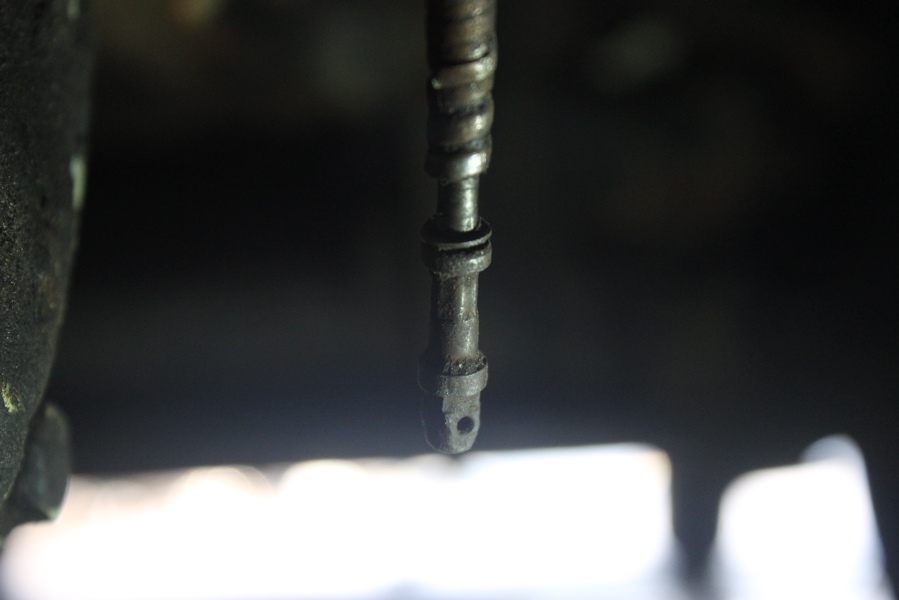
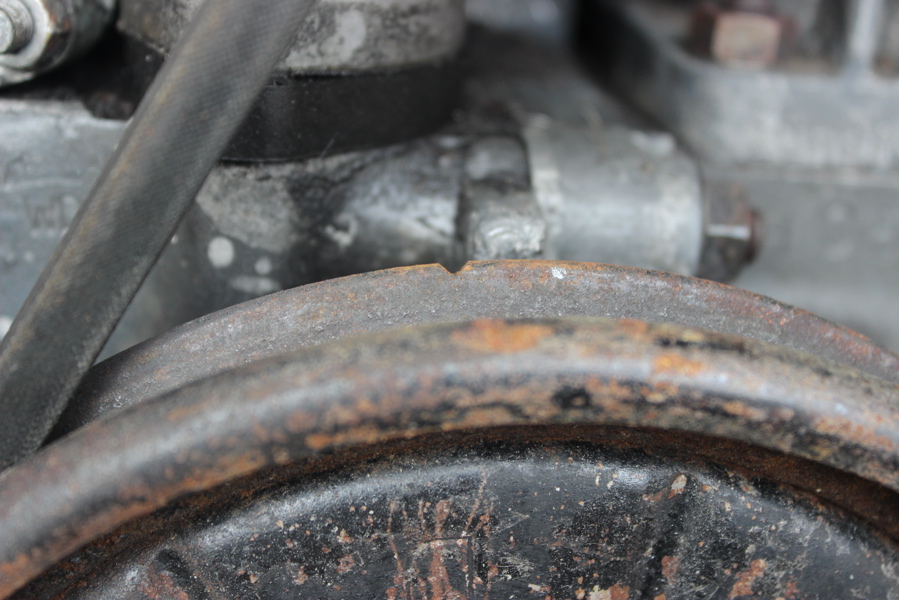
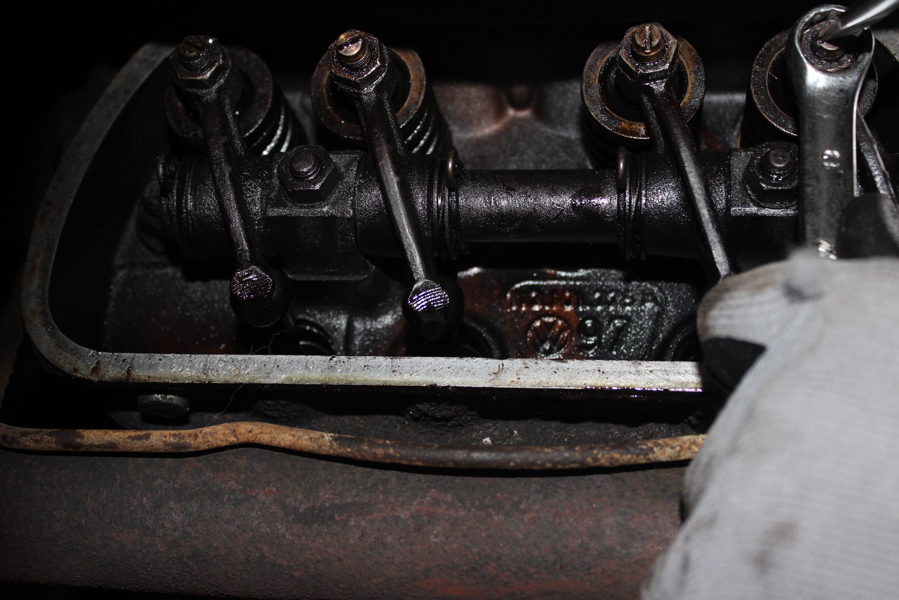
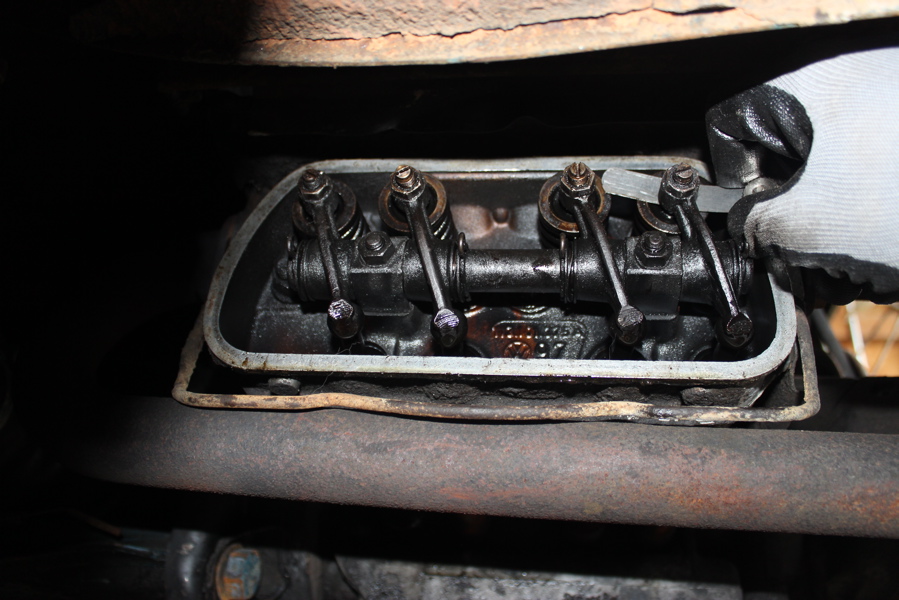
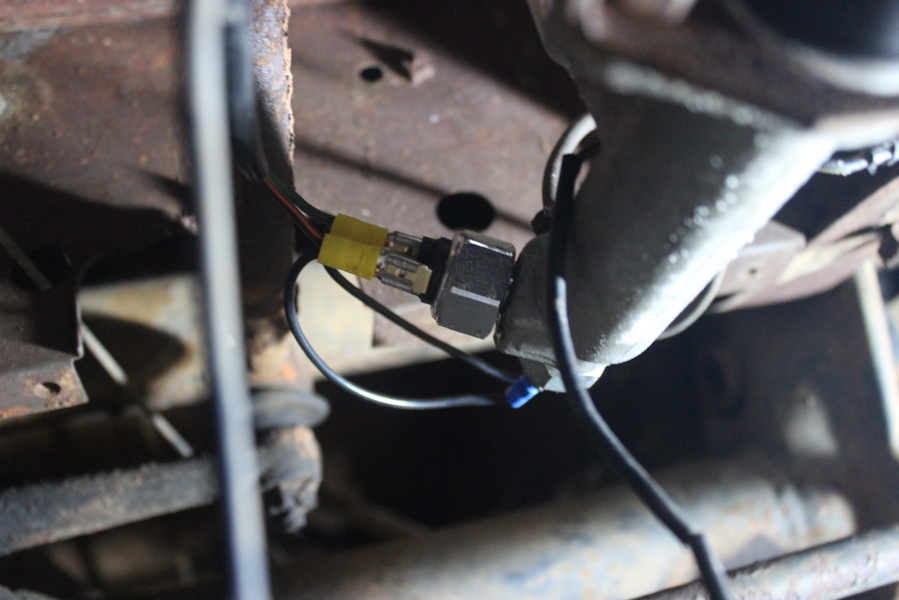
But, like everything with this crazy bus, there is more to the story.  After all my efforts this weekend, I have determined that the carb has a somewhat large vacuum leak coming from the heat riser gaskets, the intake manifold gaskets, and/or the throttle plate bushings – yes I learned all of these fun and interesting terms this weekend – I’m just cool like that!  To compensate for the additional air flowing into the system from these leaks, I have backed out the idle adjust screw on the right side of the carb, thus adding more fuel to keep the fuel/air mix balanced.  It’s a temporary fix at best, but it does keep the engine running smoothly when I let of the gas or come to a stop.  I am thinking that I will order a carb rebuild kit, or potentially even a full replacement unit eventually; but I’ll drive it as is in the mean time.

Carb Solenoid Carb Idle Jet Carb Right

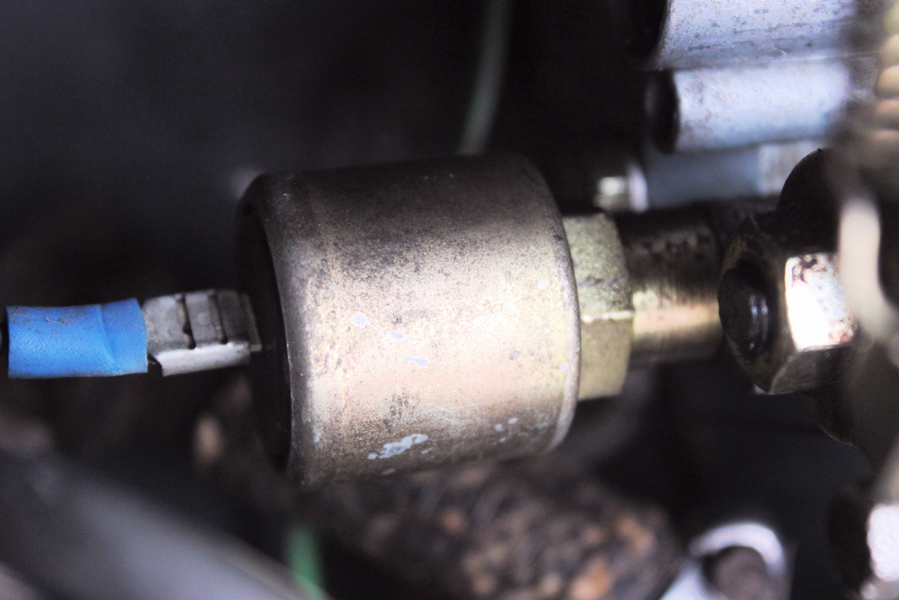
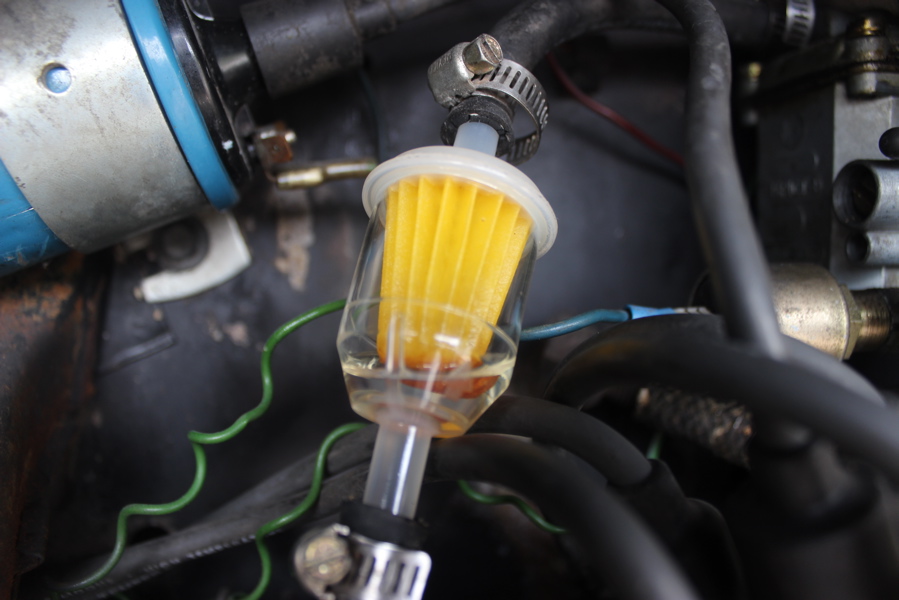
In addition to my carb fun, I also replaced the fuel filter – the old filter has usually been empty before starting up the bus – when I loosened the clamps and pulled the hose off – oops! Of course the thing is actually full this time, and I just dumped a decent amount of gas all over the garage floor.  I rushed to grab the oil pan just in time to catch the last drop as it rolled off the side of the engine. Great, just great! I cleaned it up as best I could; it didn’t leave a stain, and actually looks like it cleaned the garage floor a little – I’ll have to remember that next time I go on a cleaning spree – just kidding!

New Fuel Filter

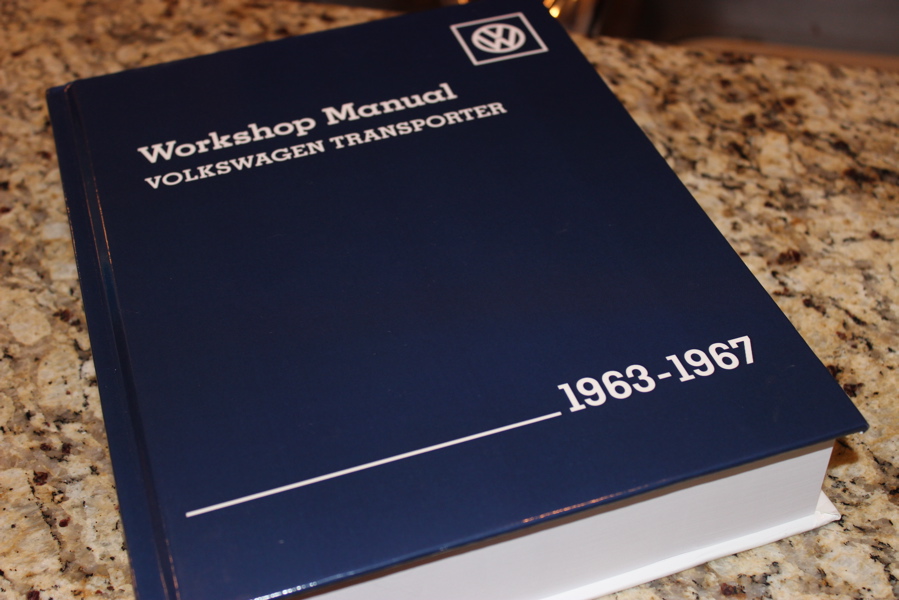
Finally, my copy of the massive, venerable Bentley Workshop Manual for the bus came in.  This thing was expensive, and is the book that everyone refers to on the forums when they actually solve a problem.  It helped me learn about the carb, and has detailed instructions/ photos/ diagrams for every minute aspect of the bus – looks like I just got some more light reading!

Workshop Book

Uncategorized, VW

Another Project Done

Speedo

Speedometer works.  At least I think it does; I don’t really know because the stupid bus engine won’t stay running well enough for me to drive around, but the speedo needle moves when I spin the wheel!  I took a break from the somewhat frustrating work of getting the engine to idle, and did a quick little project to get the speedo working.

You’ll notice the picture above is showing 5 miles per hour.  Thats pretty good, but I really wanted to show 10 – so I stood there spinning the left front tire as fast as I could, and then quickly grabbed the camera to take a pic of the speedometer… but I’m using a “fancy” camera that takes “nice” pictures – whatever, the point is I couldn’t get the thing to focus fast enough to take a picture before the speed went down to 5mph.  You’ll just have to believe me… it was at 10…

To get to this point, I spent an hour trying to feed the cable through the dash parcel tray, through a hole in the front of the bus, along the bottom frame, and through a hole in the middle of the driver’s side front wheel spindle.  Whew, finally got that done – but when I jack up the wheel and spin it, the cable doesn’t move – it’s this little metal cable that is supposed to spin with the wheel, but its not moving!  I’m pissed – yet another bus project that doesn’t go as planned – I put the stupid cable in the stupid hole, why doesn’t it work!  Oh wait, I just re-read the instructions, and I have to put the cable through the wheel dust cap before it spins – ok NOW it spins.  Success!  The bus now functions slightly better than it did this morning, and the speedo should help me know when to shift gears if/when I can actually get the thing on the road. Another project done!

Speedo Cable

Uncategorized, VW

Getting My Hands Dirty

Valves Hands

Today, I tuned the engine.  I’ve been pretty nervous to start messing with the engine and all of its parts.  It runs, and I don’t want to do anything to stop that.  I also apologize in advance for the techiness of this entry; If you don’t know what I’m talking about, just skim it and be impressed with my massive mechanical knowledge.  If you happen to be a VW nut, keep me honest and tell me all about how I am doing everything wrong. As I mentioned earlier, I ran the engine for about 10 – 15 minutes the other day, and didn’t really like the way it sounded. It also seemed to get pretty hot.  So now I’m going to tune it up and make sure everything is set correctly!

I started the day on a shopping spree:  Auto Zone, Menards, NAPA, other Auto Zone, back to NAPA.  I have been researching the steps needed to tune an air-cooled VW engine via the Muir book, internet resources, and many You Tube videos.  What I planned to accomplish today was 1) Replace fan belt, 2) Adjust timing, 3) Adjust rocker valve gaps, 4) Change oil, 5) Check compression, 6) Start up bus and drive off into the sunset.

New Belt

I found the belt I needed at NAPA; they had the exact 10x905mm size I needed, Yay!  However, when I loosened the generator pully, I noticed that, of course, my engine only has 6 shims instead of the 10 that it should have.  More shims means wider pully gap, which allows for a smaller belt.  I would have needed at least 8 shims to handle the new belt, so instead I kept the old one and removed some shims to tighten it.  Its not perfect, but is definitely not as loose as it was before.

Generator Pully Off

Engine Belt Old

Adjusting the timing was actually very easy, and didn’t really need done.  I found the notch in the crankshaft pully indicating top dead center (TDC).  Because I have a 009 centrifugal distributor, I know that 7.5 degrees before TDC is when cylinder #1 is in firing position.  I made a pencil mark at this point, and when I flipped the key in the ignition, the test light light up bright – the engine appears to be properly timed – a good start to this tune up!

TDC

Timing Light

I then started adjusting the rocker valves.  There are two sets (one for intake, one for exhaust)  for each of the 4 cylinders.  At a point in the crankshaft’s rotation (TDC for cylinder #1), each respective valve set is fully extended. A tiny gap should exist between the rocker arm and the intake/exhaust valve.  The gap needs to be .006 inches, and its my job to turn the adjusting screw and locking nut until this gap is right.  To much gap and the rocker arm will slap against the valve head, causing a tickty-tock sound and eventually damage to the valve assembly.  Not enough gap, and the valves could stick, potentially causing massive internal engine damage.

My valves didn’t have any gap… at all… they were essentially fused directly to the valve heads – this is not good, and it makes me wonder if the previous owner knew what he was doing. I’m worried now that the inside of the engine is somehow messed up, or burnt out. I spent money for a bus with an engine that actually works; if i wanted a rolling shell I would have bought that instead, and paid a lot less – I guess I’m learning more than just mechanical lessons today! Ok, enough of my ranting – I adjusted each valve set to the proper .006″ gap (it took me all afternoon!).

Valves Open 2

Valves Hands 2

Valves Feeler Blade

At this point, I’m ready to change the oil, but need to warm the engine up first.  Small problem, it doesn’t start!  It turns over a few times, but then dies off. As my frustration built, I kept trying the ignition.  Finally, I turned the key and had almost immediate ignition. Success! My newly tuned engine seems to run well; it does sound different now that the valves are adjusted, and the tighter fan belt seems to be helping.  My generator light is still on though, and when I revved the engine for a while, it died as I released the gas. I also noticed that the crankshaft pully has significant resistance as it rotates cylinder #3 and #4.  I’m thinking this is why it wouldn’t start, and could be really bad. Sounds like I have more issues to research!  I’m planning on changing the oil, and performing the compression test tomorrow.  I’ll probably check the valves again too.

Overall I’m glad the day went well.  I’ve never so much as looked at a car engine before this, and today I went in head first, got my hands dirty, and had a great time fiddling with the bus.  It’s not road ready yet, but at this rate it will be soon!

Engine 2


Uncategorized, VW

One Step Closer

Brake Lights 1

Brake lights work.  The bus is one step closer to being road ready, and this latest success is the reason why I am doing this project: Some time spent researching, lots of struggle, and ultimately success in the end!

I started on the brake lights yesterday by testing the wires leading to one of the two stop light switches.  They had juice, so I figured the switch was bad.  Good news is that they are cheap, and I found one in stock at AutoZone. Of course when I went to replace the old rusty switch nothing worked out.  I first tried to take it off with an adjustable wrench… it didn’t budge but instead the wrench got stuck to the point where for a minute I thought it might be a new addition to the underside of the bus. Wrench finally off, I tried to use the ratchet instead.  Stupid switch didn’t budge at all, so as usual I start banging things around, venting some frustration.  Finally I got myself scrunched up completely under the bus and was able to get the leverage to move the switch. Yes!  the rest was pretty easy, ratchet off the old switch, ratchet on the new.  I also replaced all the corroded wire connectors. Get back in the bus, notch the ignition on, press the brakes – Success! Now I’m one step closer to getting this thing on the road.  I’m thinking next steps are fixing the oil leaks/ potentially catastrophic engine failure, and problem-solving the battery issues/ generator warning light.

New Brake Switch

Brake Lights 2

Uncategorized, VW

A Sense of Foreboding

Bus No Headliner

Today I removed the headliner, ran the engine for a while, and attempted to remove the old rusted side bolts. Thankfully, the vinyl headliner came out with little trouble.  We are going to replace it with something like this eventually, but right now the fabric smells and I want it out of there. – Oh and if you like the linked picture, definitely check out Bumfuzzle’s blog.  They have done some crazy stuff, and their VW bus looked amazing.  I’m going to try not to copy everything they did with their bus, but it’ll be hard because it looks so good! – As I was pulling the headliner down, a big metal thing came flying at my head. In keeping with the randomness of everything that happens around this bus, this replacement oil drain plate somehow found itself up in the ceiling… crazy bus.

Random Oil Plate

I posted a video of the engine running this weekend, and I’m really hoping that everything is fine with it.  I ran it for about 10-15 minutes, and it just didn’t sound that great by the end.  I have John Muir’s book, and have been studying it in detail.  I’m feeling a pretty strong sense of foreboding that somethings not right in that there engine, and will have to get my hands dirty sooner than later!


I also started prepping the front door hinges for the new side mirrors.  I need to remove the old rusted bolt from the previous mirrors, but I soon found out that this is actually an almost impossible task.  After reading online, it sounds like all I need to do is either bang away with some kind of pneumatic air  press, heat up the steel with a blow-torch, or drill it out with brute force… I’ll just leave it as is for a while!

Door Hinge Pin