Uncategorized, VW

A Quick Move

Yeah thats not going to last...

Well I haven’t gotten much bus progress done in the last couple weeks – but I did successfully quit my job, and we did successfully move across the country to North Carolina!

Gas Guzzler

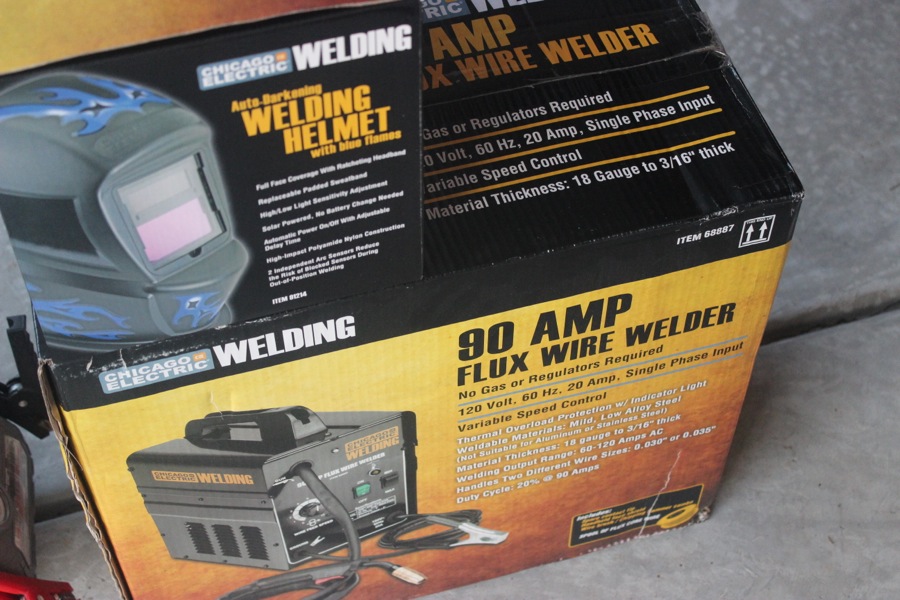
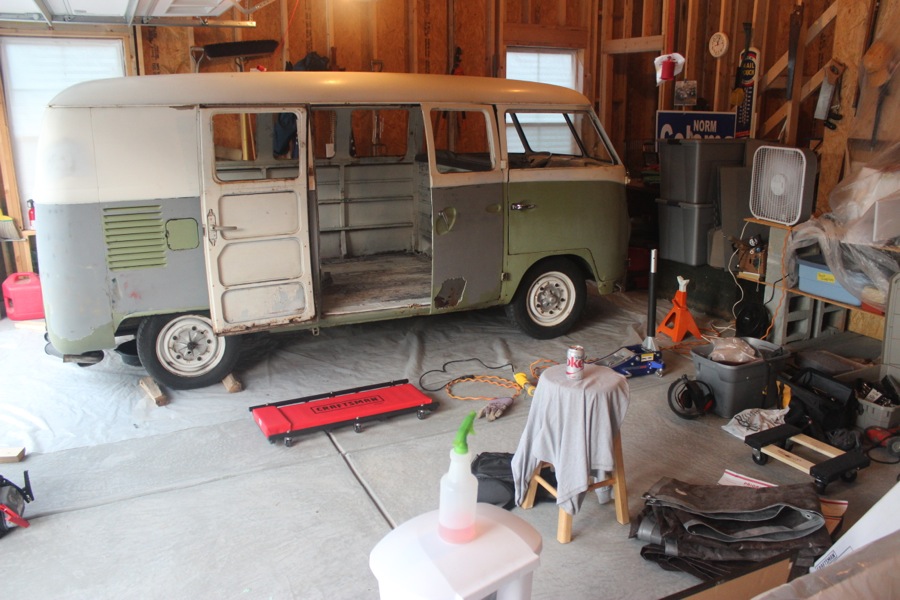
We’re planning on staying with Noelle’s parents for the next couple months in beautiful Mooresville, NC.  Hopefully the next cross country jaunt we take will be via VW bus… In the meantime, I’ve now got the time and energy to really get started fixing this thing up.  Norm’s garage is awesome (and about to get real messy!), and I’ve got boxes and boxes of replacement parts, metal, and tools; I bought a welder (Cheap flux-cored thing from Harbor Freight – I’ll take the much deserved criticism and save my $700), and I’m ready to get going!

Ready to Weld Cheapo Welder

Took a couple days getting everything somewhat organized for the work ahead.

Lots of garage space!

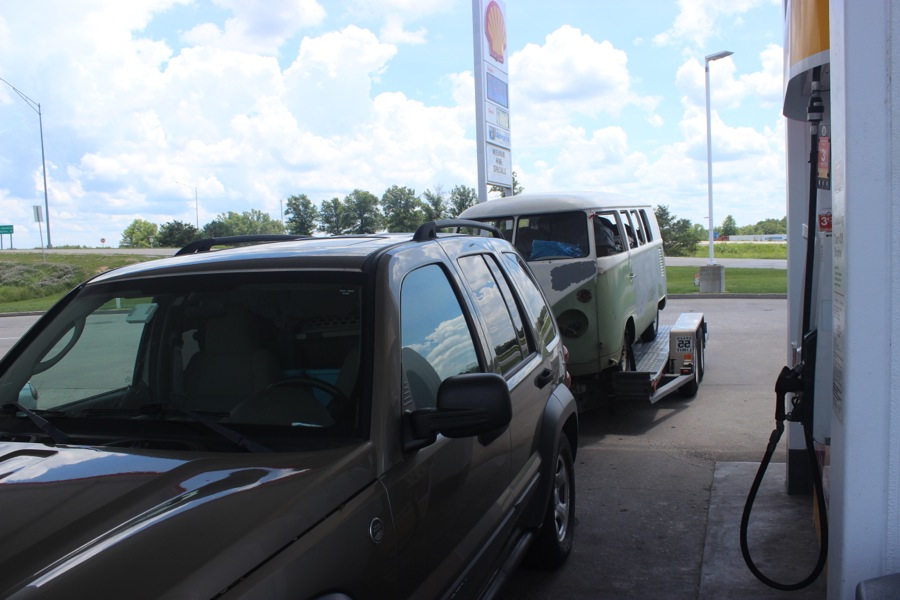
First, a nice video of me taking the bus off the trailer… wouldn’t be complete without a little “Oops” moment!


Uncategorized, VW

Getting Started

Action Paint Pic

I started getting the bus cleaned up this week.  I was feeling a little overwhelmed by all of the projects that are suddenly now a priority – I haven’t quite quit my job yet, but the pace of bus work will be fast a furious from now on!

I decided to start by wire wheeling the back luggage area.  This should be a pretty easy introduction to the labors of VW bus restoration, and getting it done will feel like I’m making progress.

Getting started

Hours of work later… and I’m not done yet…

Grinding is a lot of work!

Looking good!

More hours, more sweat.

Whew!

The end result is a proper luggage area that is clean and primered.

Finished!

My shipment of funky green metal from Klassic Fab (via bustoration.com) arrived – looks like I’ll be welding soon enough!

Funky Green Metal

Uncategorized, VW

Deconstruction

Ready to go to town!

We started taking the bus apart! By the end of the day, I’m super stoked to actually dig in and get started getting this thing fixed up – at the same time, I’m partially terrified at the work ahead.  I know it seems like a lot now, but we are going to keep plugging away one project at a time until this bus is up and ready to go.

We started by taking the front window frames out – the windows are supposed to slide open, but are rusted shut.  Like everything on this bus, the frames were only held in by 3 of the 6 screws/ bolts.  The two outer screws were so rusty I had to drill them out!

Pulling the frames out

The pop out window ledges have some rust holes that will need a fixin’.

Window Frame Rust

We pulled the seats and got started wire wheeling various areas to see what type of replacement metal I need to be buying – fun times!

Empty Shell Empty Front Wire Wheeling

I also pulled all of the dash electrical out.  I’m going to attempt to restore the speedo and all of the switches – hopefully I can put everything back together…

Wire Spaghetti

This is plan F… load up the chairs and roll ‘er out as she is!

Plan F

Uncategorized, VW

Bus Art

Blue and White Splitty Art

Went to the Omaha Summer Arts Festival today – bought some sweet VW art!

The event had tons of booths with different artists and food stalls from all over – and a random Dish network booth whose sales person sauntered over and asked Noelle “Who’s your cable provider Ma’am” to which my awesome snarky wife replied with a smirk on her face “…None of them”

One of the booths housed Michael and Mary Ann, a couple of VW enthusiasts with a passion for their Karmann Ghia. They had a bunch of really cool pieces, and we couldn’t resist the blue and white splitty!  Check out their work at www.michaelholmesart.com!


Uncategorized, VW

OG Paint

Thats hours of work!

I’ve always wanted to see what lies beneath the green paint on this bus. Today, we started stripping down the back hatch – the goal is to see if we can get it back to original paint.

The top layer of green falls right off with a little scrapping from a razor blade.

Get Scrapping Green Emblem

The underlying primer is much more difficult – we tried a bunch of different combinations of scrapping, scrubbing with acetone and paint remover, and a little elbow grease.  Turns out what worked best for us is a healthy paper towel rubbing of Motsenbocker’s Graffiti Remover on the primer, then another healthy rubbing on the dark brown respray paint with no-scratch dobie pads.  After lots and lots of scrubbing, the original paint starts to shine through.  Yay!

Brown Respray..Nasty

Not much OG

Unfortunately, it takes hours to get even a small spot visible – and, as we uncovered more of the back hatch, it became clear that the original paint had been heavily sanded when the bus was repainted that hideous dark brown at some point in its history.  This means we won’t be able to just strip the bus down to OG paint – oh well, we will re-paint it back to that color anyways.