VW

Outsourcing

Headed to Monkey Nut

We finally dropped the bus off at the shop on Wednesday. It’s been a good summer, one filled with lots of bus work and time spent with family. At lot of progress has been made, but a lot of work on the bus still remains.  With all the additional metal work needed on the bus, working on this thing was beginning to become more of a chore that I originally intended.  The solution: outsourcing!

I’m planning on having Monkey Nut complete the remaining welding including the front floor, cargo floor, and rocker panels.  They will also fix that big dent in the front nose – sweet!  Now that my life has a sudden gaping hole of time and energy (remember I quit my corporate job back in May,) we have decided to switch gears and get started traveling.  So… While we wait for the bus to get more work done, we are headed to the Netherlands!!

We are renting an apartment via Airbnb.com in the Jordaan neighborhood of Amsterdam for about 2 months.  This will hopefully be our first of many different destinations and travel experiences, and I am planning on continuing to log it all with pictures and a few insights into what will (hopefully) be the start of a great trip!

In the coming week or so, I will be updating the site to be a little less about the bus, and a little more about our experiences – stay tuned for more.

VW

Headed to Monkey Nut

Packed and Ready

We’re taking the bus to the shop tomorrow!  I’ve been on their schedule to get the safari windshields and front floor installed – depending on how it goes tomorrow, we might have them do a little more than that.

After getting the back end looking ok, I shifted my focus to the cargo floor and front passenger wheel well.  They are a mess of rusty crusty metal.

Missing Jack Point Open Floorplan Pretty Big Hole


Yikes! So after a week of looking at more and more rotten metal, I decided to start getting the bus as “road ready” as possible before driving to the shop.  I started by cleaning up the front nose dent (notice I said cleaning up, not fixing up!!!)

Just a little dent

That’s a sweet looking stud…welder….

Nice looking stud... welder

I used a ratchet to gently pull on the front sheet metal – it worked pretty good!  I didn’t get the nose finished, but it’s better than it was before.

Pulling it out

I also started to re-install the electrical in the dash.  I had pulled everything out earlier in my bus destruction phase – I didn’t label any of the wires, and just ripped everything out – idiot!!  It took me a day but I got everything plugged back in – headlights work (well only one of them lights up right now), turn signals work (well all but the front right, and they all flash twice as fast.)

Wiring

Found some decent chrome under the spray paint on the turn switch.

Cleaned up signal

I re-soldered the signal switch to fix the emergency flashers – sweet!

Pre-soldering Post-soldering

So as of now, the bus is packed and ready to make the trip to Monkey Nut!  The engine hasn’t been running that great, and its been stalling when I come to a stop sometimes… but I’m hoping for the best on the way there (and we’ve got AAA in our back pocket too.)


Uncategorized, VW

A Busy Week

Side Painting

It’s been a busy week of bus work – I’m mentally and physically tired, my body is sore, and I’ve ruined about half my clothes with a variety of automotive chemicals and cancer-causing solvents… but I’ve learned a ton, and by the end of the week, the bus is finally beginning to come together! This post is going to be waaaay too long and the pictures will probably be waaaay to mundane, but here it goes:

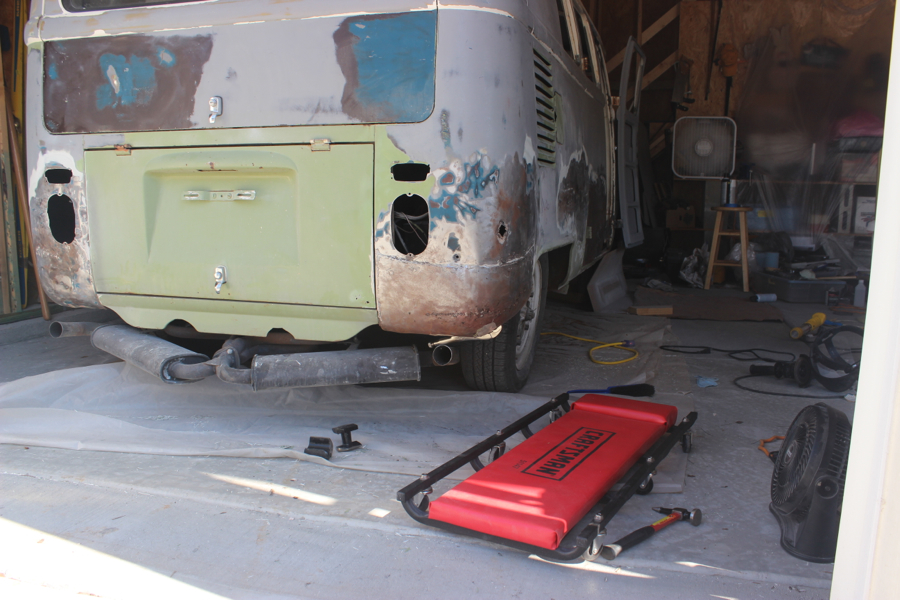
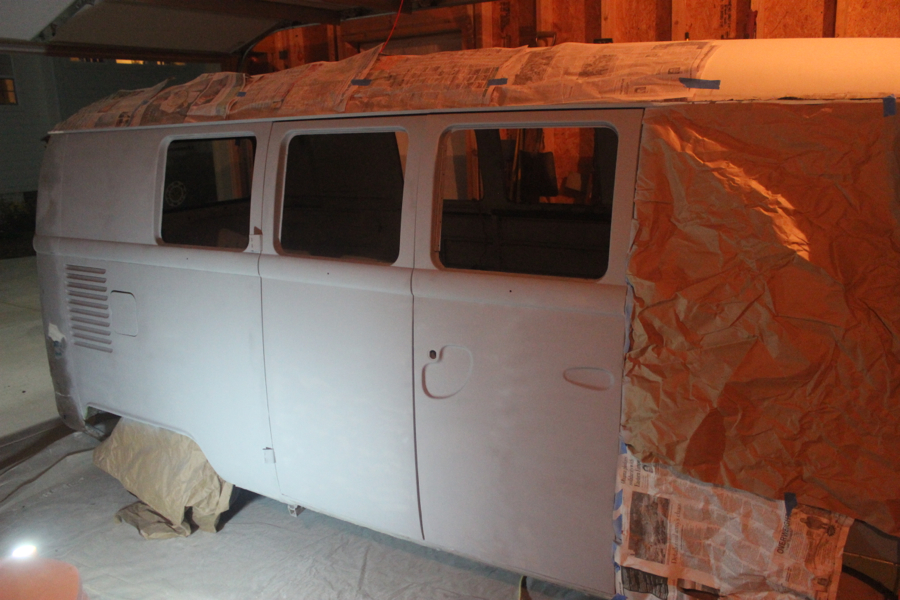
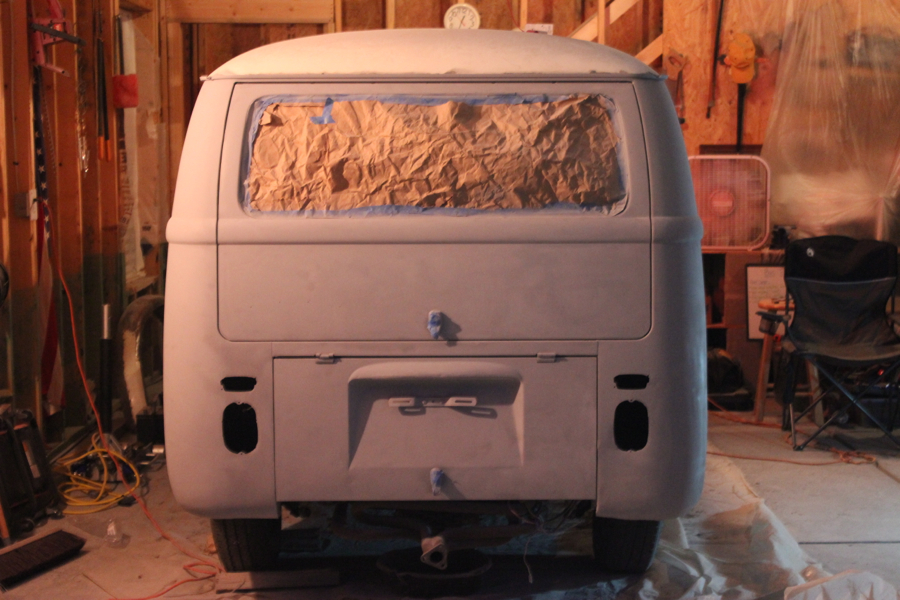
I started by primering the completed passenger side from the cargo doors back to the rear engine vents.  I then moved on to start body working the back end.

Rear end is a mess

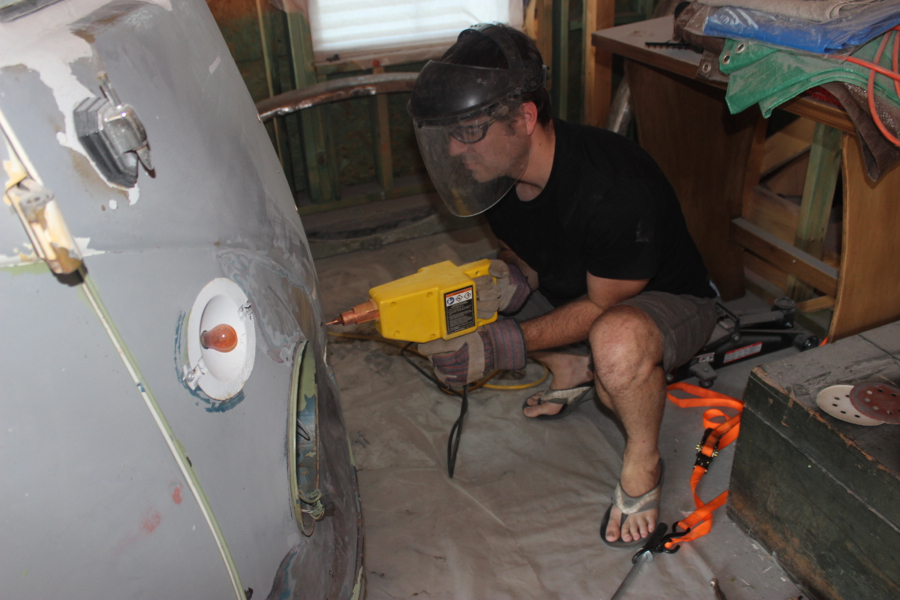
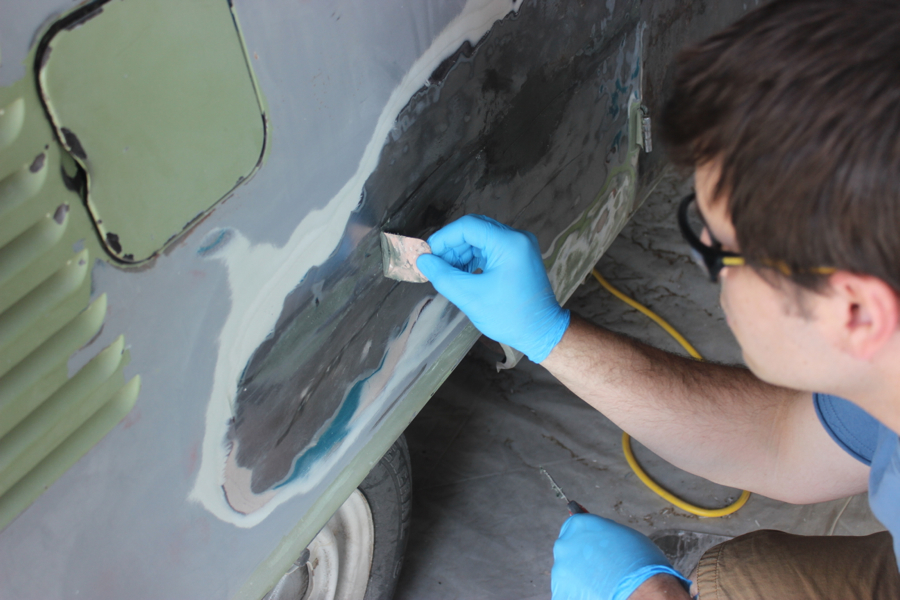
Used the hammer and dolly to work out the dented driver’s side corner, then applied a layer of fiberglass filler on the deeper gouges, and a layer of Bondo to even everything out.  Something clicked with me and the electric orbital sander – we became best buds and it made the sanding process much smoother (literally).

After a layer of fiberglass and bondo

Applied a coat of finishing putty and sanded everything feather smooth.

Some finishing putty

I’m definitely happy with how that corner turned out – now about that other corner…

Corner complete!

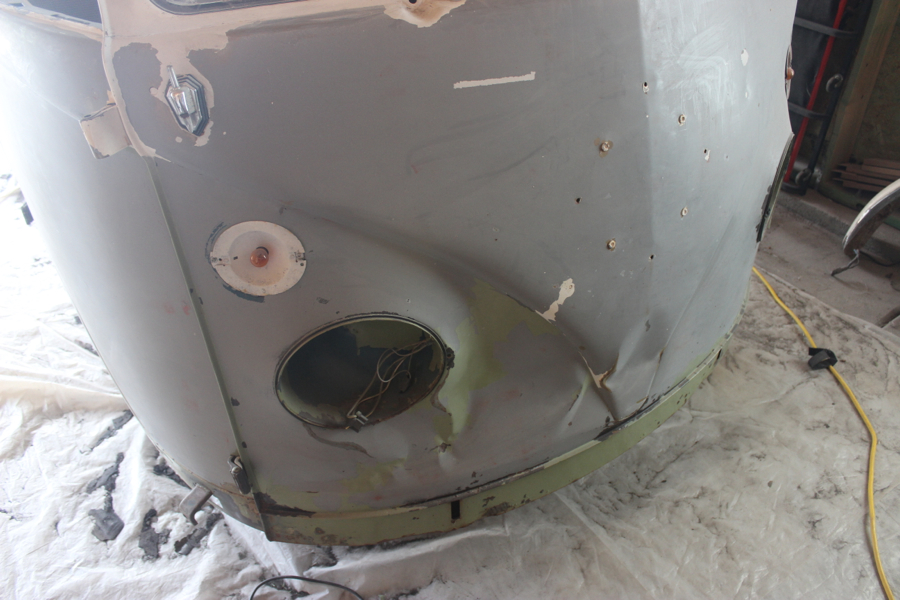
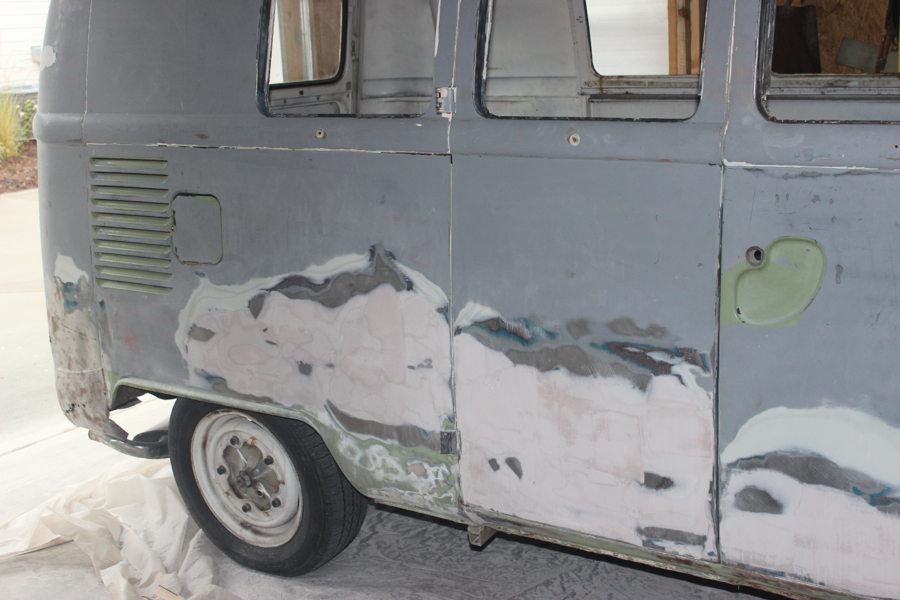
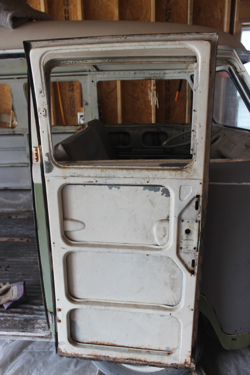
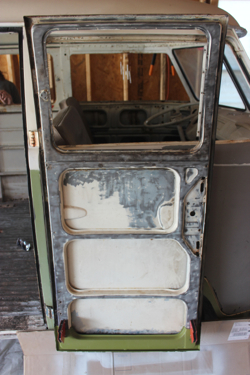
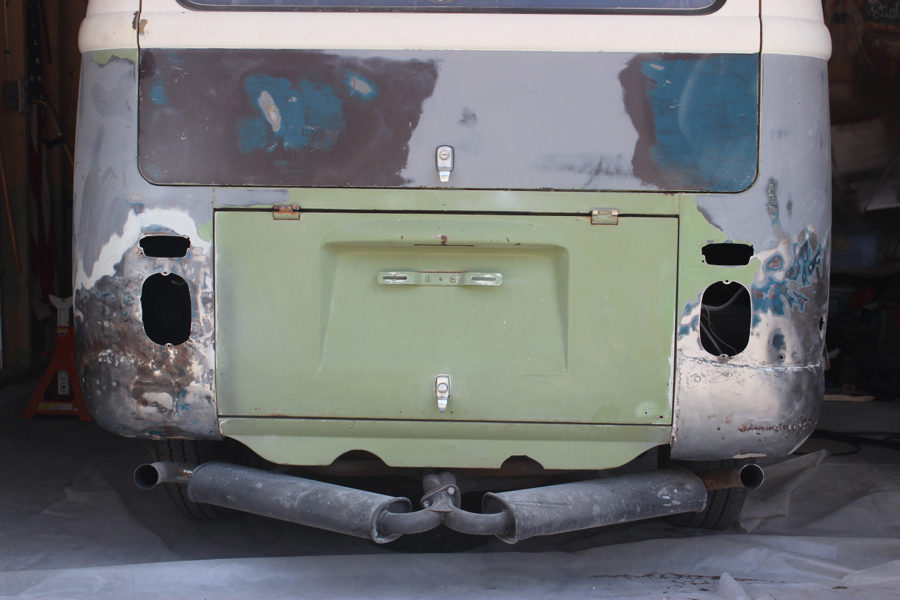
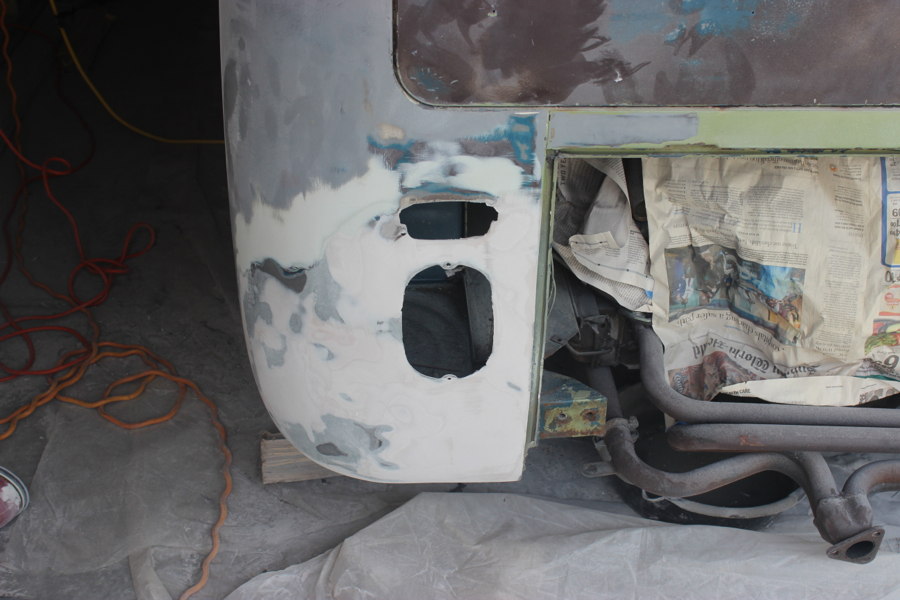
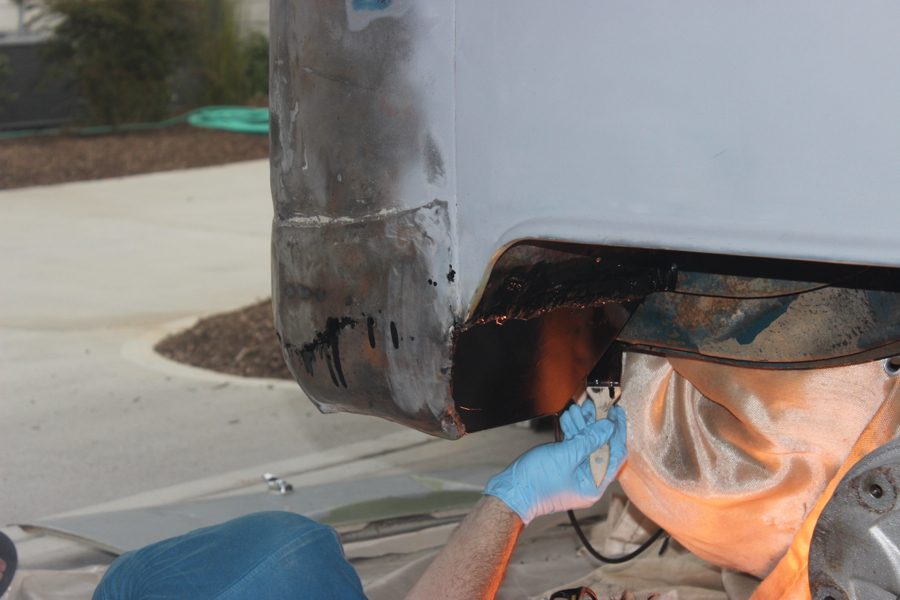
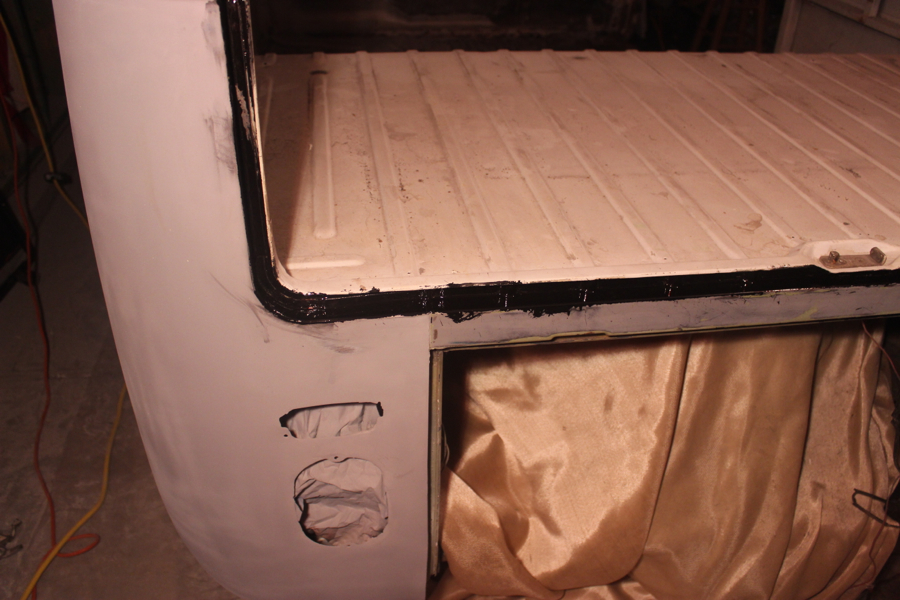
A previous owner had replaced the passenger corner with a piece of sheet metal (and done a crappy job of making it fit).  I decided to keep the sheet metal hack, but work it into shape.  I used a dremel to cut off excess metal and give the wheel well side the proper curvature.

Body work that corner into shape

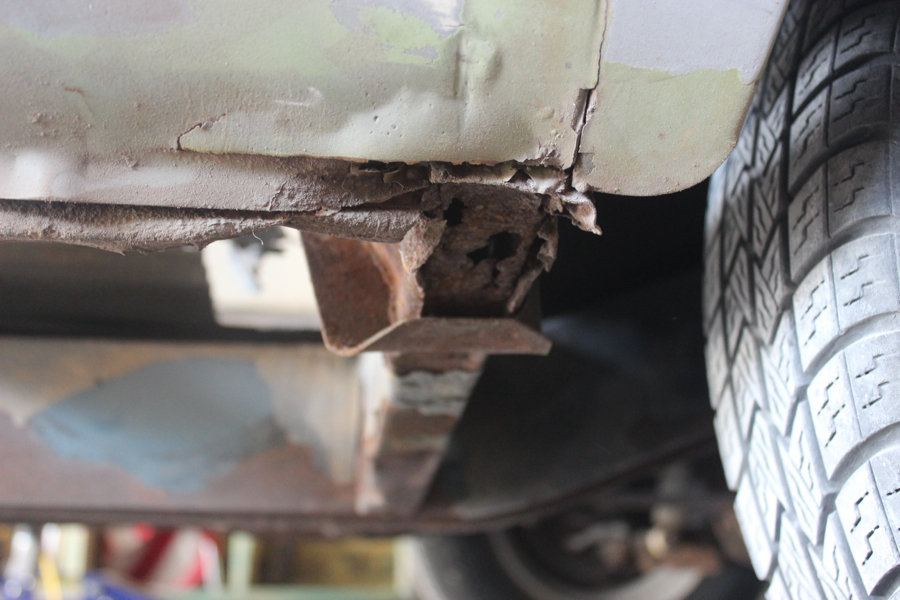
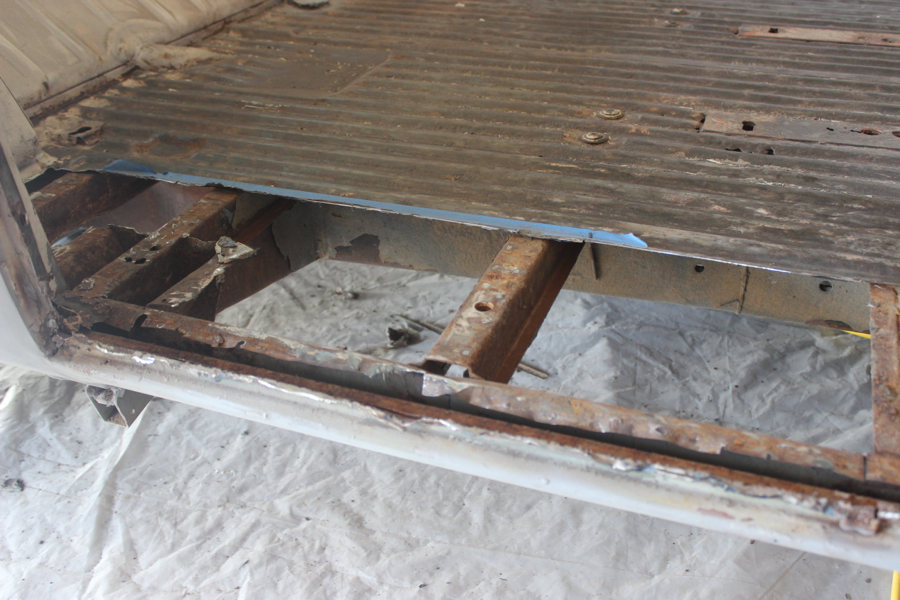
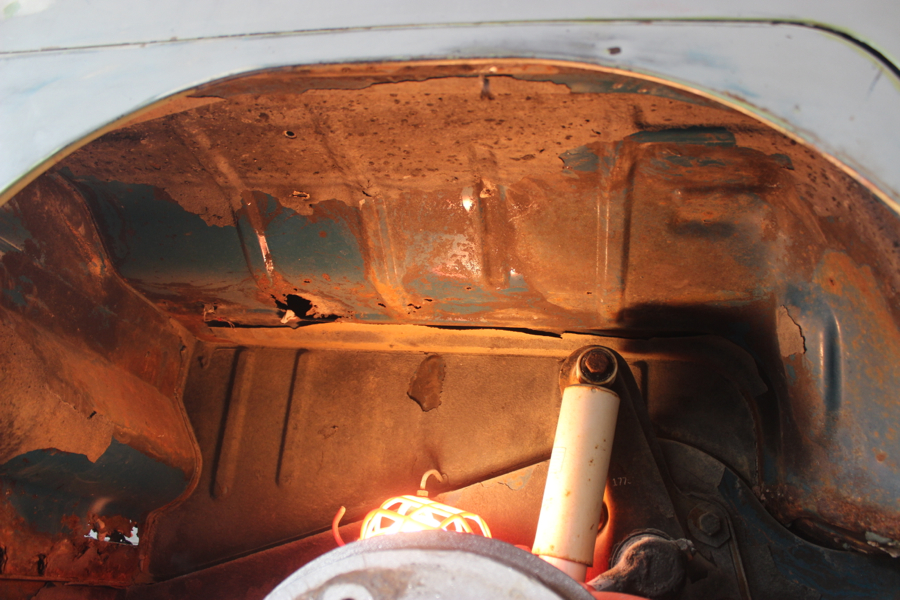
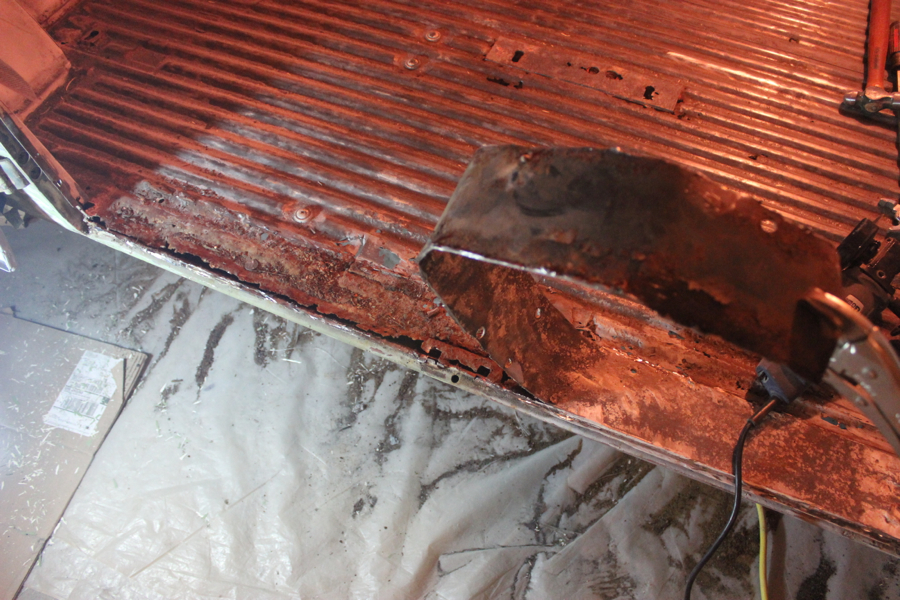
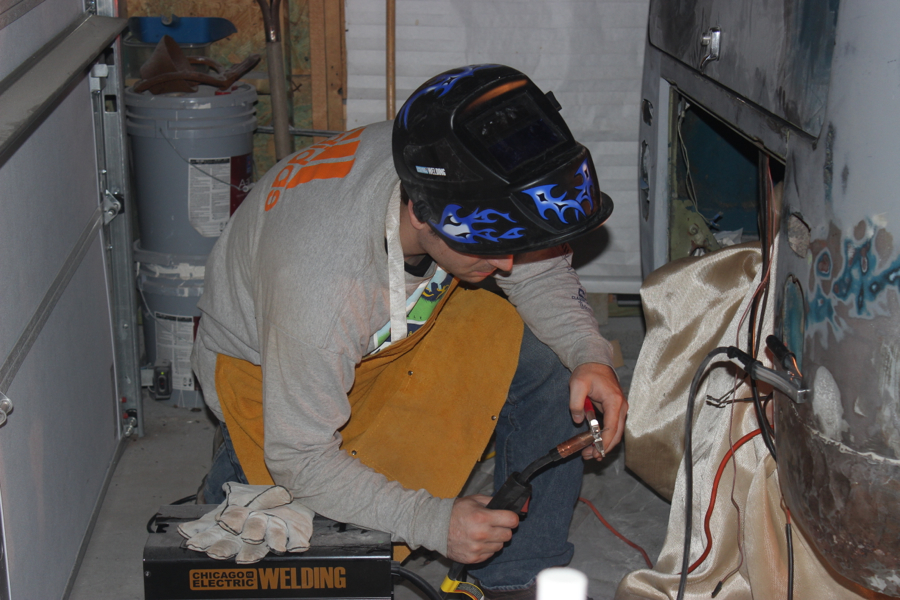
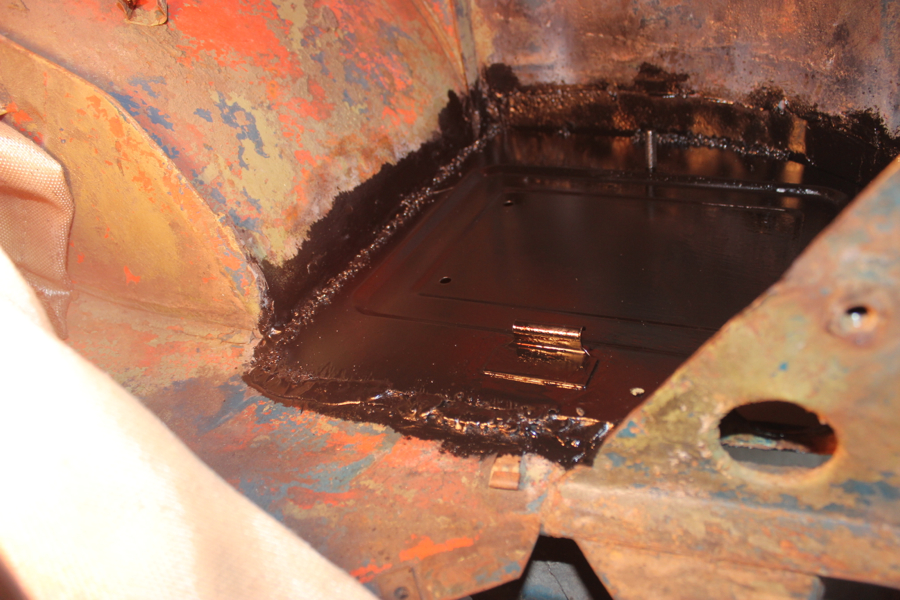
Before I could body work the corner though, I had to address the rotting battery tray – bought a new one from vintagewagen.com which distributes the UK AutoCraft replacement parts in the US – sweet!  It’s a big improvement over the old one (which had been hacked into place at some point in the past).

Crusty battery tray Big improvement!

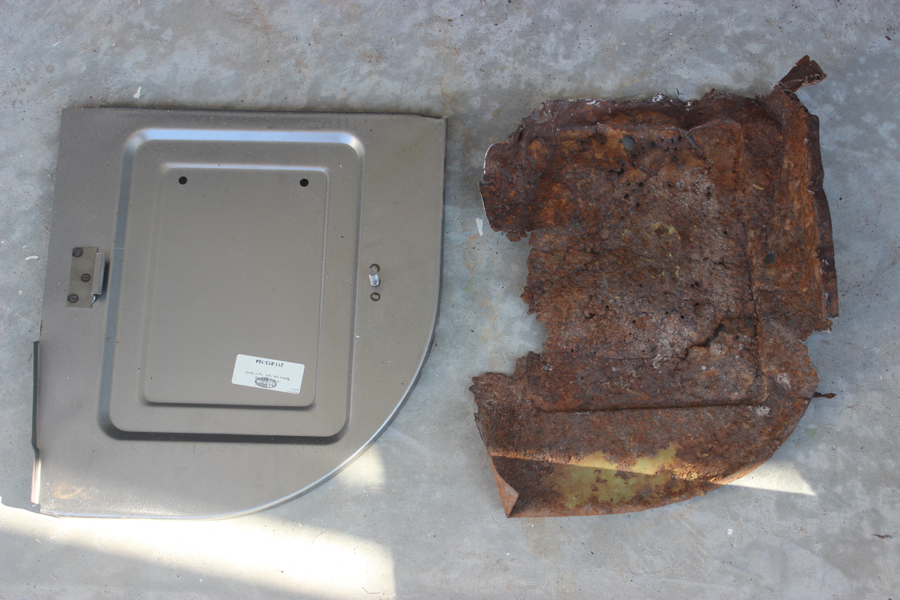
After my experience with the other replacement metal, I was worried that I was going to have to do a lot of shaping to get everything to fit – instead the new piece just clicked right into place, Awesome! A lot of work and welding and PORing to get the new tray and wheel well cutoff plate in place.  My flux core welder and lack of skill makes for some crappy-looking welds – but they are strong and will get the job done, and the POR layer should prevent rust from destroying these parts in the future.

Just another day at the office It ain't perfect... but its not going to rust! PORing the wheel well plate

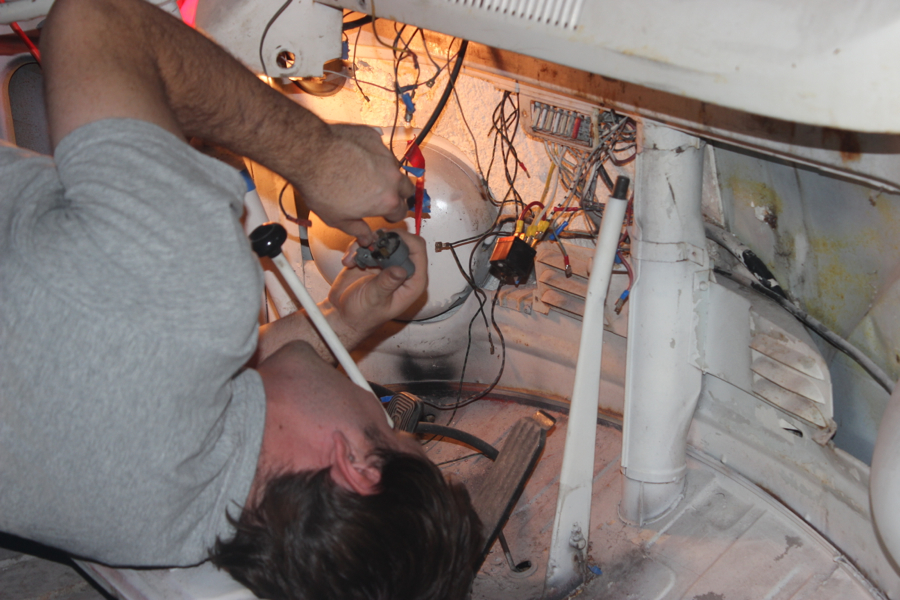
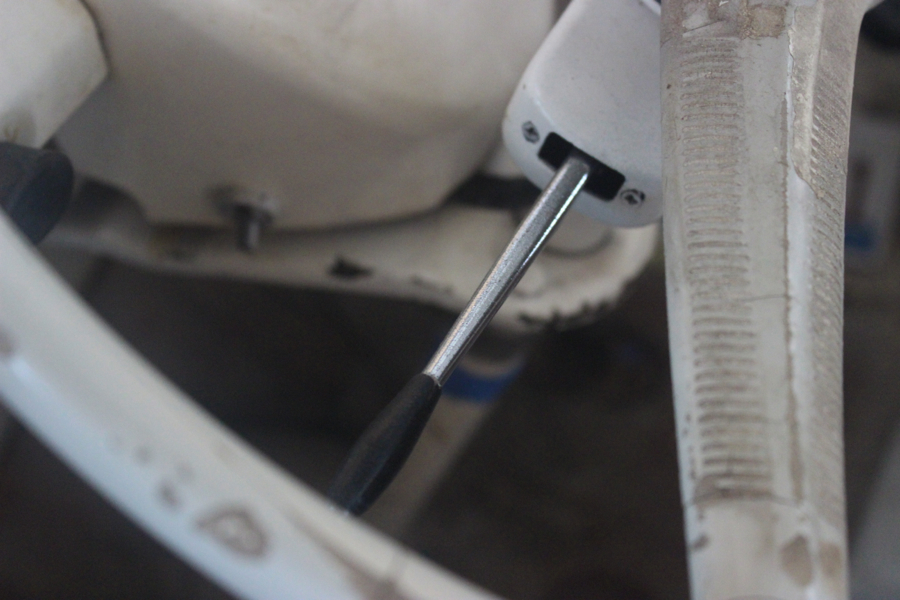
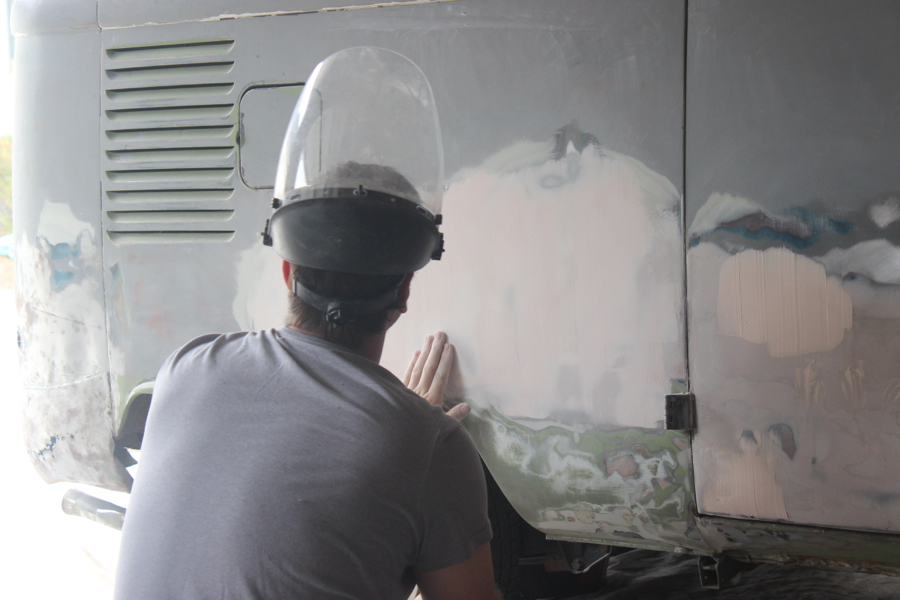
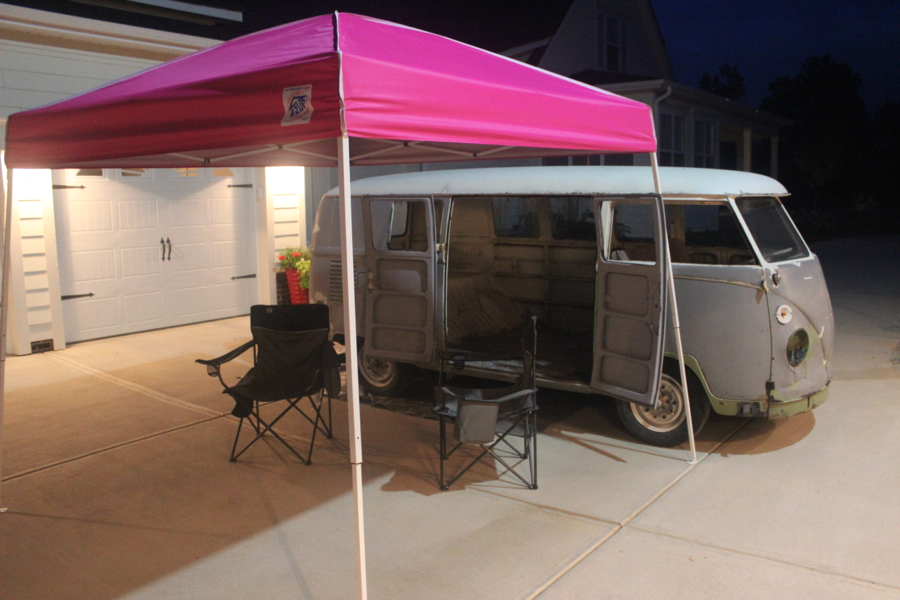
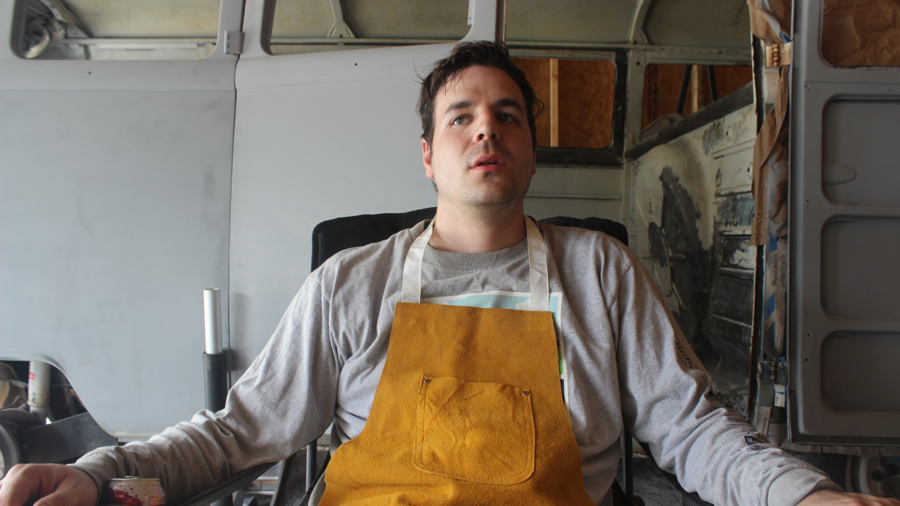
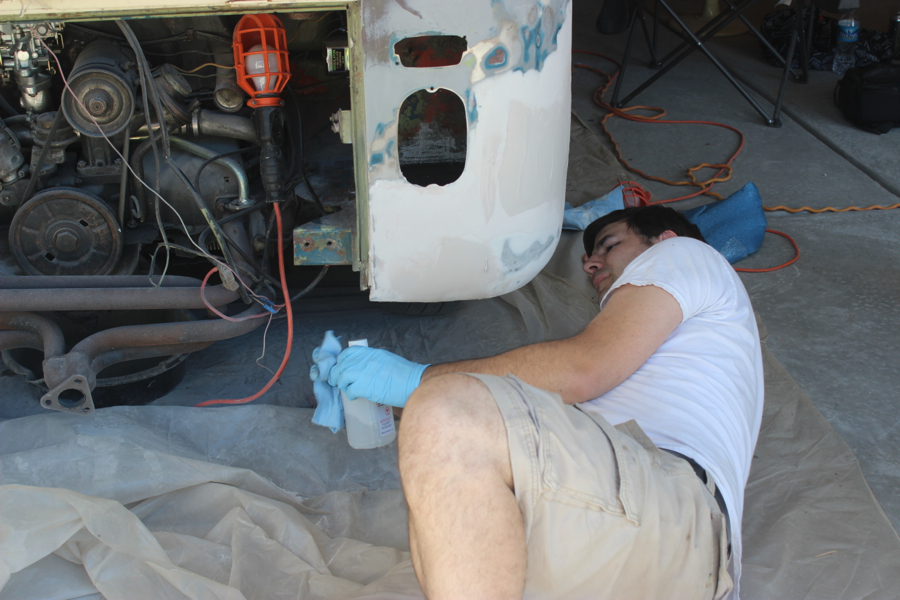
I’m friggin tired!! (Noelle did get me a water after so nicely taking my picture)

I'm tired dude!

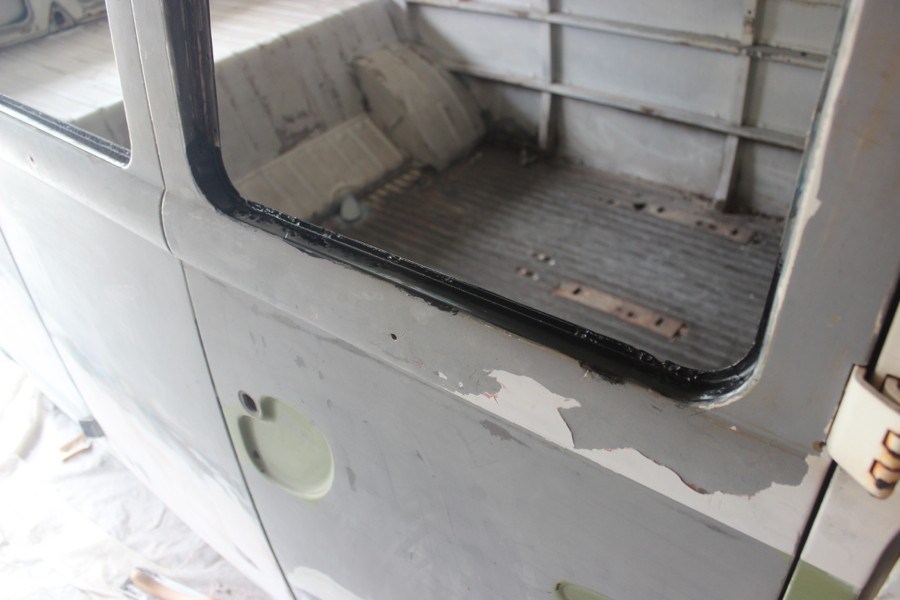
I also POR’ed the back hatch area to prevent rust around the frame.

PORing the hatch frame

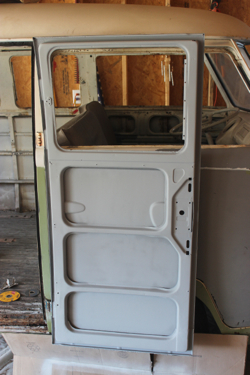
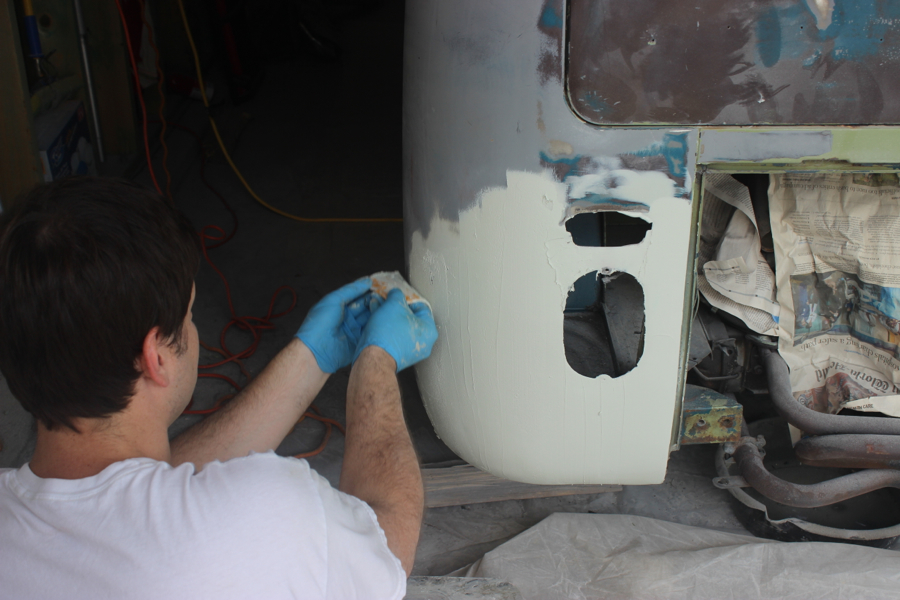
Finally I got to body working the passenger corner… but sometimes this project gets overwhelming, and I just need to pause for a happy thoughts break:

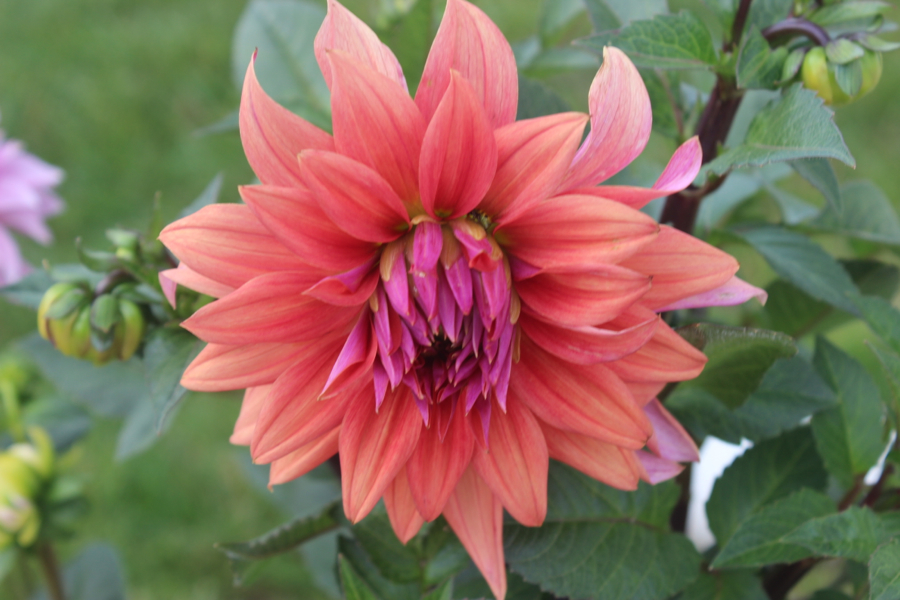
Pretty flower from Carla’s garden (with Noelle’s expert photog action)… happy thoughts

Flower picture! ...happy thoughts

Pretty rainbow after a rainstorm… happy thoughts

Sweet rainbow! ...happy thoughts

Ok enough of that hippy crap, I’ve got a VW bus to fix! (sometimes I decide to just lay on the ground and work)

All I do is lay around

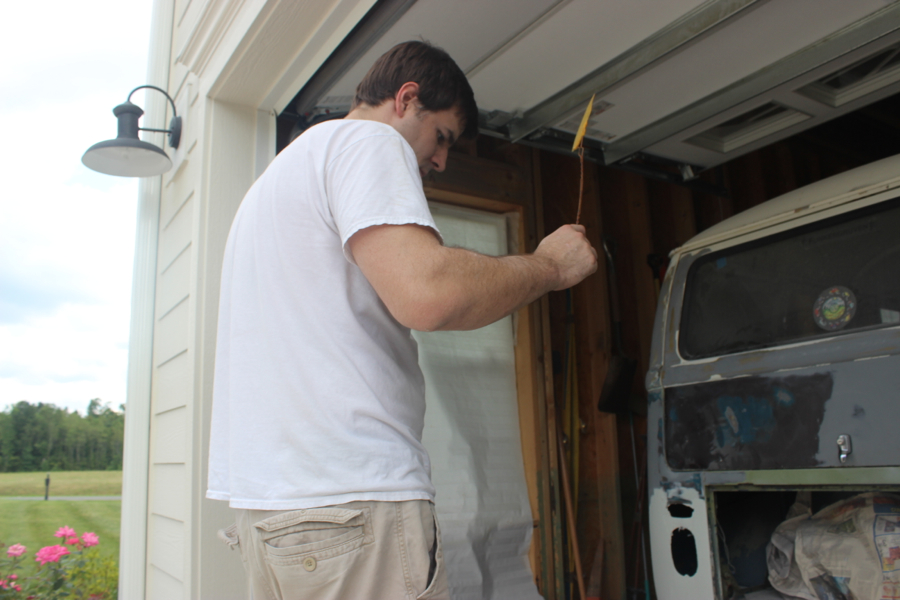
Before I finished the corner, I needed to kill some flies – they deserve it… because they are flies…

Ahhh! Flies!!

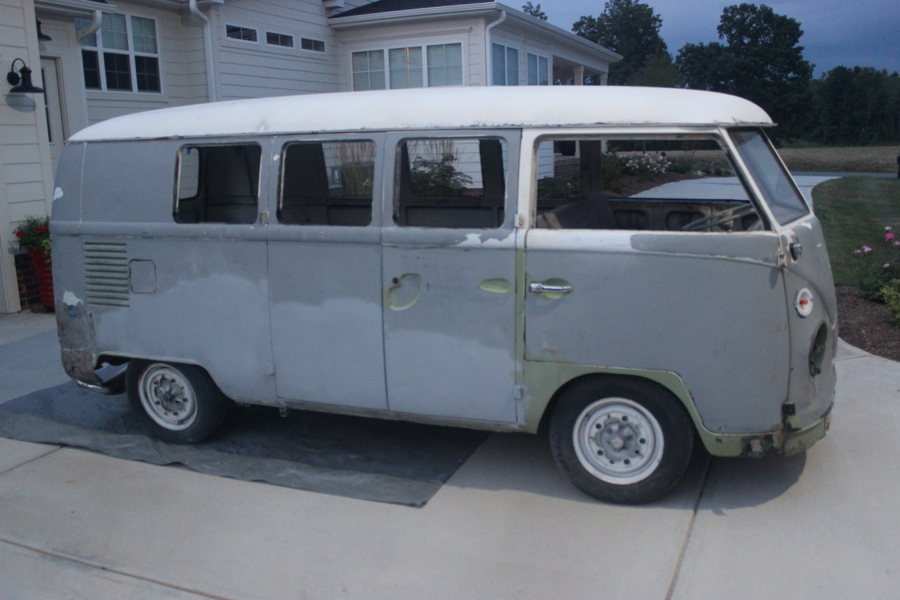
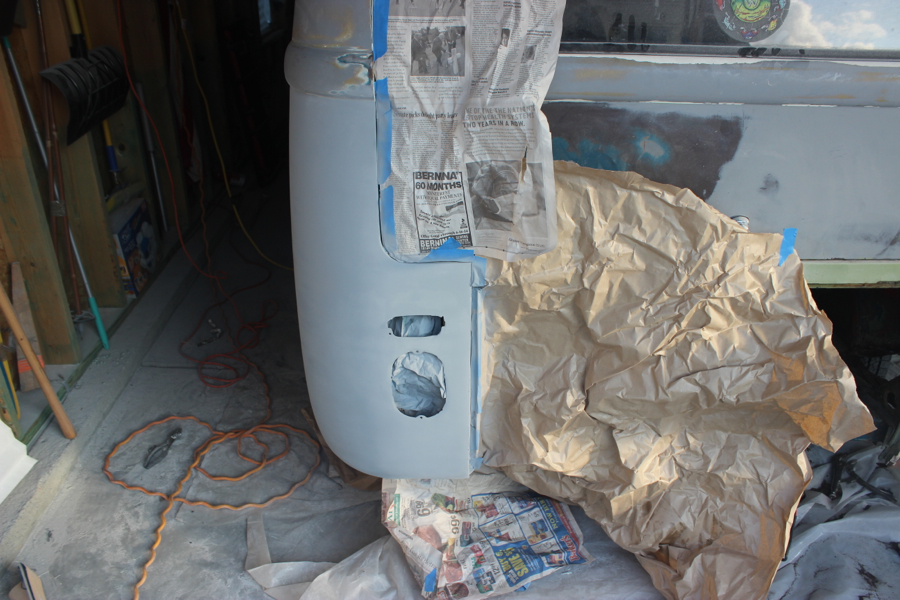
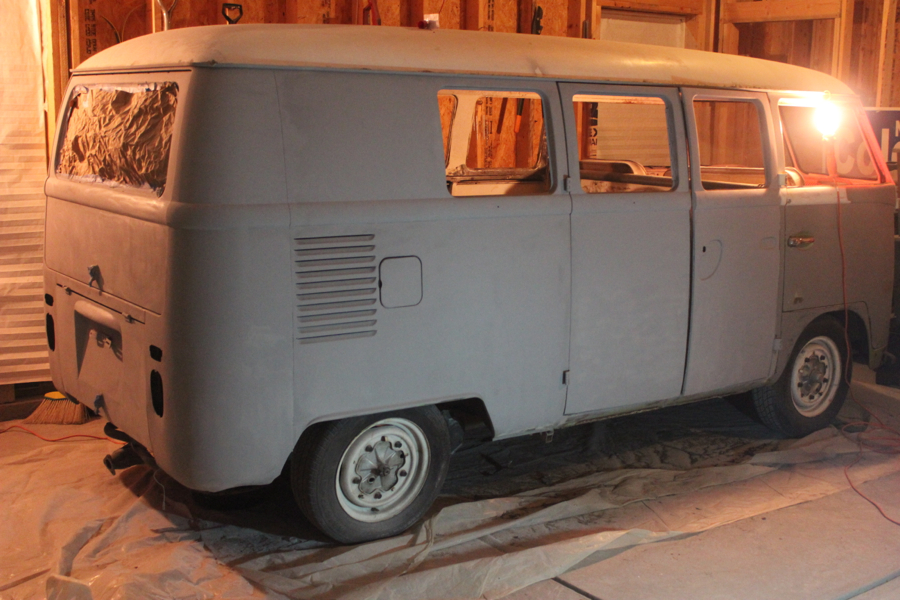
And here is the culmination of a tough week’s worth of bus work – a lot learned, some frustration mixed with anger/self doubt, followed by determination and ‘F’ it, pull the trigger and weld that SOB so we can get this stupid bus on the road!  I think the work looks good – it’s an improvement from previous owners, and it will keep this bus rolling for a few more years at least.

After paint - pretty! A tough week's worth of work

Maybe next week I’ll have more pictures of more work done – yay!


Uncategorized, VW

Body Working

Body Working

Bus body work continues – this phase of the project pretty much sucks – but it’s got to be done!

After getting the inside of the cargo doors welded and cleaned up, I started in on the exterior.  This was the bondo hell that I posted about a while ago – after chipping away all of the inch-thick, cracked body filler, I used a slide hammer and hammer/dolly to get the metal back into shape (at least as close as I could).  I then went full circle and started to add Bondo back to the side!

I started filling the deeper gouge marks and scratches with fiberglass resin jelly – I also use this to fill some of the smaller holes around the bus.

Adding some fiberglass filler

I then added a couple few (thin) layers of body filler and kept sanding and sanding until everything was pretty much smooth.

Feeling for imperfections

Then added a layer or two of finishing putty to even everything out, and spray bombed w/ grey Rustoleum Automotive Primer.  It looks ok in the pic, but will look a lot better when I do the whole side evenly.

Graaaaay

I also cleaned up the window frames and drip rail along the roof – added a couple coats of POR 15 (this stuff dries to a hard shell and is awesome/ expensive!!). I fiberglassed the few holes in the window area, and will add some finish putty to smooth everything out.

POR 15 is cool

Got Carla and Norm’s 10′ by 10′ awning out to see how it fit next to the bus – I like the size, but hot pink… I’m not sure about that!  Feels good to see what life might be like when I finally get this thing all done.

Glamping hot pink style

Ok so once I get the passenger side done and primered, I will move on to the back end corners and back hatch, and probably the battery tray – then move on to the front dent, then fix the floor when the part comes, then weld the new B and C pillars, then finish cleaning up the interior and the front dash area, then clean each wheel well and weld holes and undercoat the bottom with my POR truckbed liner, then pull the engine and gas tank and fix all that up, then get the electrical put back together, then work the dents out of the front bumper and get those things primered and painted, then get all the window frames and pop out frames cleaned up and reinstalled, then get the safaris installed, then get this stupid bus painted, and at some point I need to go through the brakes and lube up the wheels, then get all the new rubber seals installed (even though we all know they won’t actually fit) then get the camper kit built, and the seats redone, then do some fun stuff like add a second battery and get the food chuck wagon box built, then  … well by then I’ll be like 85 and Noelle and I will reminisce about that one summer when we thought we could fix up a VW bus and drive it around the country – crazies!!

Uncategorized, VW

Front Cargo Door

The front cargo door interior is cut, cleaned up, welded, and primered – Sweet!  I’m getting a little faster at this – we might just get this bus put back together yet.

Beginning Middle Door Finished!

Feels good to start building the bus back up instead of taking it apart… but I’m not quite done with the destruction yet!  I needed to remove this extra piece of metal that was added at some point in the past because the newly welded cargo doors won’t fully close.

Tearing this thing apart

I’m also starting to figure out what to do with the hacked up corner piece – new ones are expensive, and I want to try to fix this one first.  I also need to get a new battery tray and a few other pieces – work continues!

Bottom needs some work