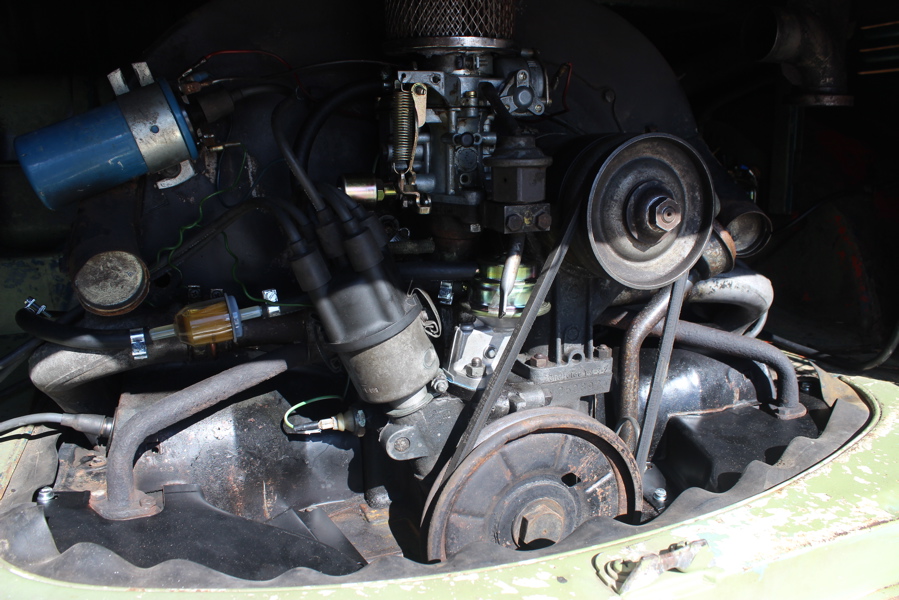
Another week, another post detailing how I almost got the bus working. The short story is that I figured out why the stupid thing wouldn’t start – got it running but it still has idle issues, dies when braking, and has severe bogging when shifting or accelerating – oh, and it doesn’t want to start very easily after its warmed up. So after pulling and cleaning the carb, replacing the fuel lines and fuel pump, and prodding/poking about every other thing in the engine compartment, I’m pretty much back at square one.
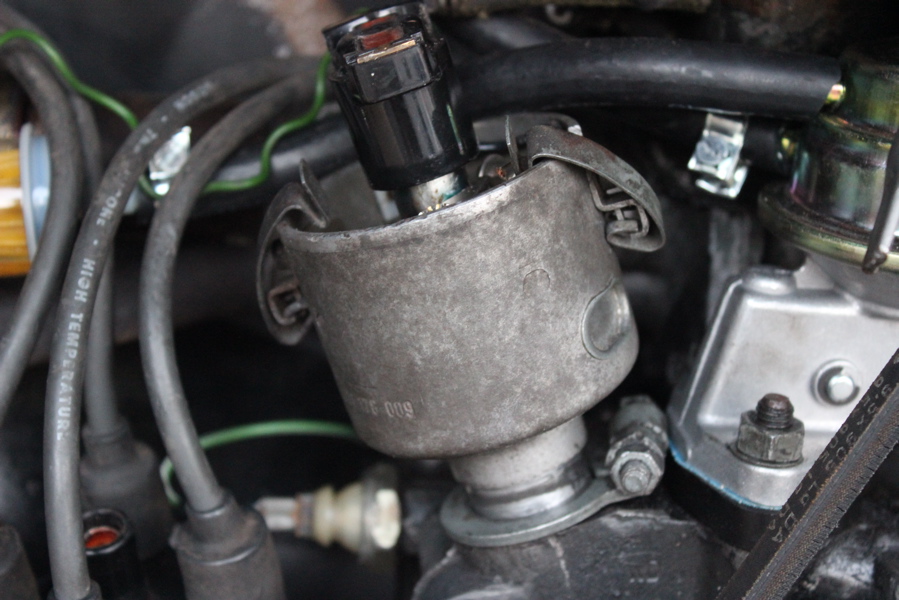
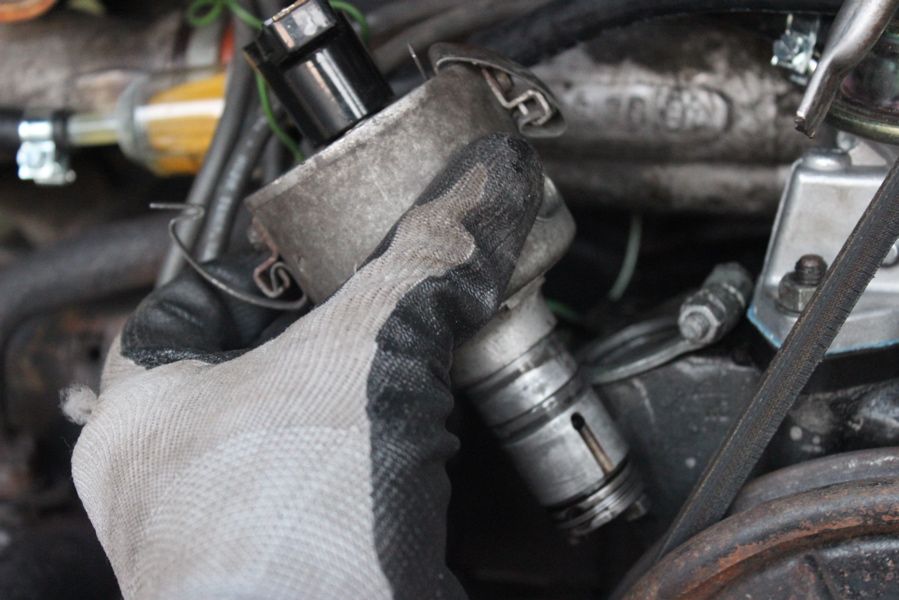
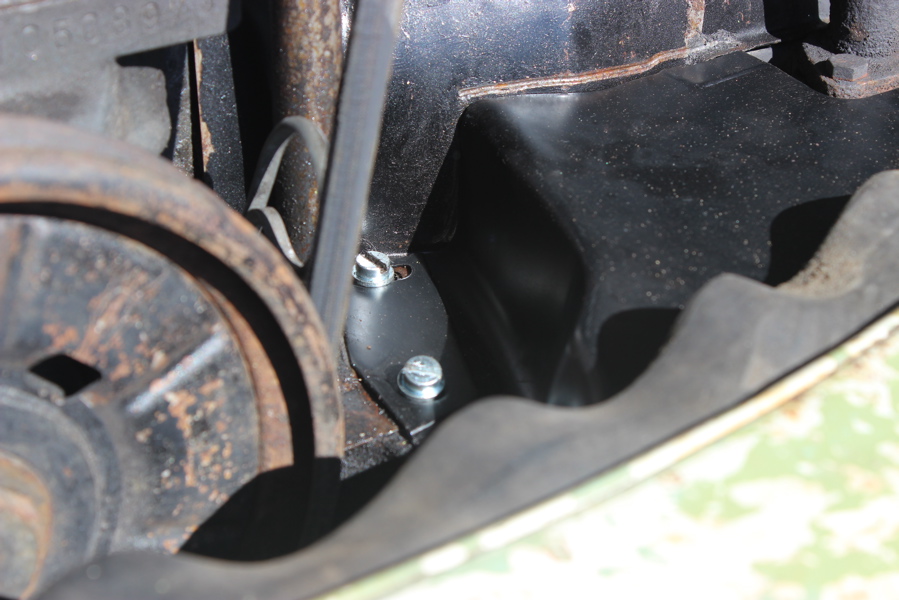
I was pretty nervous that I had somehow destroyed the engine at the beginning of the week because I could not get the bus started at all. I eventually figured out why: the distributor that I had to pull out to get to the fuel pump bolts wasn’t going in all the way. So as the starter turns the engine, the stupid rotor arm thing in the distributor doesn’t close the points, and so no spark is generated – I know its pretty much rocket science… I did some researching and realized that I needed to get the engine set at #1 firing position, or top dead center (TDC) before putting the distributor back in. Usually, I look at the rotor arm in the distributor to tell me if I’m at TDC, or if I’m at #3 cylinder (they are 180 degrees opposite) – obviously with the distributor dangling off the side of the engine, I had to look at the valves to make sure I was in the right position. So – everything lined up, I slide the dizzy into the engine – and it still wont go all the way down.

I pull it out, and look down the hole with a flashlight – there’s chunks of something in there – uh oh! Now I’m freaking out – I’ve really done it this time – stupid bus. I proceeded to engage in some quick VW brain surgery with some needle nose pliers, and pulled the chunks out. I have no idea where they came from, or what they are, but I don’t really see any damage to the crankshaft, distributor, or anything else. To top everything off, the distributor still won’t go all the way in. I’m no closer to getting the bus going – I’m done with this, going inside – stupid bus!
Ok, I come back out the next day and quickly realize my mistake – I was misreading the valve movements, and had the engine set at #3 instead of TDC. I crank it around 180 degrees and the distributor drops right in – sometimes I’m amazed I can even make it out the door in the morning. A couple days and a few stress points later and the bus is up and running again! Success!

I cleaned the underside of the rear curtain using a light grinding wheel with my drill – it was fairly effective, so I think I’m going to try that technique on the rust and grime on the underside frame of the bus – tons of fun for sure.
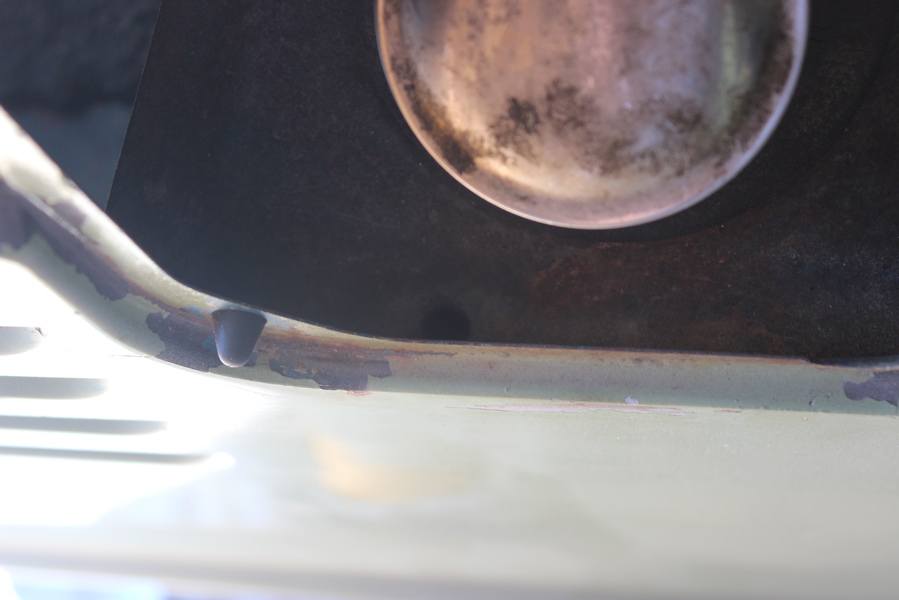
I attach my new rear engine tin plate, and put the rear curtain piece back on. The engine compartment is now fully sealed from the underside of the bus, and I can already tell that this will help with the heat – it will no longer suck hot air from under the engine back up into the compartment. Interestingly, I’ve also noticed that it’s quite a bit hotter to stand behind the bus – I guess all that hot air has to go somewhere.
Not everything is fine and dandy though – I can still hear the hissing, sucking noise that I heard before, and the engine still doesn’t idle well when it is hot. It will run if I unscrew the idle control screw a bunch of times, but even this is erratic. Its about 50/50 if the bus will die when coming to a stop, and it still has massive hesitation whenever I accelerate. This only happens while I’m driving though, it accelerates just fine if its in neutral sitting in the garage. In addition to all of this, the bus is really hard to start once the engine has warmed up – to the point that I had to push it back into the garage!
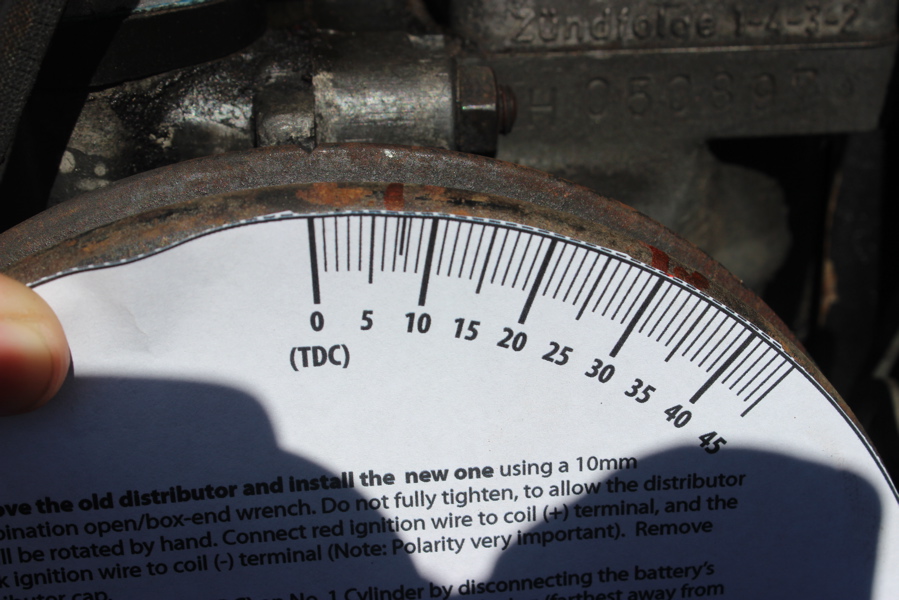
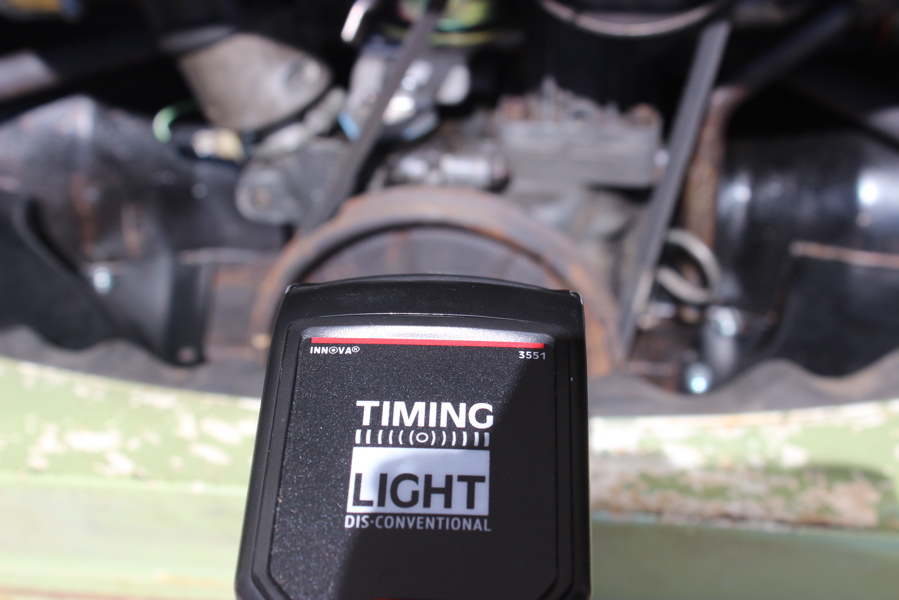
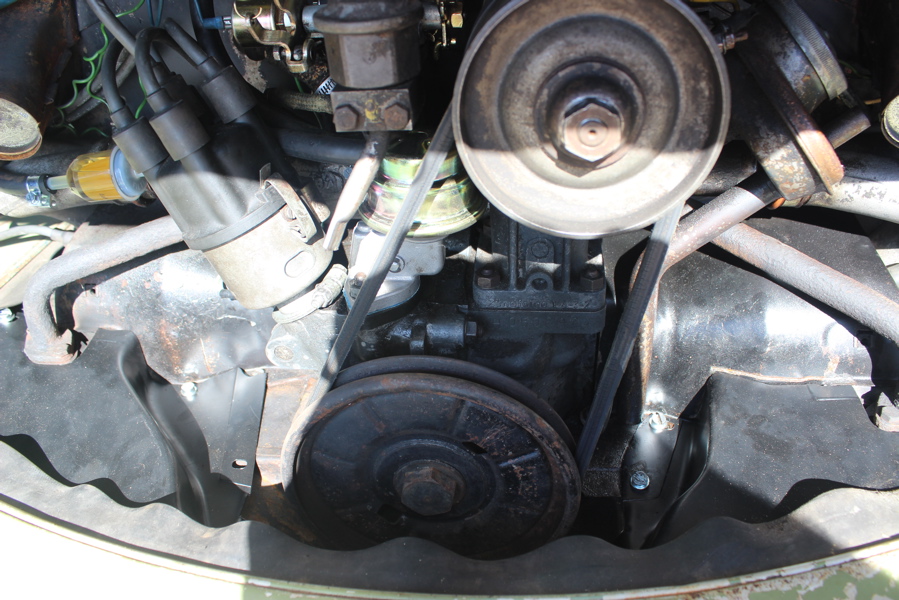
In an attempt to remedy these issues, I tried to set the timing with my new strobe timing light. It didn’t really work though because I couldn’t see the degree marks on the pulley – I might try to re-mark them with white-out or something more visible.
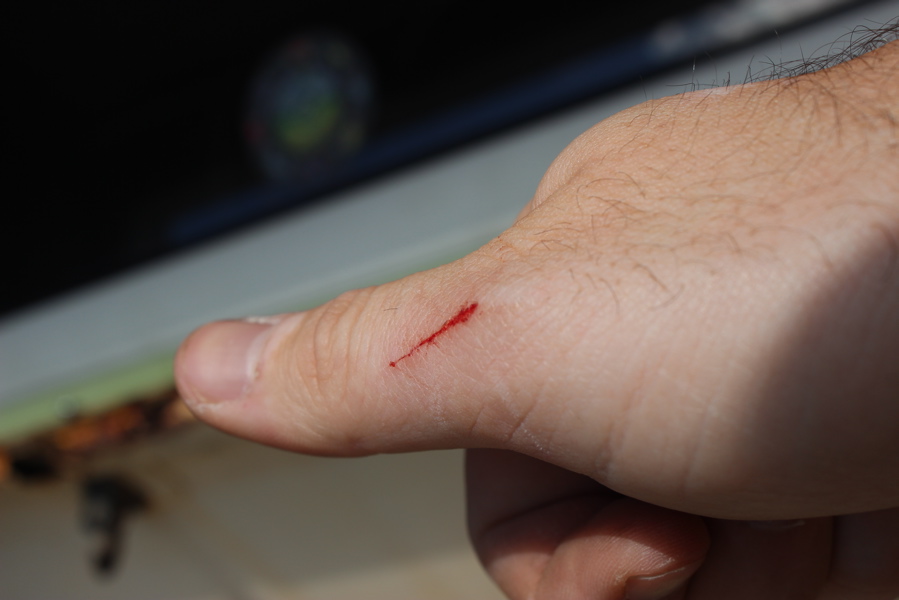
It wouldn’t be a project if I wasn’t bleeding right?
I also noticed that the gas tank ventilation tube was clogged with sand – I was able to clear it by hooking the vacuum up to my flexible plastic funnel and clearing the little hole by the gas cap.
I’m also wondering more and more if I should just cough up the cash and get a new, improved Weber 40 carb kit with new intake manifold. This would most likely solve all of my problems, and I would be able to transfer the set-up to a new engine in the future. Everything I’ve read says these are the best, but its pricey, and I’m not 100% sure the thing will even fit in the engine compartment!
Overall I’m happy the engine is back up and running. I’ve kind of come full circle and I’m back at square one, but I will keep messing around until I get it to work – or until it falls apart!